Stretch Bracelet Kit Instructions

Stretchy Bracelet Instructions
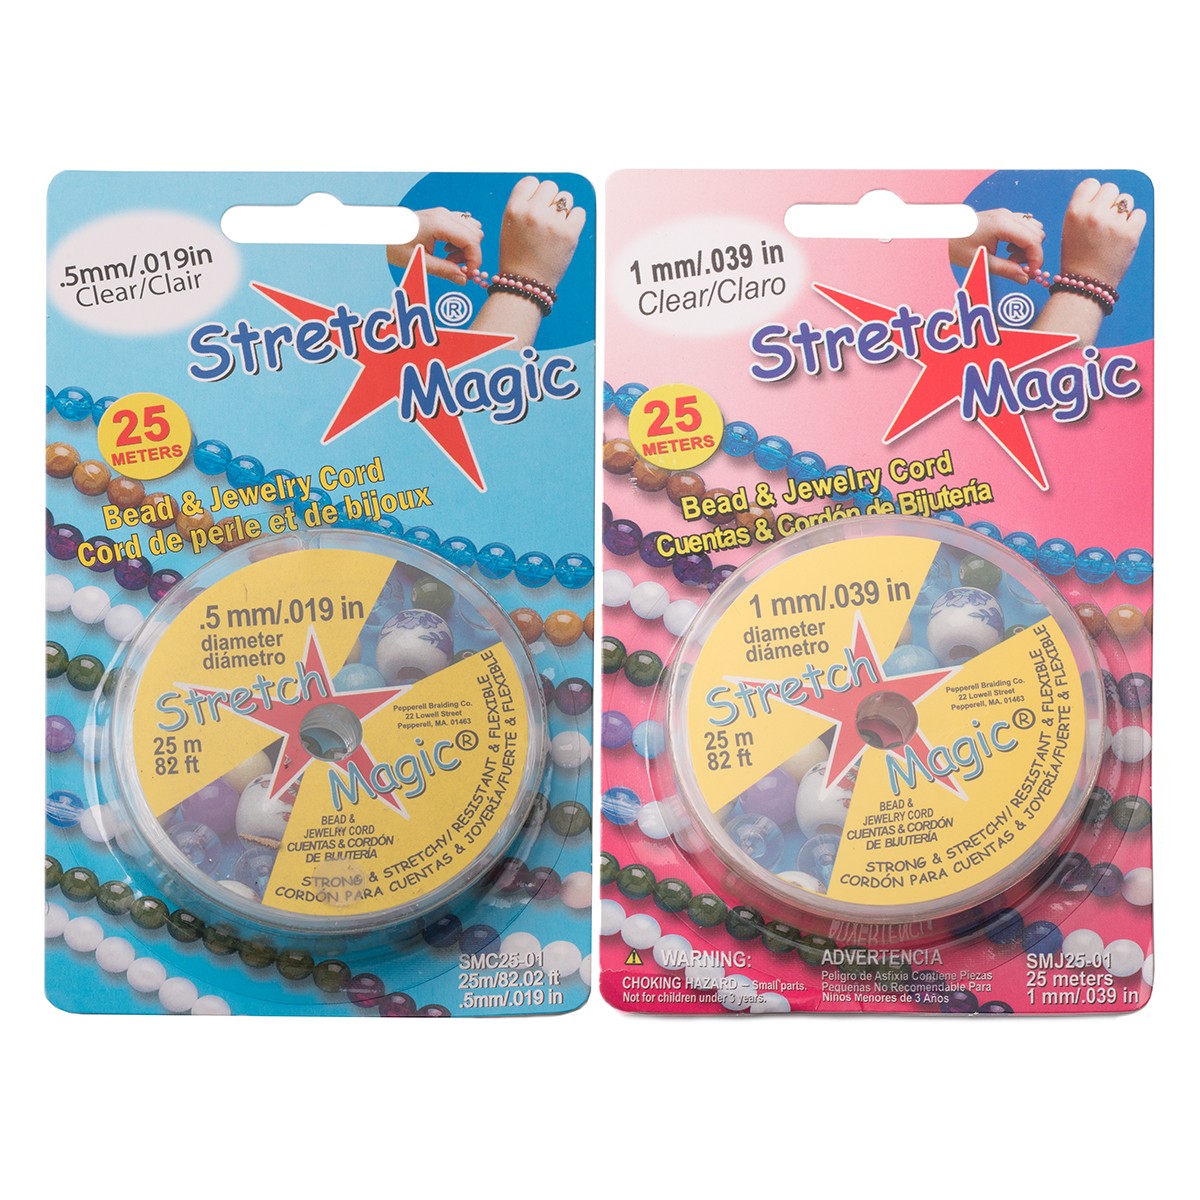
- Measure & cut. Measure your wrist (standard adult is 19 cm). Cut a length of Stretch Magic with a couple of extra inches so you have room to tie the knot.
- Pre-stretch. Gently pre-stretch the elastic along its length to loosen it up.
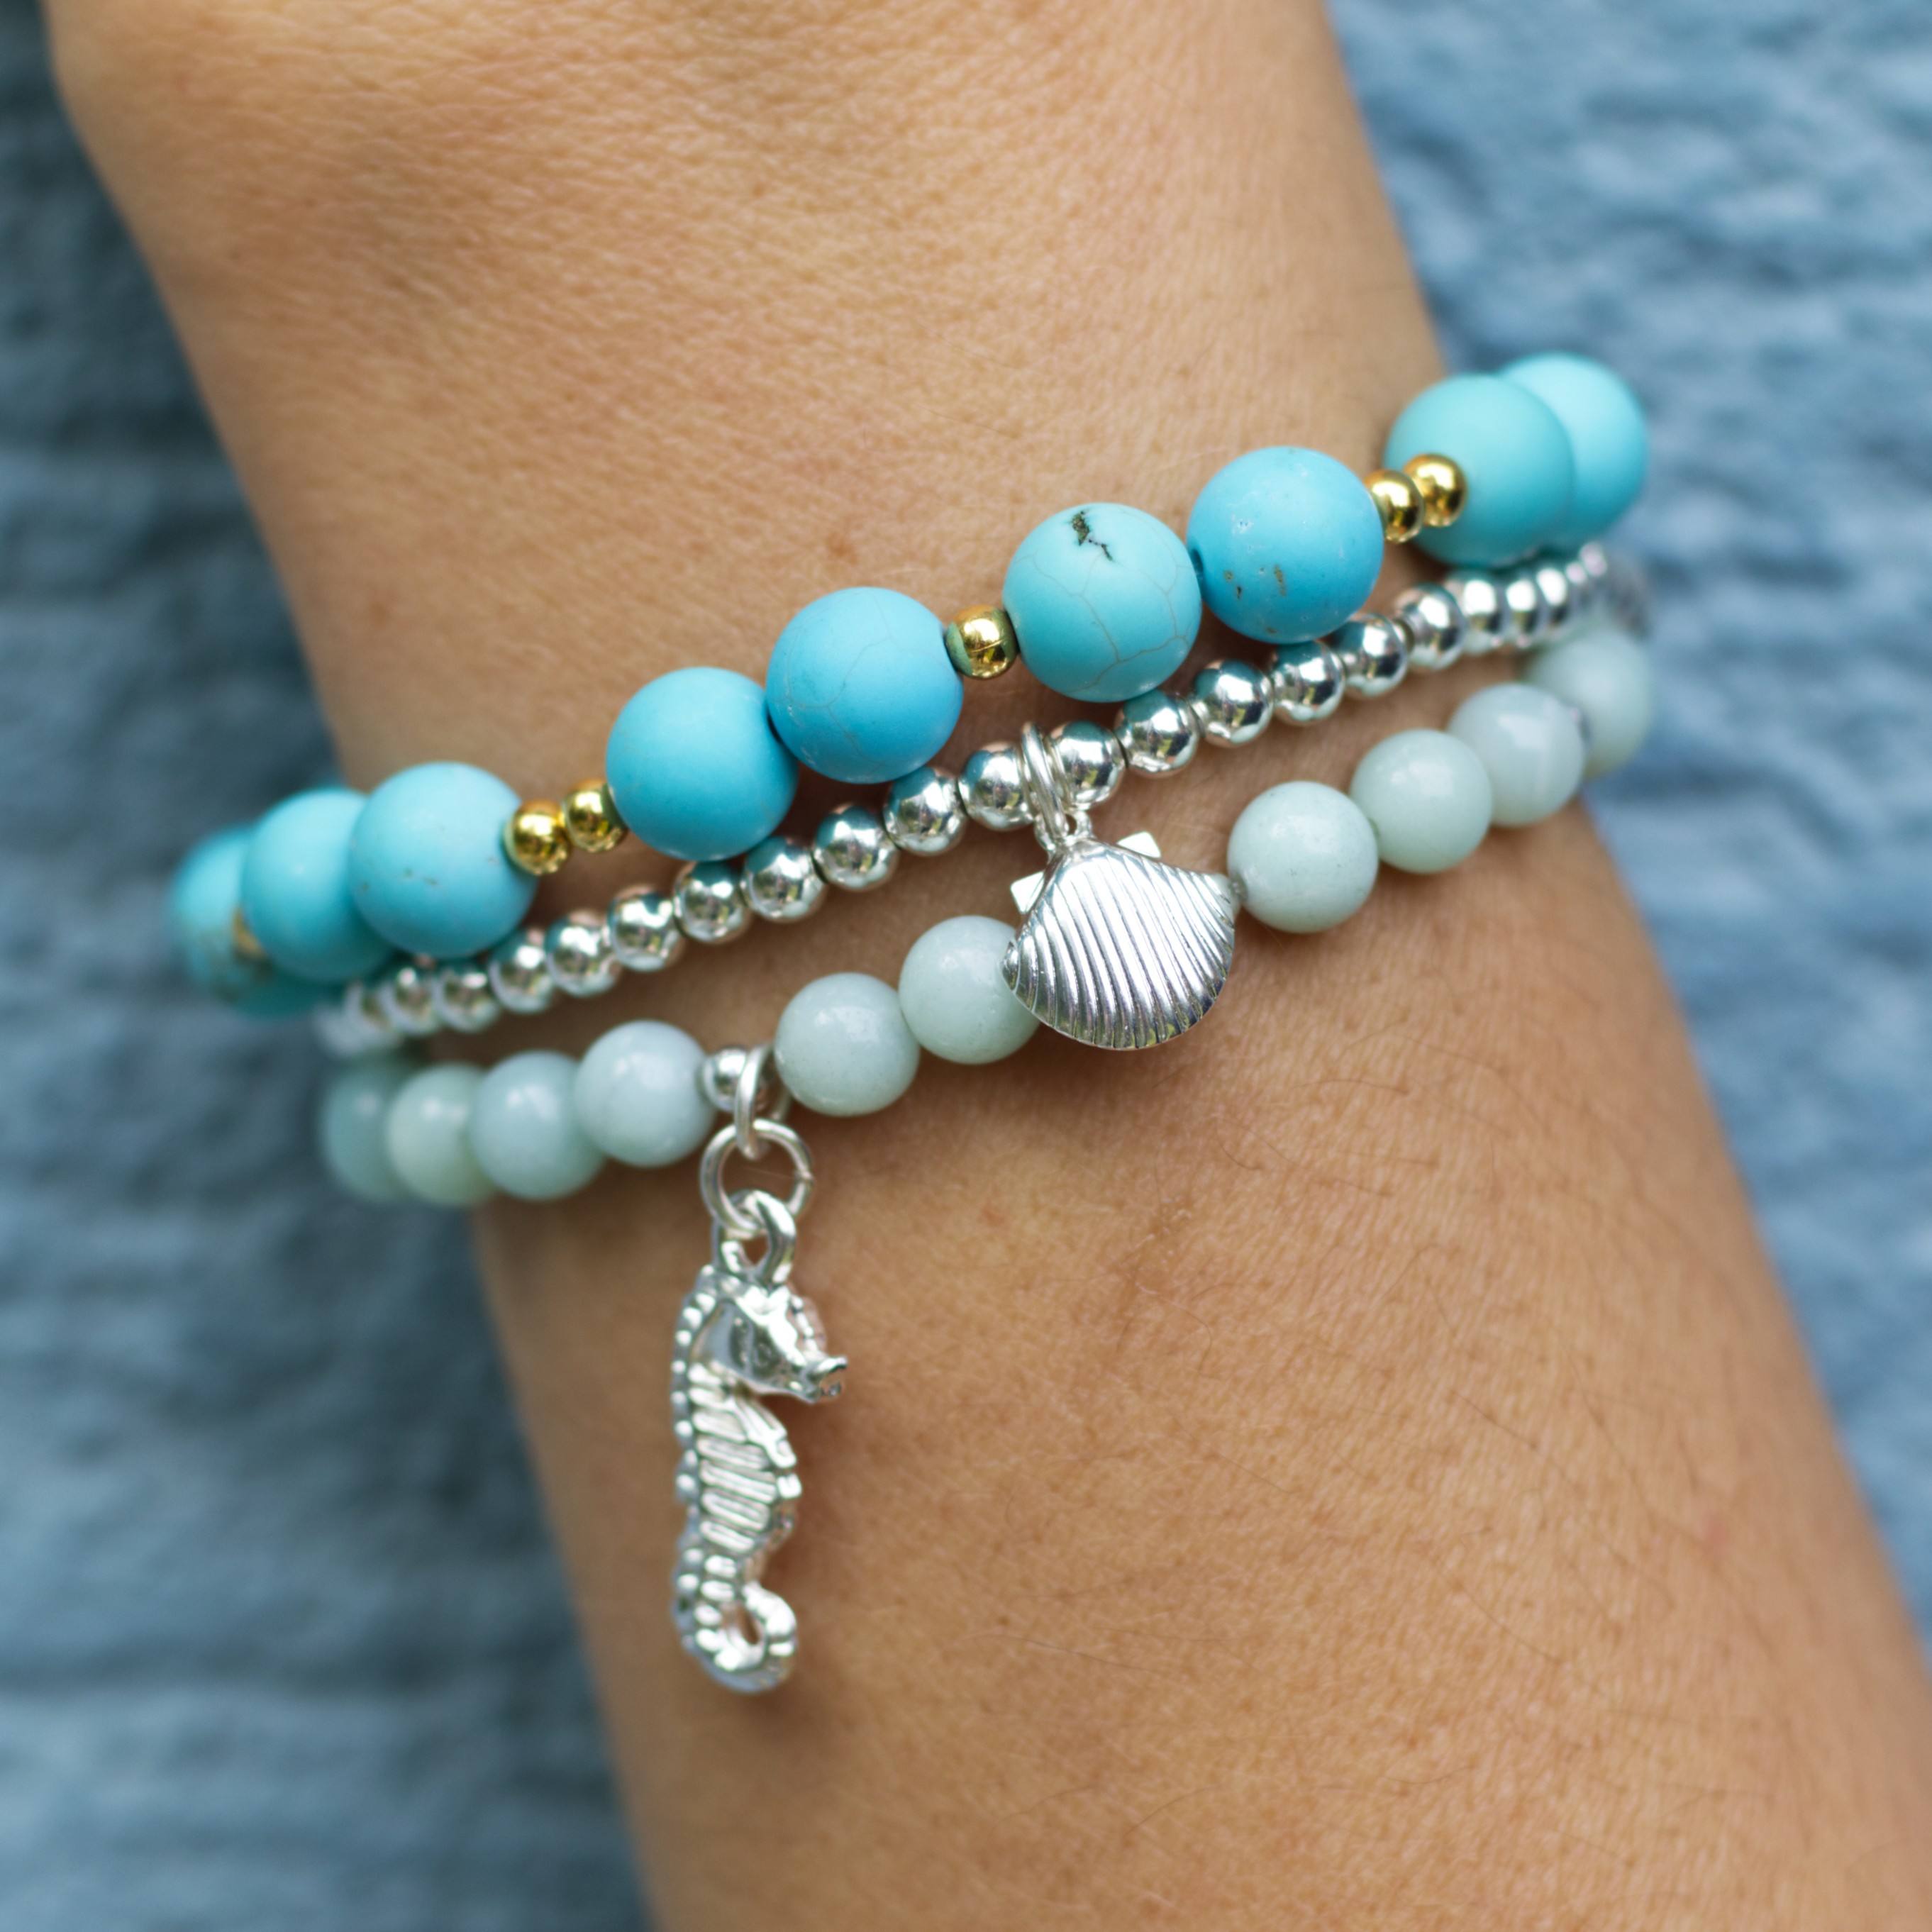
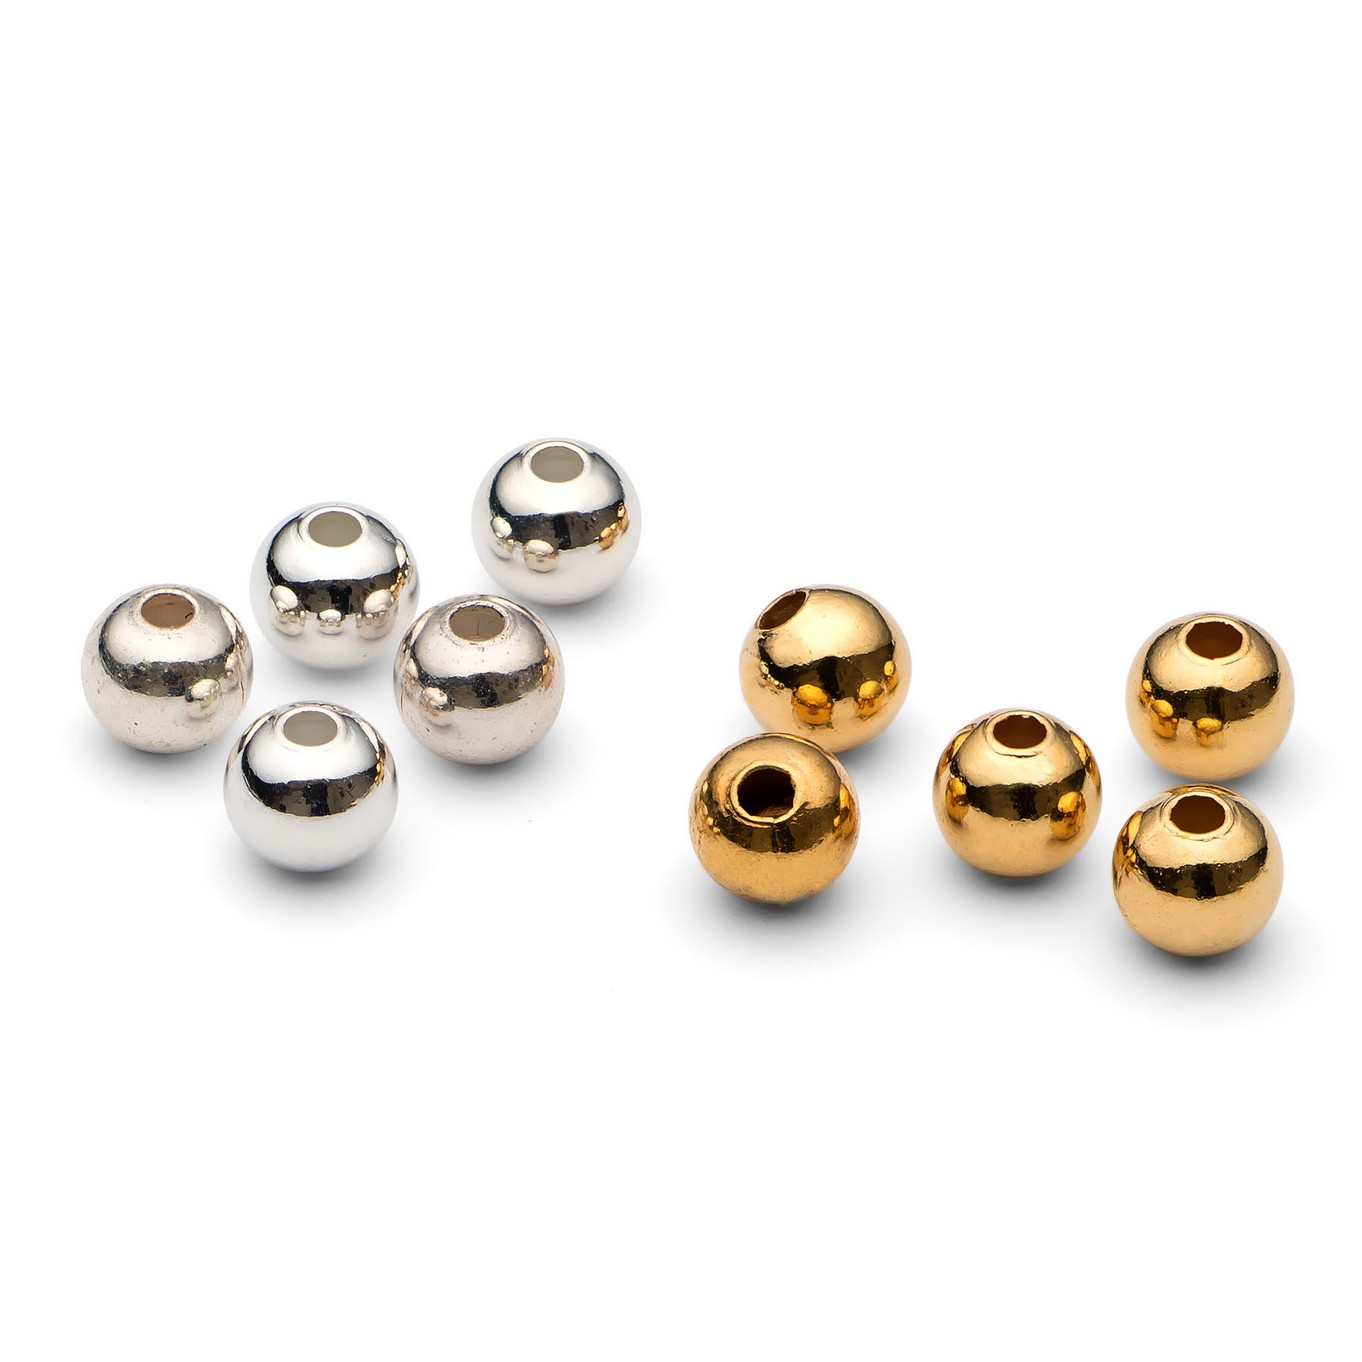
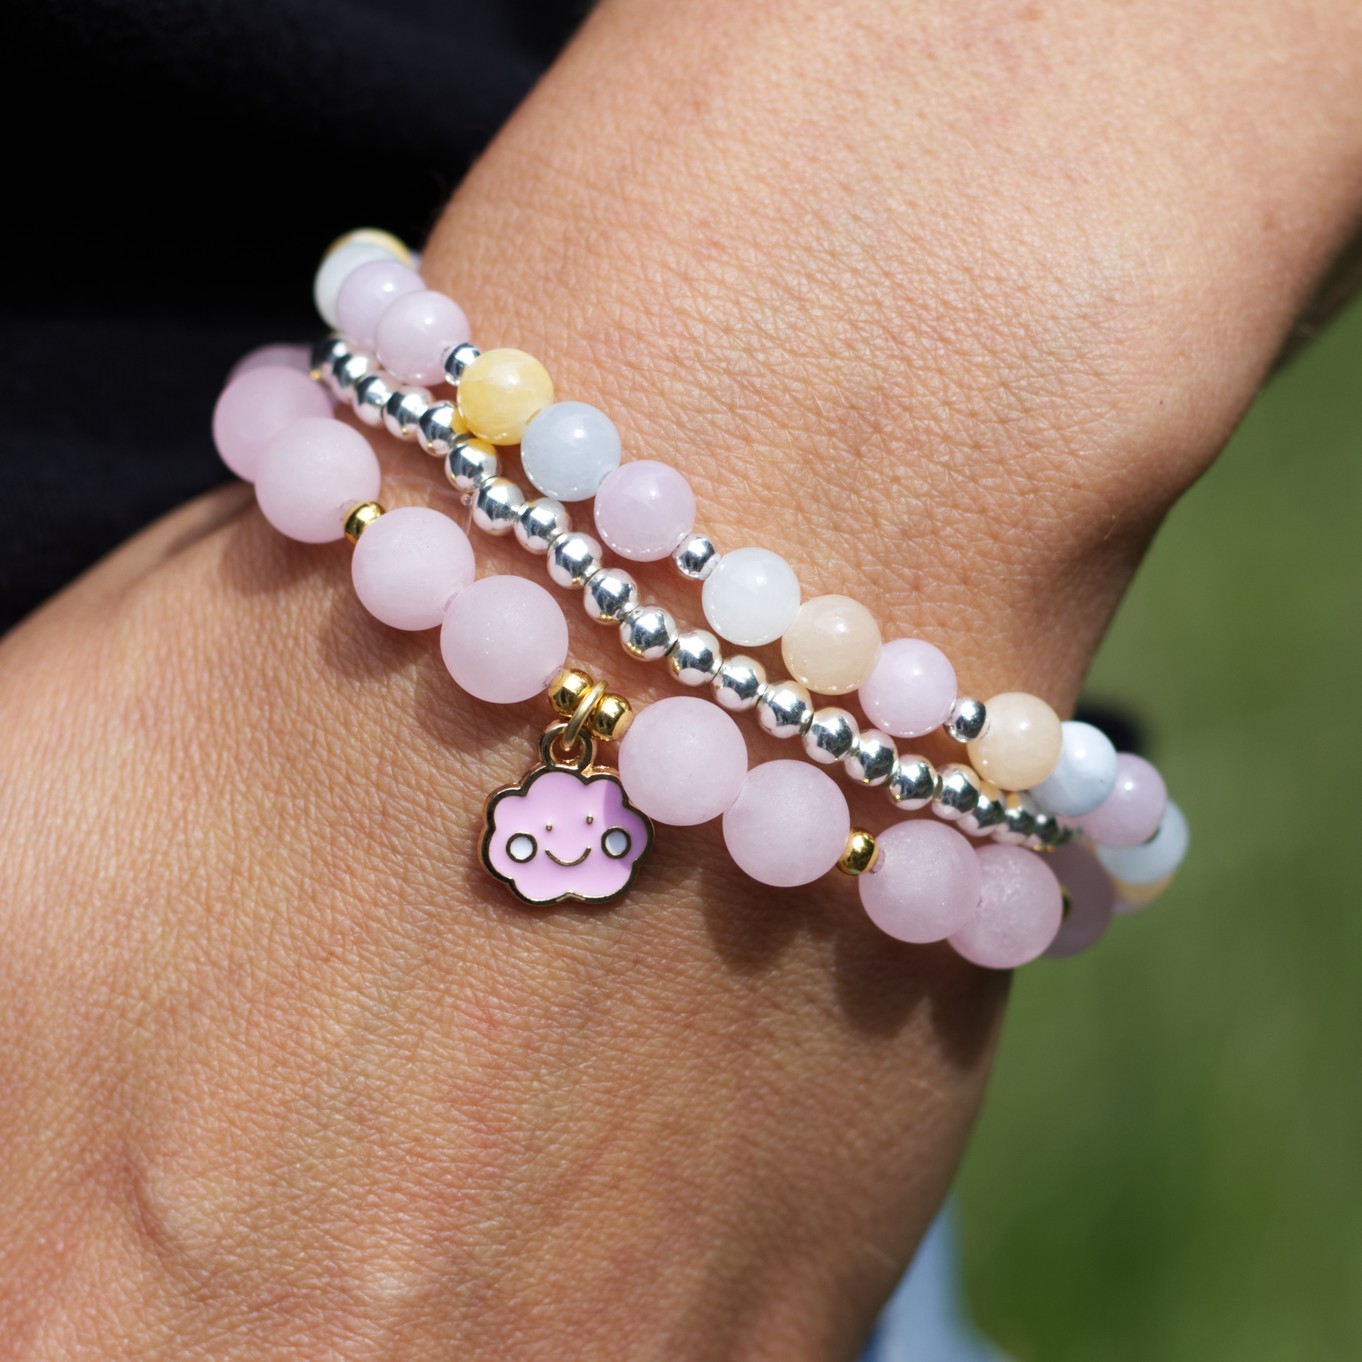
- String your chosen beads. Thread your beads onto the elastic in your chosen design.
- First cross. Bring the two elastic ends together and cross the strands.
- Loose overhand knot. Fold one end under the other to make a simple, loose overhand knot - do not pull it tight yet.
- Second cross. Cross the strands again.
- Double the knot. Repeat Step 5 to add a second overhand knot on top of the first (a double overhand).
- Optional extra knots. If your bracelet is heavy, add one or two more overhand knots but consider how large the finished knot will look.
- Tighten firmly. Pull the knots really tight. Change the direction of your pull (up/down/sideways) to snug everything in. There should be no gaps between strands in the knot.
- Secure (optional). Add a tiny dab of clear-drying jewellery glue for extra security. Let it dry completely before wearing.
- Trim tails. Use side cutters or scissors to trim the excess elastic close to the knot.
- Finish. Your knot is secure, slip on your beautiful handmade bracelet!
Want To Make More?
We recommend these products for stretchy bracelets:

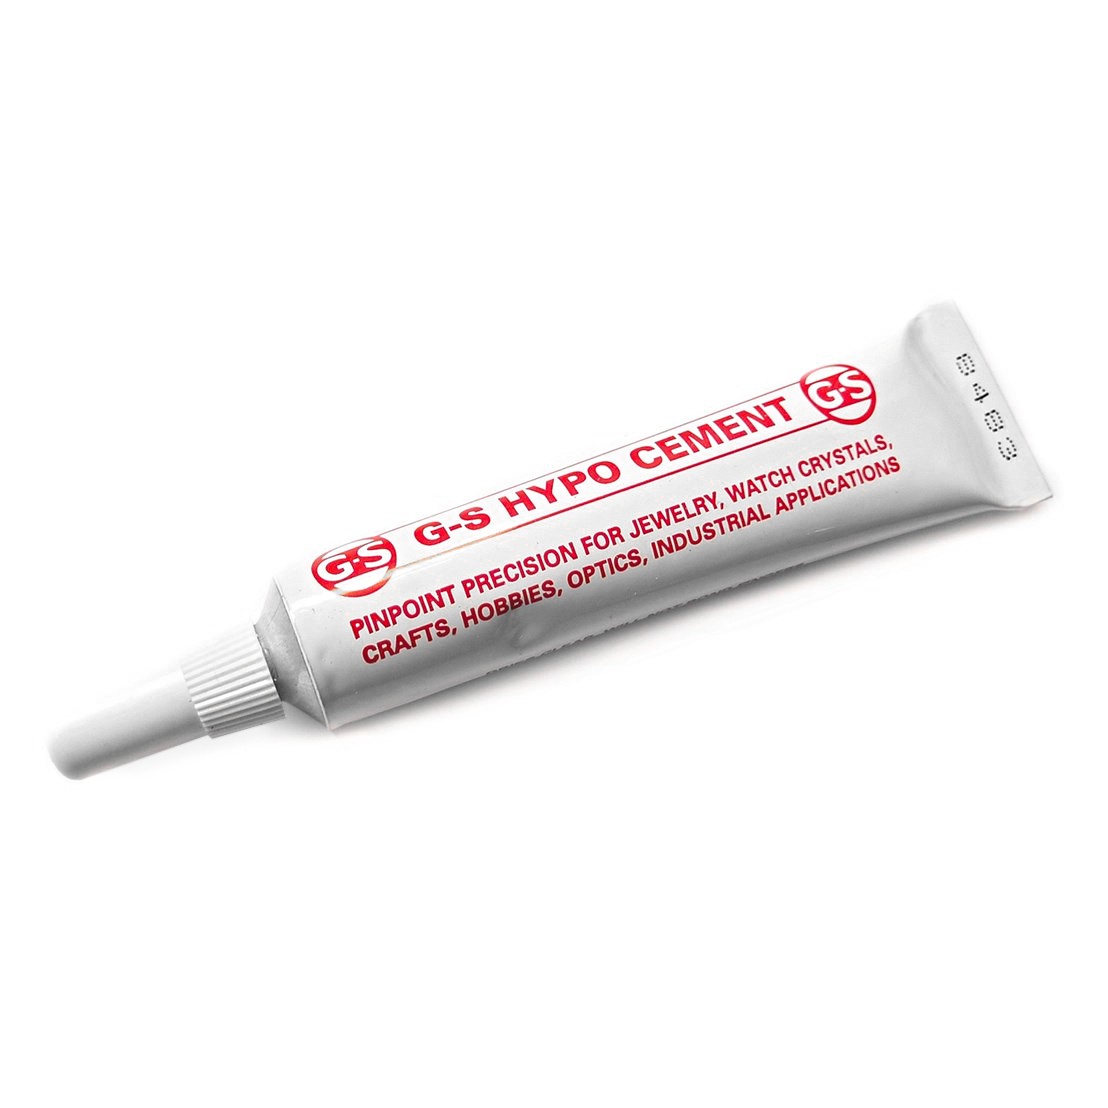
G S Hypo Cement Glue
£8.99
Step-by-Step Video Guide
Watch the step-by-step video tutorial to create your stretchy bracelet.