Skip to content
Menu
Search
Metals
By Type
Metal Clay
Wire
Sheet Metal
Tube
Bezel Strip
> View All Types
By Metal
Sterling Silver
Silver Plated
Fine Silver
9ct Gold
Copper & Brass
Gold Plated
> View All Metals
Essentials
Solder & Flux
Metal Starter Packs
> View All Essentials
Gemstones
By Type
Cabochons
Faceted Stones
Beads
Rough Gems
> View all Types
By Shape
Round
Oval
Square
Rectangle
Teardrop
Bullet
Heart
Freeform
> View All Shapes
By Stone
A-F
G-L
M-R
S-Z
> View All Stones
Inspiration
New Arrivals
Limited Edition
Birthstones
Components
Findings
Jump Rings & Bails
Earwires & Studs
Bezel Cups
Settings
Connectors
Head & Eye Pins
Chains
Crimps & Clasps
> View all Findings
Metals
Sterling Silver
Silver Plated
Fine Silver
Copper
Solid Gold
Gold Plated
> View all Metals
Type
Cabochon Settings
Faceted Stone Settings
Pendants
Rings
Charms
Beads & Thread
Beads
Gemstone Beads
Metal Beads
Bead Packs
Briolettes
Round Beads
Faceted Beads
Rondelle Beads
Pearls
> View all Beads
Drilled
Fully Drilled
Head Drilled
Top Drilled
Half Drilled
Drilled Beads Settings
Stringing
Clasps & Findings
Beading Wire
Elastic Cord
Beading Chain
Thongs and Cords
Tools & Supplies
Hand Tools
Pliers & Cutters
Stone Setting Tools
Hammers & Mallets
Metal Clay Tools
Saw Frames & Blades
Measuring & Gauges
> View all Hand Tools
Bench Tools
Anvils & Blocks
Mandrels
Lighting & Magnifiers
Soldering Torches
Polishing Machines
> View all Bench Tools
Consumables
Files & Sanding
Glue
Polishing & Cleaning
Soldering
Drill Bits & Burrs
Packaging & Storage
Protection
Kits
Jewellery Making
Metal Clay Kits
Sea Glass Kits
Bracelet Kits
Tool Kits & Bundles
> View all making kits
Subscription Boxes
Monthly Jewellery Making Box
Make The Look
Rings
Earrings
Necklaces
Bracelets
> View all Looks
Blog & Tutorials
Kernowcraft Rocks & Gems
Search
Login
Basket
0 items
0
Metals
Gemstones
Components
Beads & Thread
Tools & Supplies
Kits
Blog & Tutorials
Metals
By Type
By Metal
Essentials
Gemstones
By Type
By Shape
By Stone
Inspiration
Components
Findings
Metals
Type
Beads & Thread
Beads
Drilled
Stringing
Tools & Supplies
Hand Tools
Bench Tools
Consumables
Kits
Jewellery Making
Subscription Boxes
Make The Look
By Type
Metal Clay
Wire
Sheet Metal
Tube
Bezel Strip
> View All Types
By Metal
Sterling Silver
Silver Plated
Fine Silver
9ct Gold
Copper & Brass
Gold Plated
> View All Metals
Essentials
Solder & Flux
Metal Starter Packs
> View All Essentials
By Type
Cabochons
Faceted Stones
Beads
Rough Gems
> View all Types
By Shape
Round
Oval
Square
Rectangle
Teardrop
Bullet
Heart
Freeform
> View All Shapes
By Stone
A-F
G-L
M-R
S-Z
> View All Stones
Inspiration
New Arrivals
Limited Edition
Birthstones
Findings
Jump Rings & Bails
Earwires & Studs
Bezel Cups
Settings
Connectors
Head & Eye Pins
Chains
Crimps & Clasps
> View all Findings
Metals
Sterling Silver
Silver Plated
Fine Silver
Copper
Solid Gold
Gold Plated
> View all Metals
Type
Cabochon Settings
Faceted Stone Settings
Pendants
Rings
Charms
Beads
Gemstone Beads
Metal Beads
Bead Packs
Briolettes
Round Beads
Faceted Beads
Rondelle Beads
Pearls
> View all Beads
Drilled
Fully Drilled
Head Drilled
Top Drilled
Half Drilled
Drilled Beads Settings
Stringing
Clasps & Findings
Beading Wire
Elastic Cord
Beading Chain
Thongs and Cords
Hand Tools
Pliers & Cutters
Stone Setting Tools
Hammers & Mallets
Metal Clay Tools
Saw Frames & Blades
Measuring & Gauges
> View all Hand Tools
Bench Tools
Anvils & Blocks
Mandrels
Lighting & Magnifiers
Soldering Torches
Polishing Machines
> View all Bench Tools
Consumables
Files & Sanding
Glue
Polishing & Cleaning
Soldering
Drill Bits & Burrs
Packaging & Storage
Protection
Jewellery Making
Metal Clay Kits
Sea Glass Kits
Bracelet Kits
Tool Kits & Bundles
> View all making kits
Subscription Boxes
Monthly Jewellery Making Box
Make The Look
Rings
Earrings
Necklaces
Bracelets
> View all Looks
0
Your Basket is empty
Continue shopping
Clear
Close
Make The Look
Filters
Sort by
Featured
Best selling
Alphabetically, A-Z
Alphabetically, Z-A
Price, low to high
Price, high to low
Date, old to new
Date, new to old
Price
£
to
£
In stock only
Apply
Apply
Filters
Sort by:
Best selling
Featured
Best selling
Alphabetically, A-Z
Alphabetically, Z-A
Price, low to high
Price, high to low
Date, old to new
Date, new to old
Filter and sort
Price
£
to
£
In stock only
Apply
52 products
+ Quick add
Silver & Rose Gold Bead Anxiety Ring
Sale price
£21.18
+ Quick add
Gemstone Ring Making Kit
Sale price
£68.72
+ Quick add
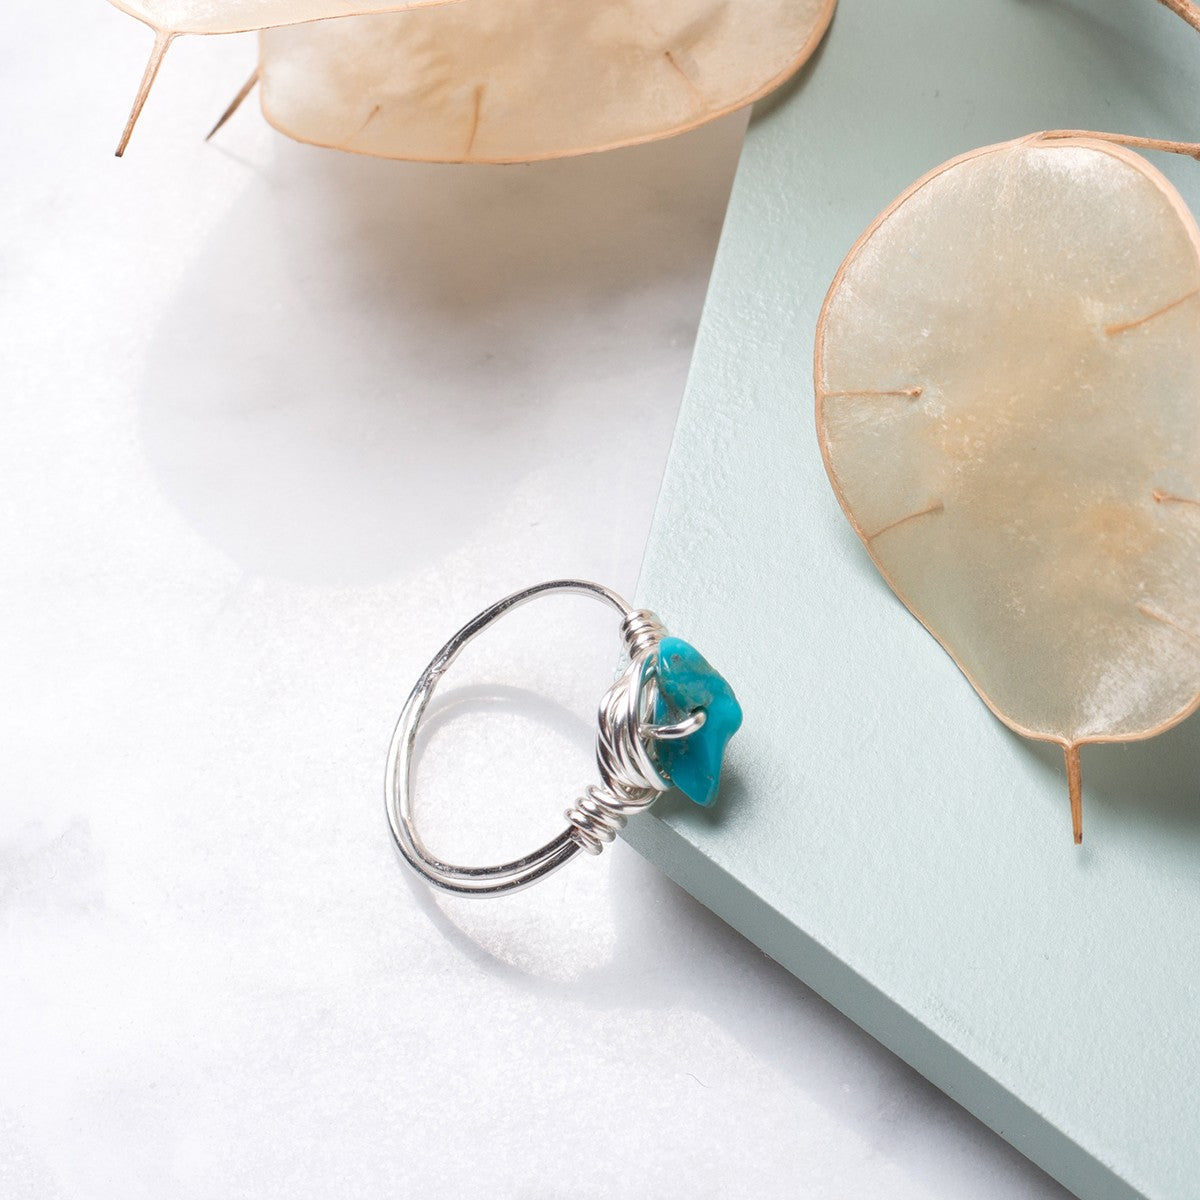
Chinese Turquoise Wire Wrapped Ring
Sale price
£23.59
+ Quick add
Blue Goldstone Bezel Cup Ring
Sale price
£10.99
+ Quick add
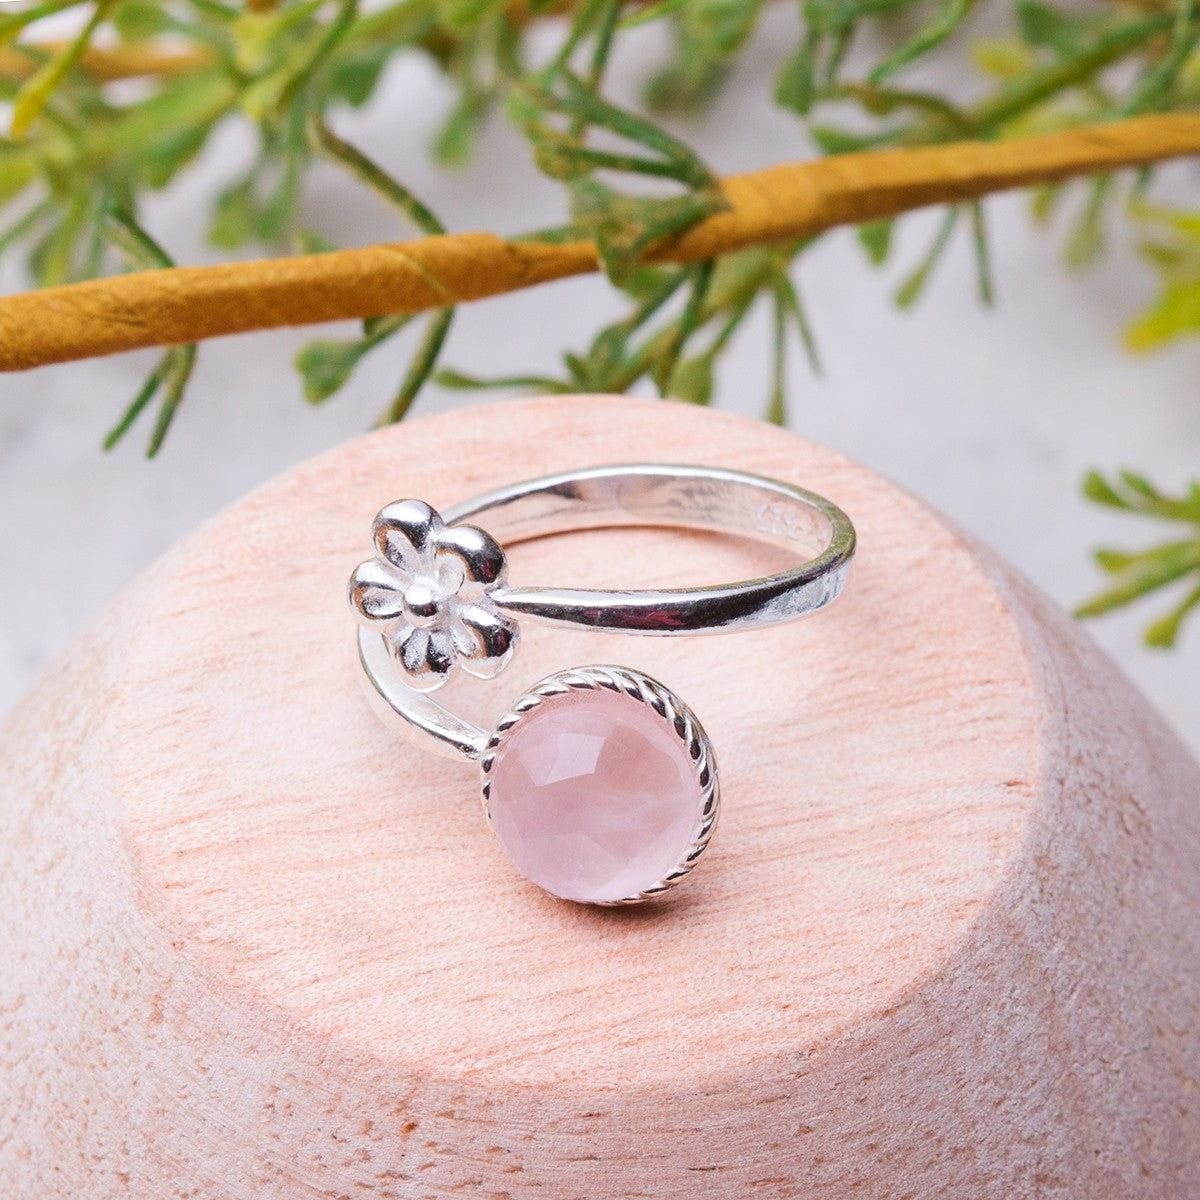
Rose Cut Rose Quartz Flower Ring
Sale price
£29.75
+ Quick add
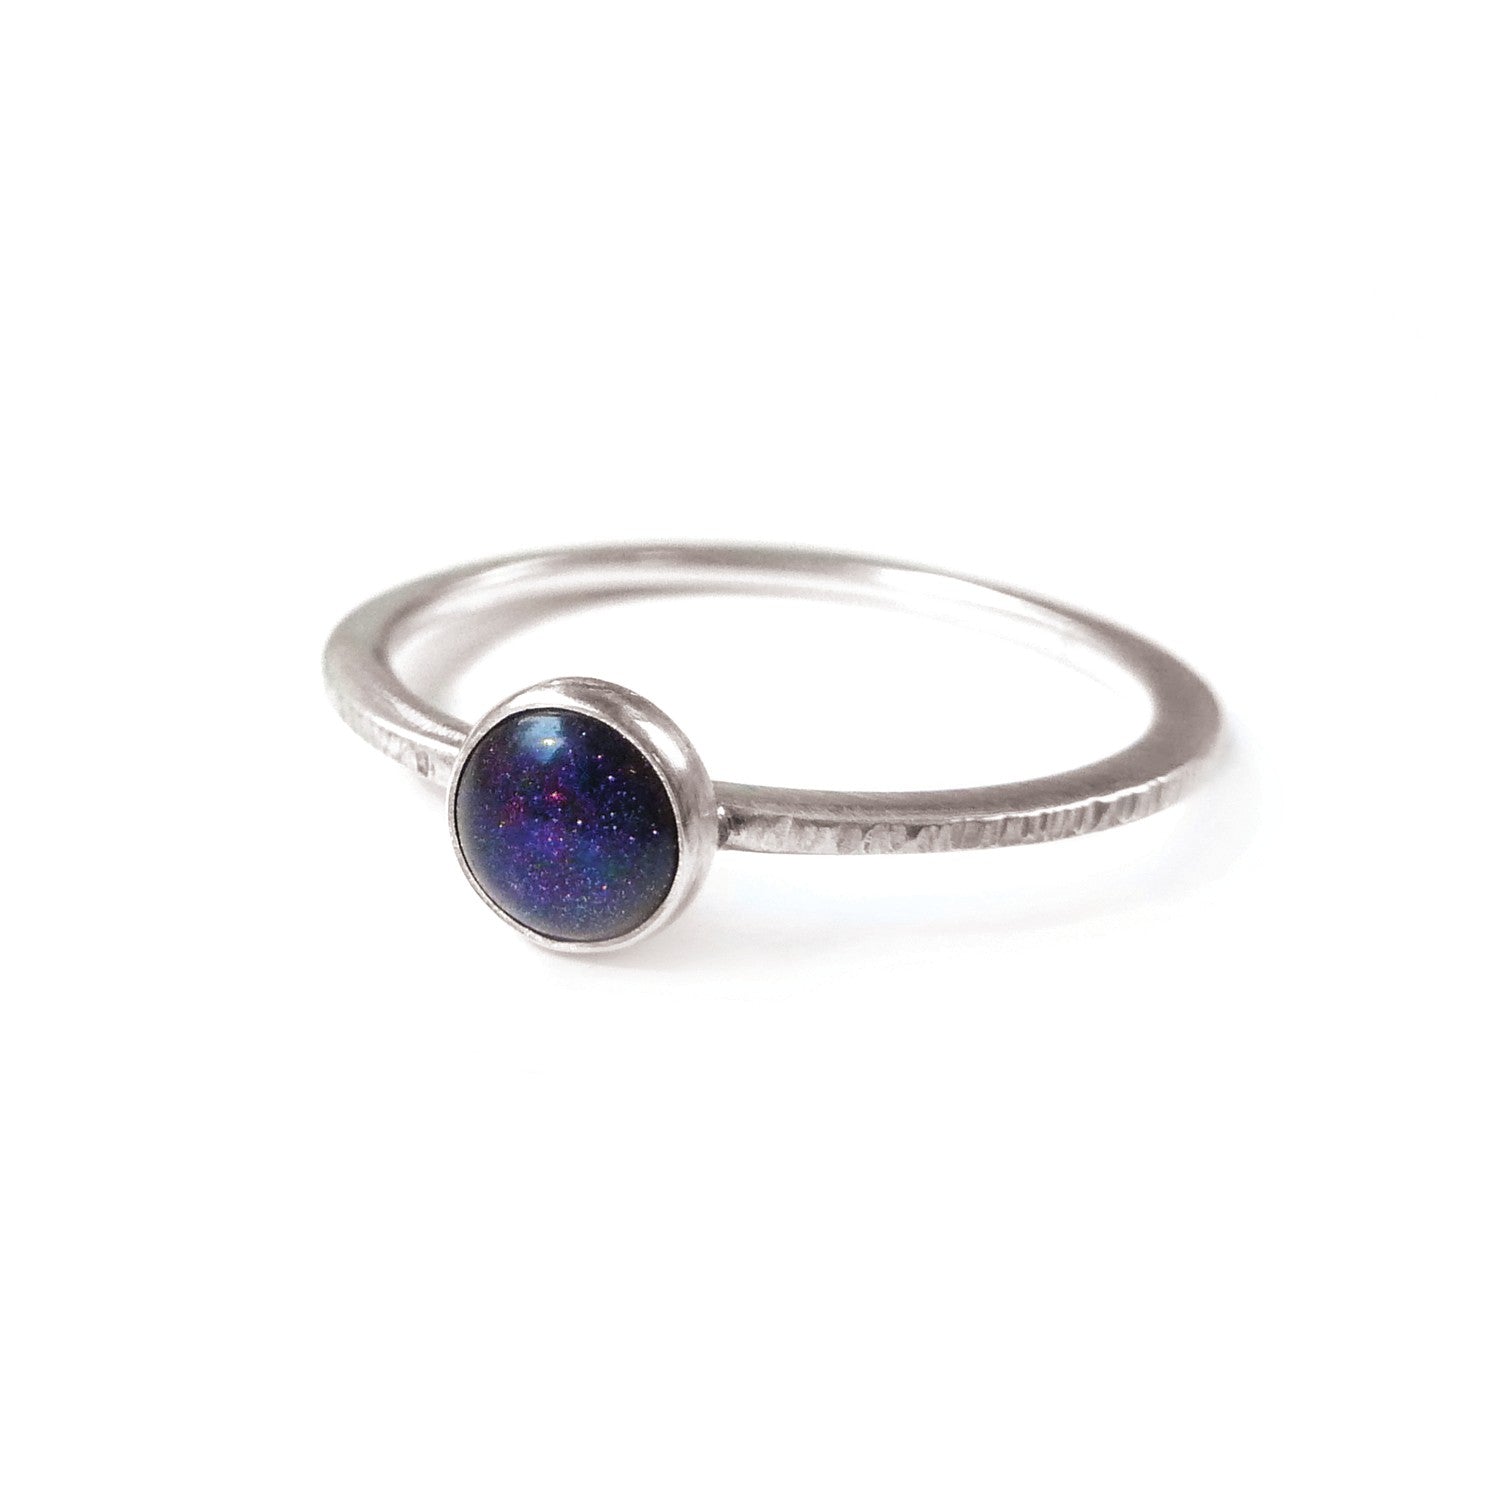
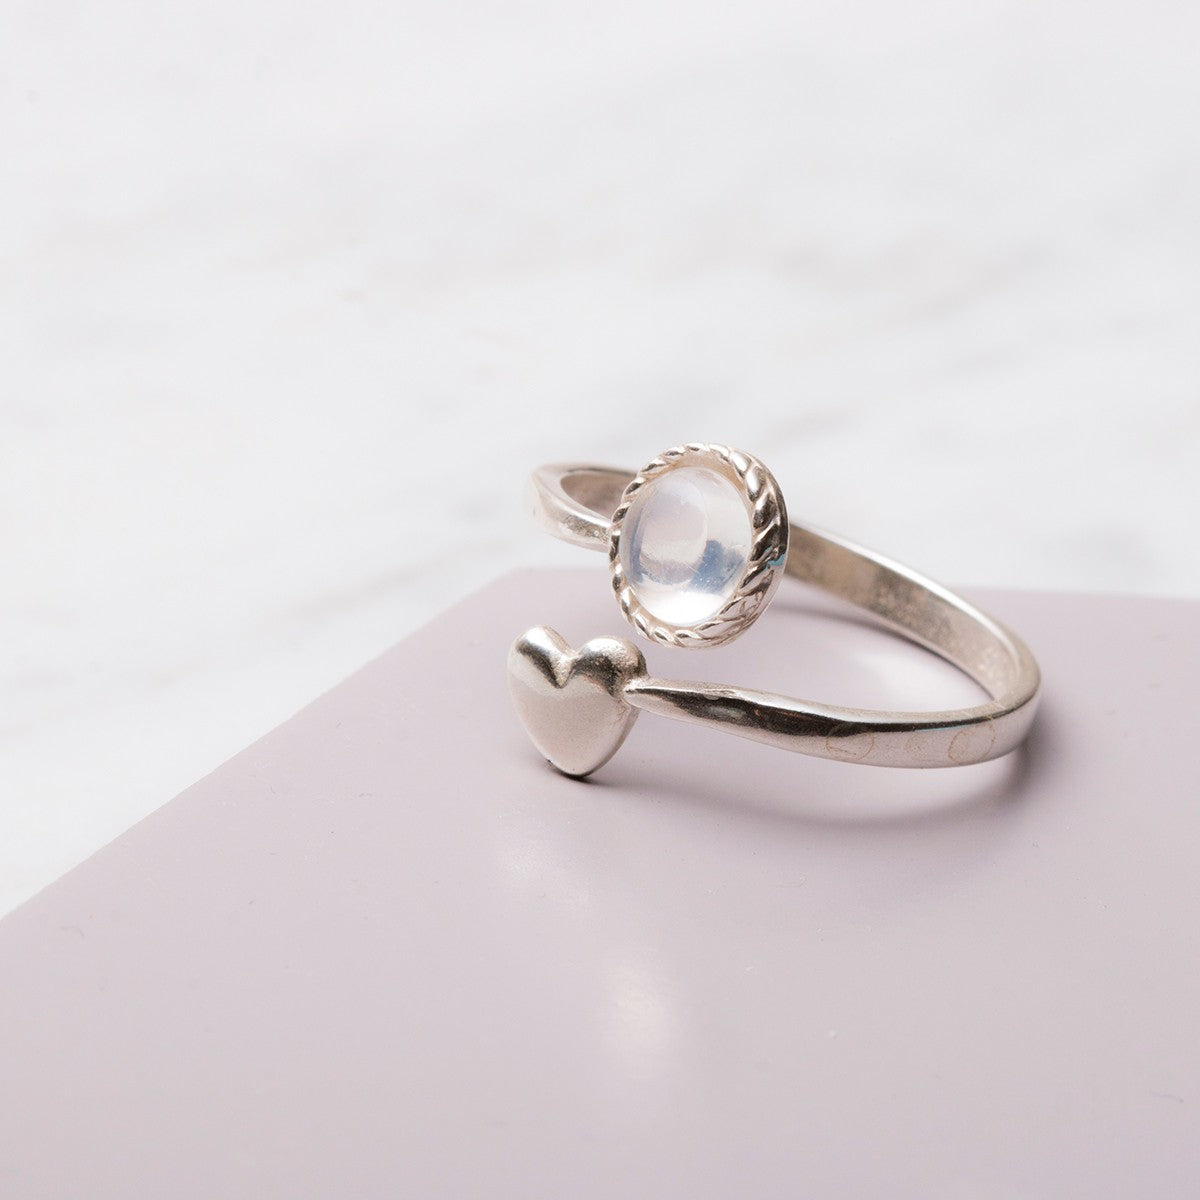
Blue Moonstone & Heart Ring
Sale price
£31.73
+ Quick add
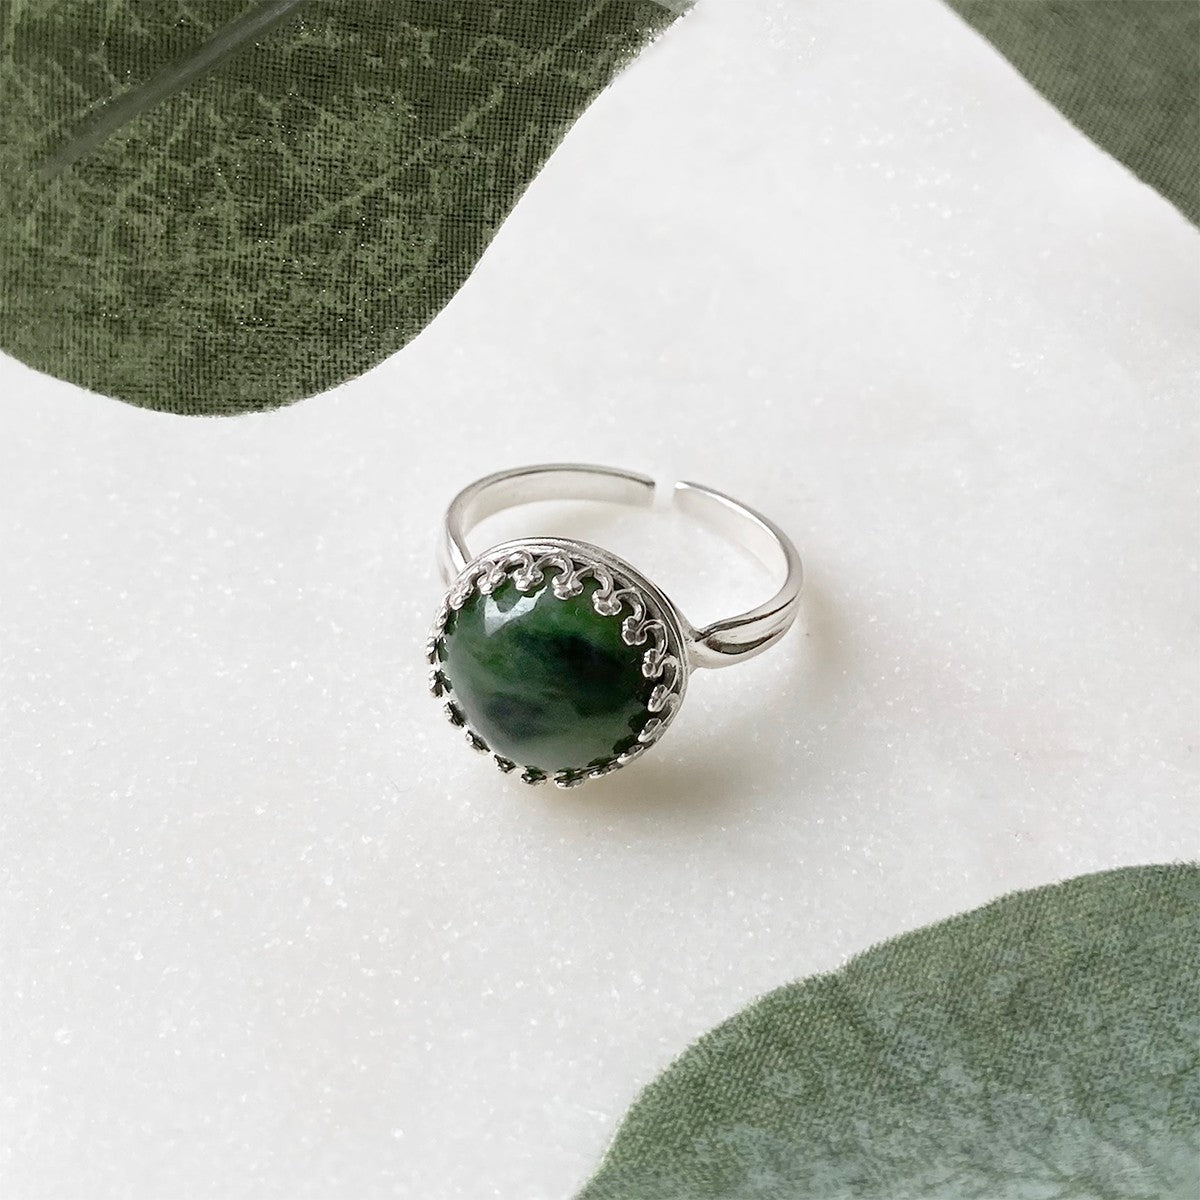
Nephrite Jade Gallery Wire Ring
Sale price
£21.28
+ Quick add
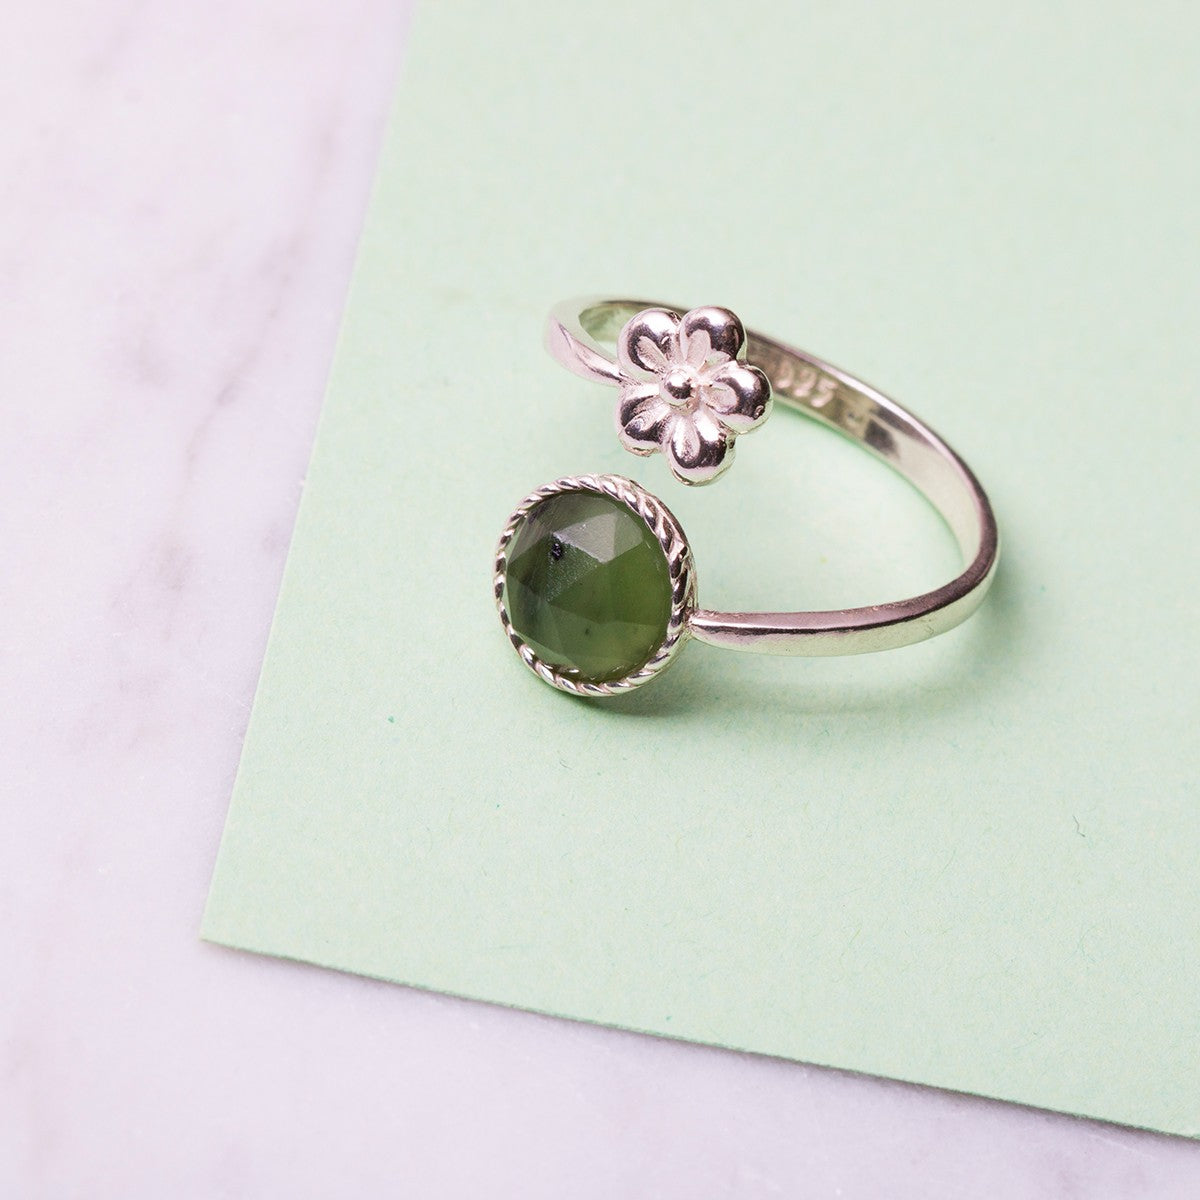
Sterling Silver Jade Flower Ring
Sale price
£28.80
+ Quick add
Garnet Bird Ring
Sale price
£21.89
+ Quick add
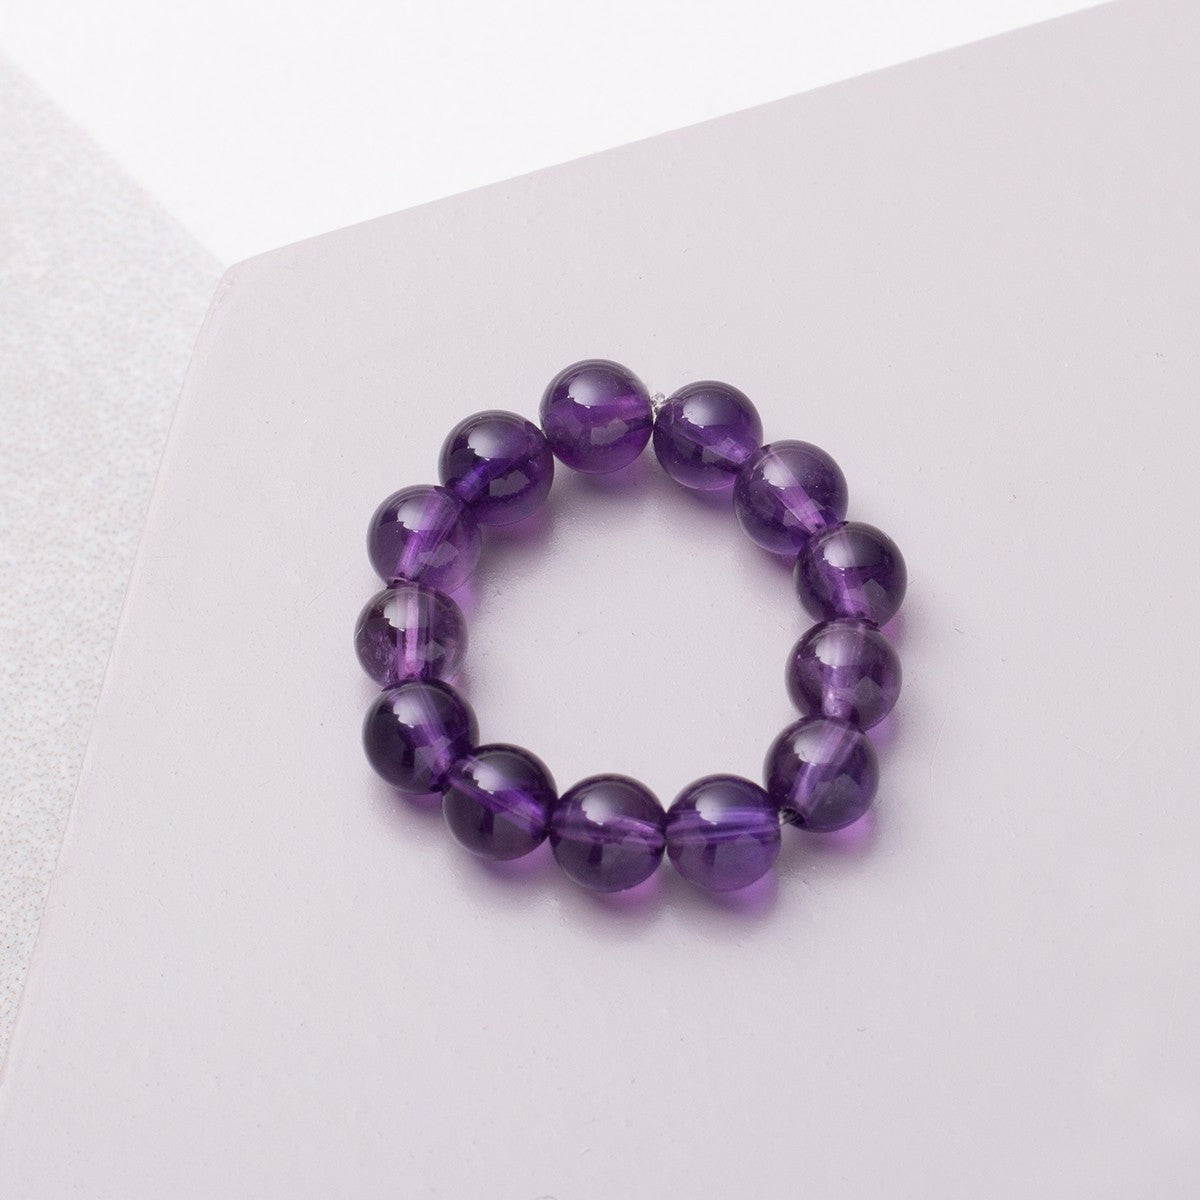
Amethyst Elastic Ring
Sale price
£15.44
+ Quick add
Amethyst and Blue Lace Agate Wire Wrap Ring
Sale price
£10.00
+ Quick add
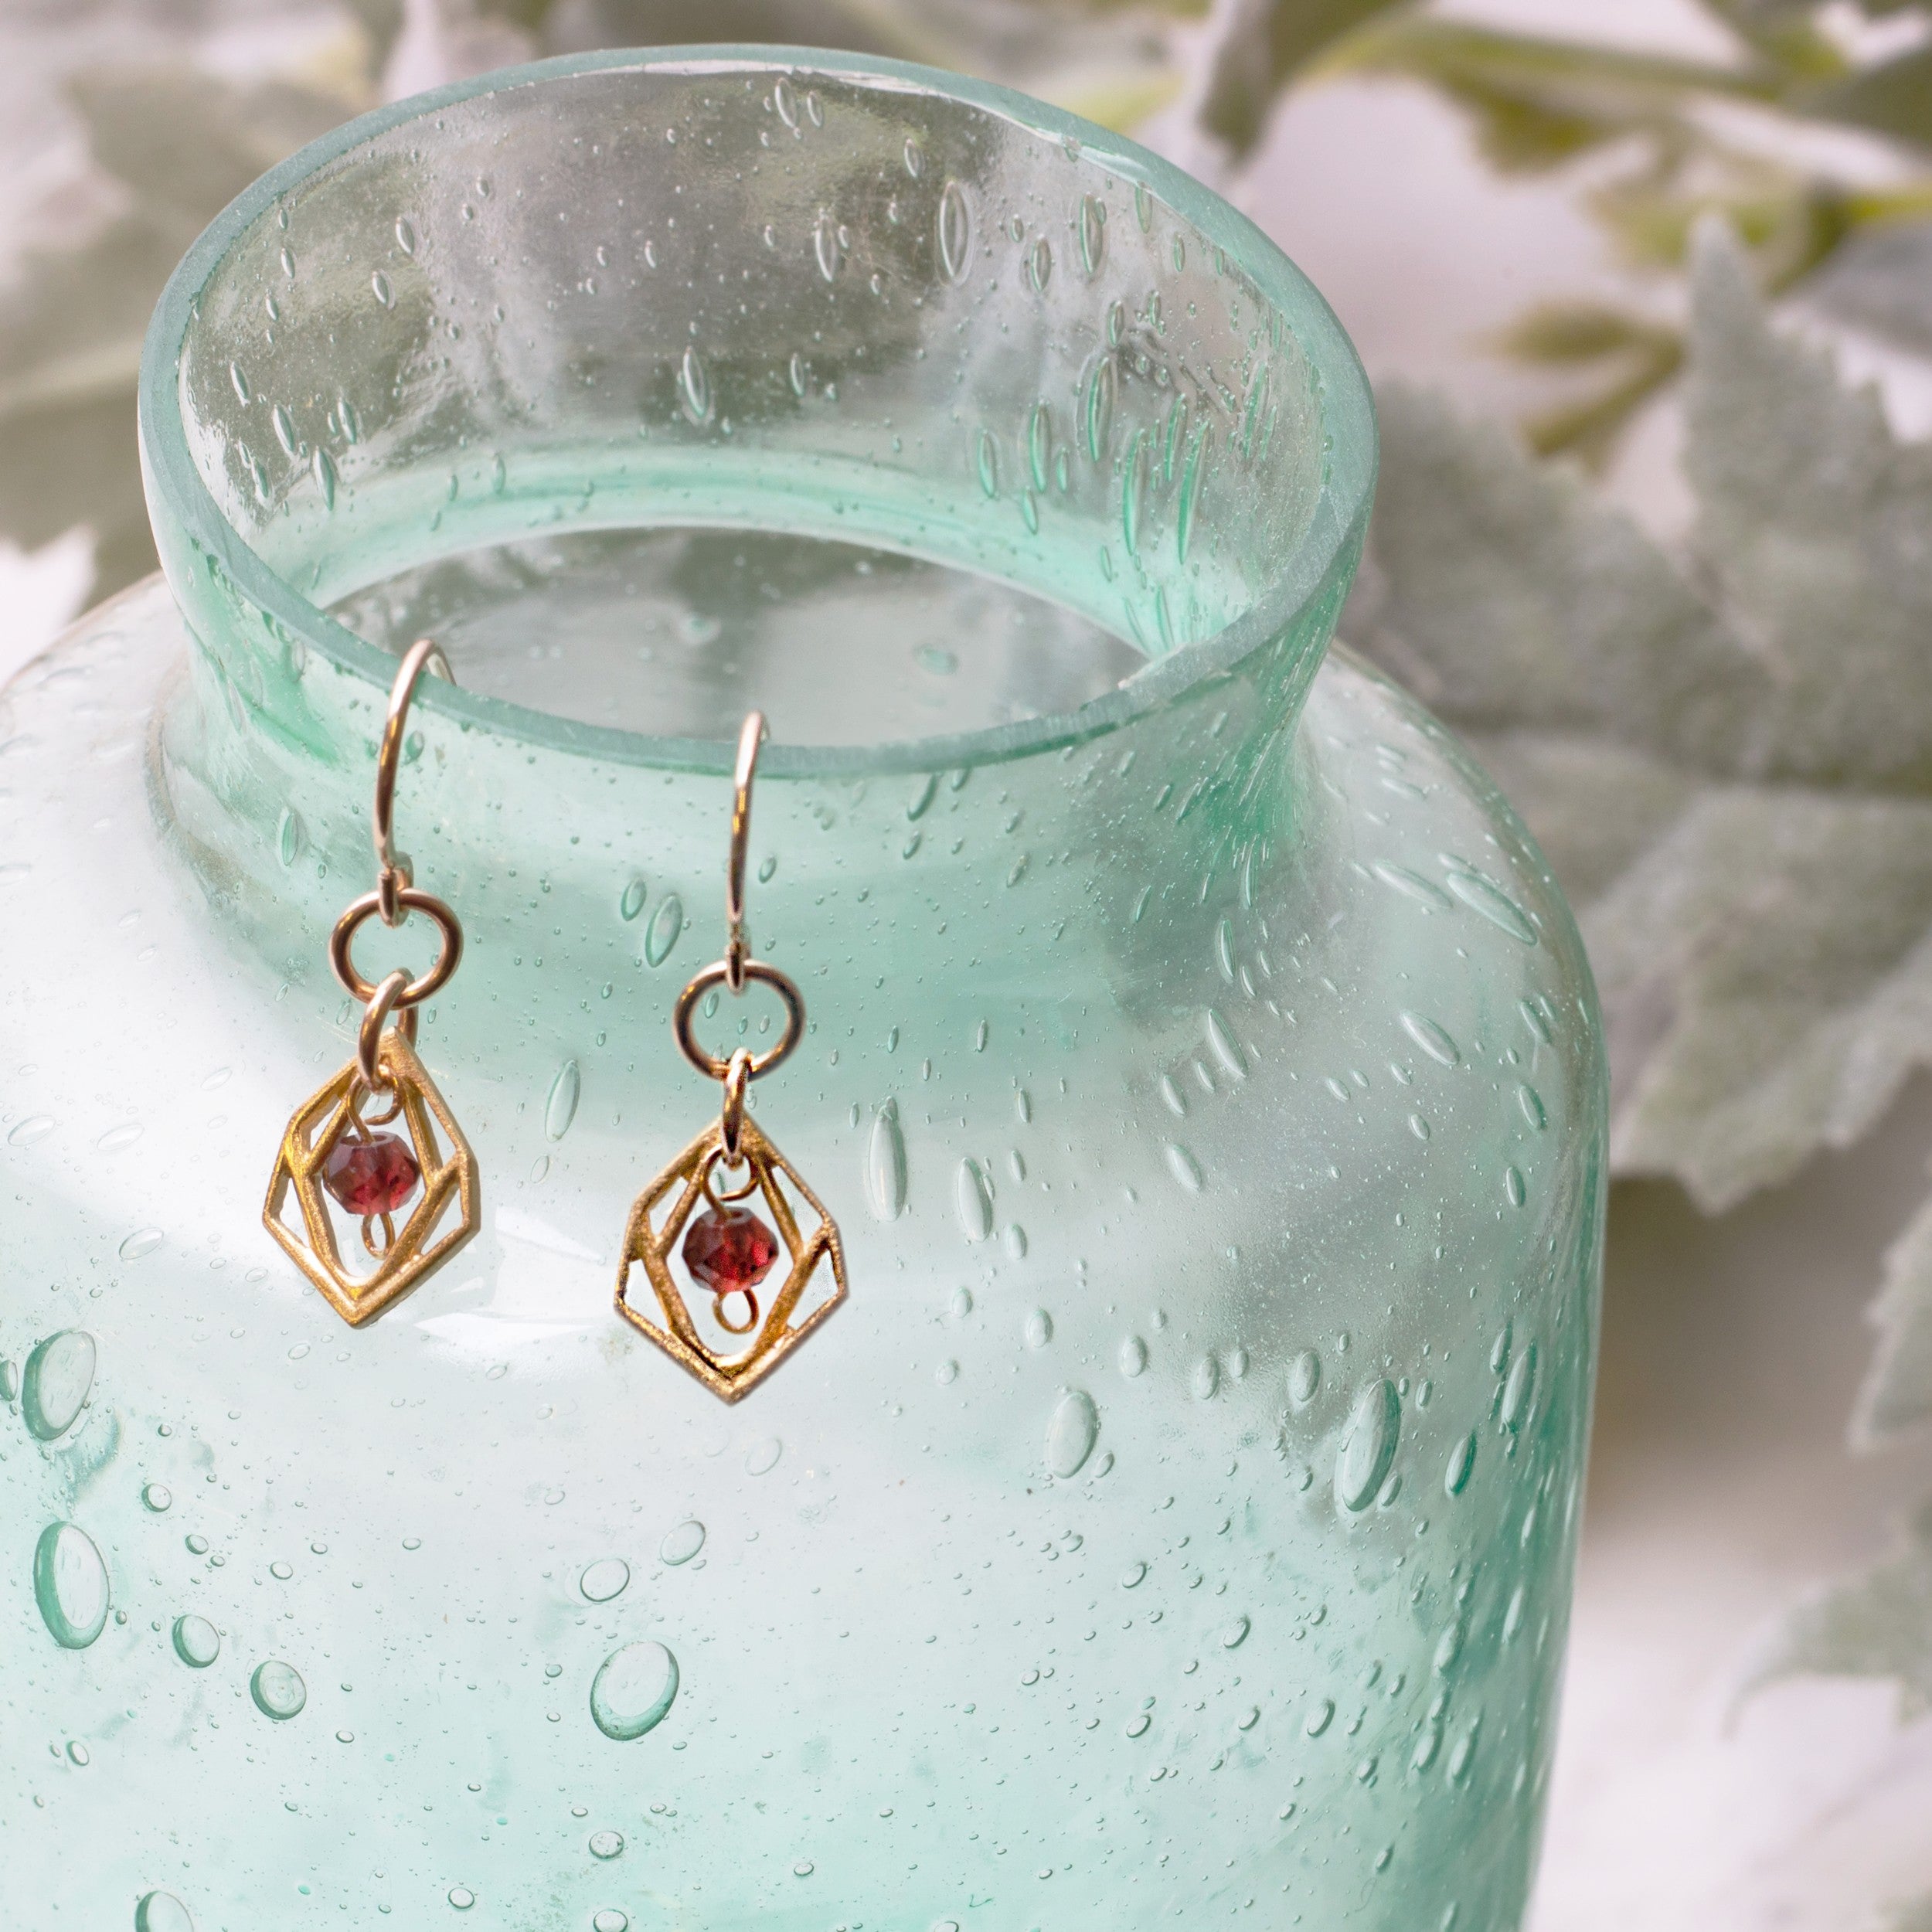
Gold Garnet Drop Earrings
Sale price
£68.39
Sold out
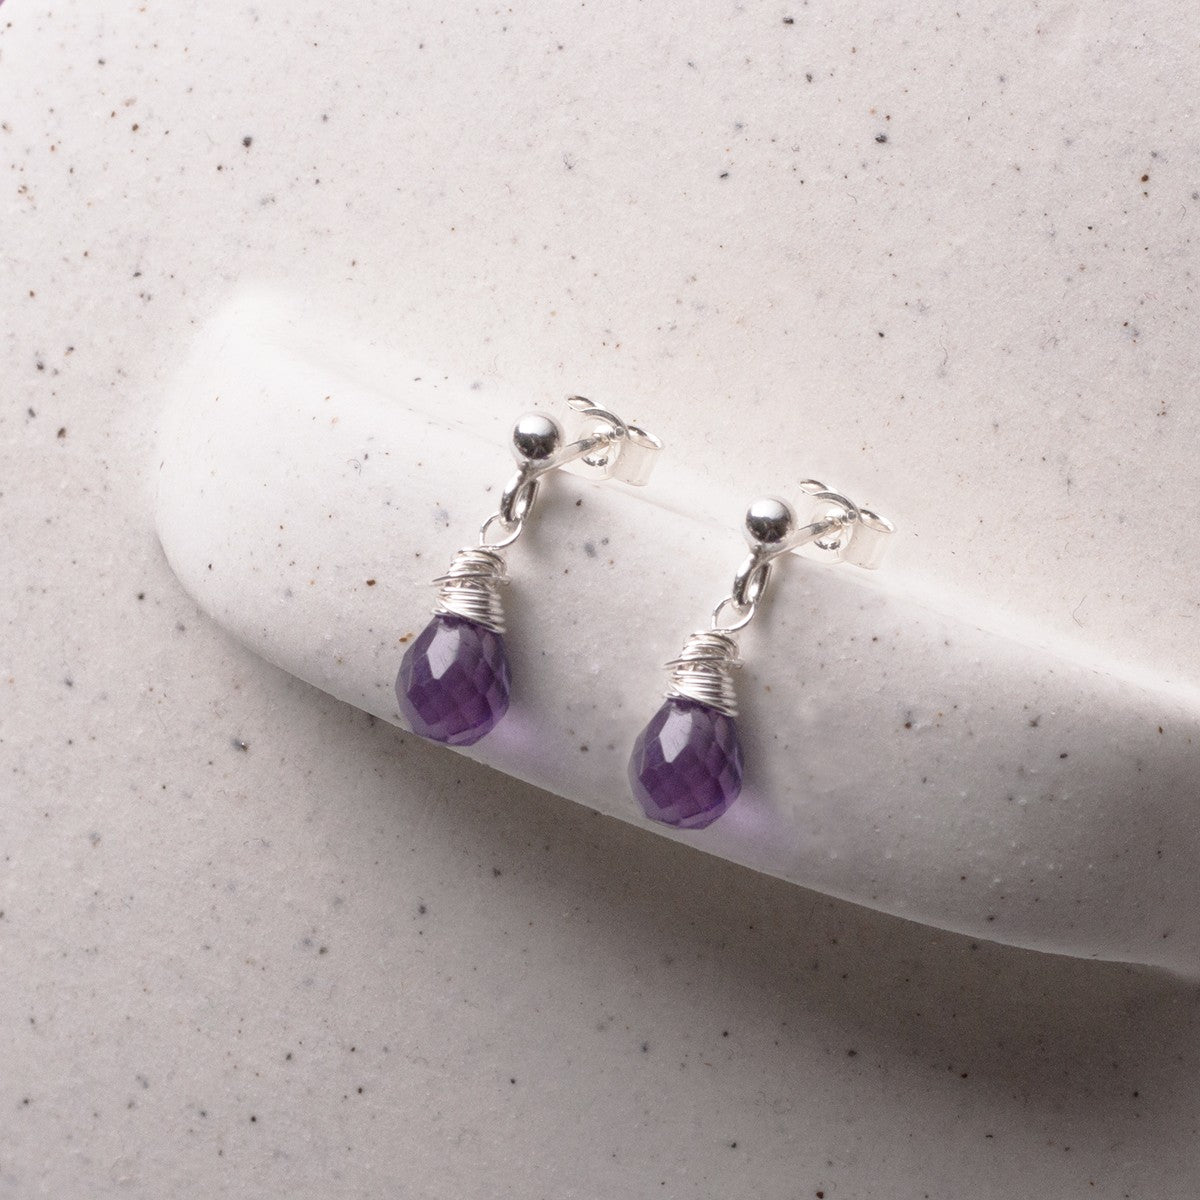
Amethyst Briolette Stud Earrings
Sale price
£27.79
+ Quick add
Lotus Flower & Rainbow Moonstone Threader Earrings
Sale price
£45.96
Sold out
Sodalite & Mother Of Pearl Necklace
Sale price
£34.25
Sold out
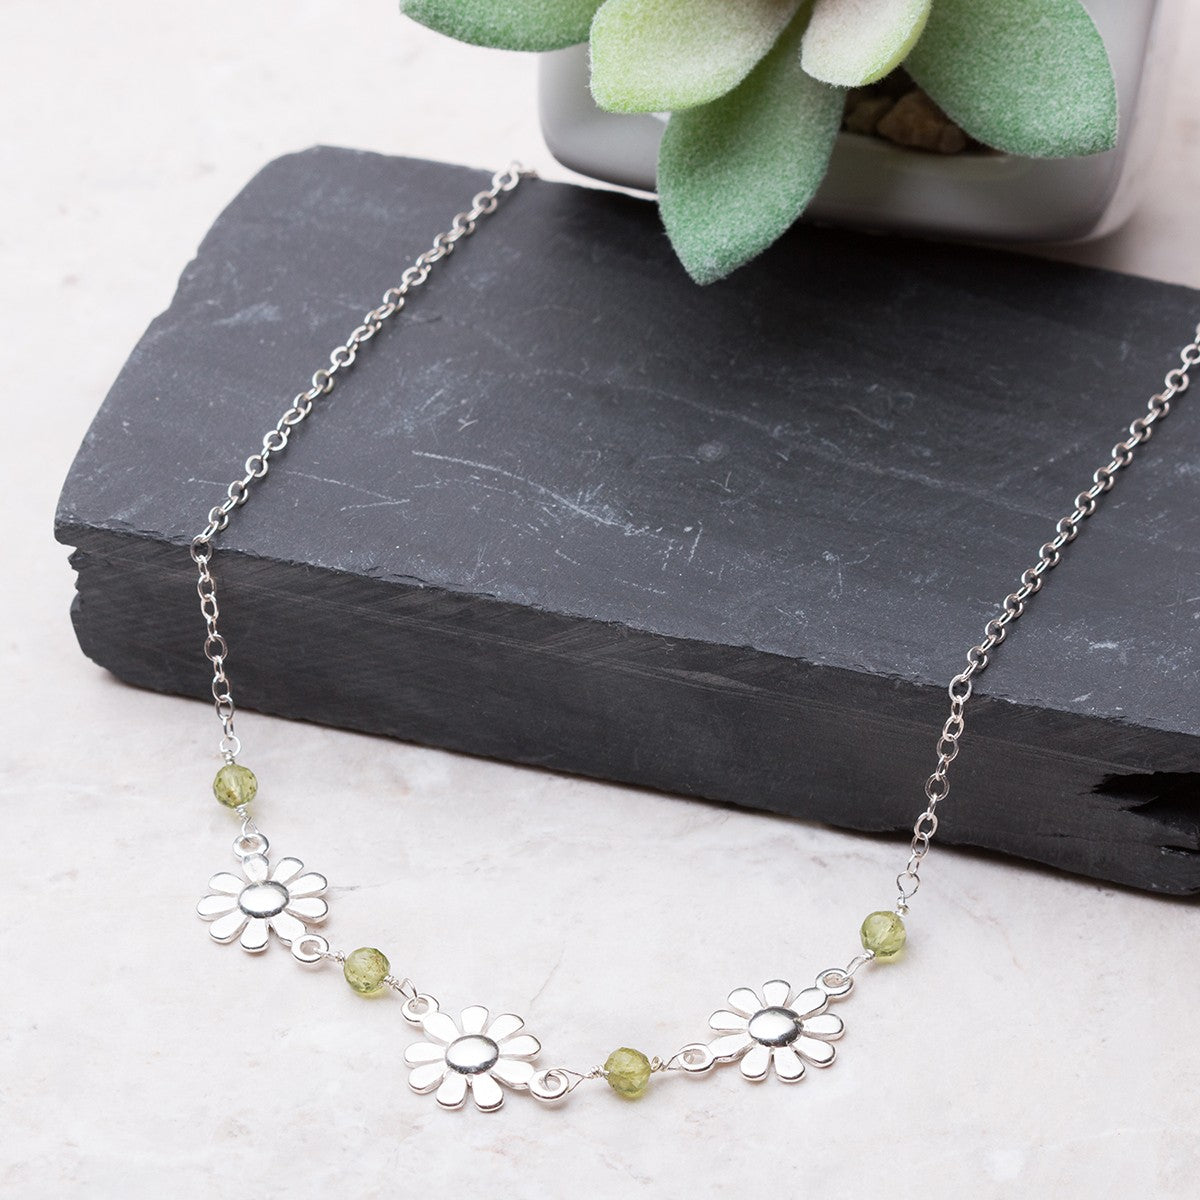
Peridot Daisy Chain Necklace
Sale price
£41.42
+ Quick add
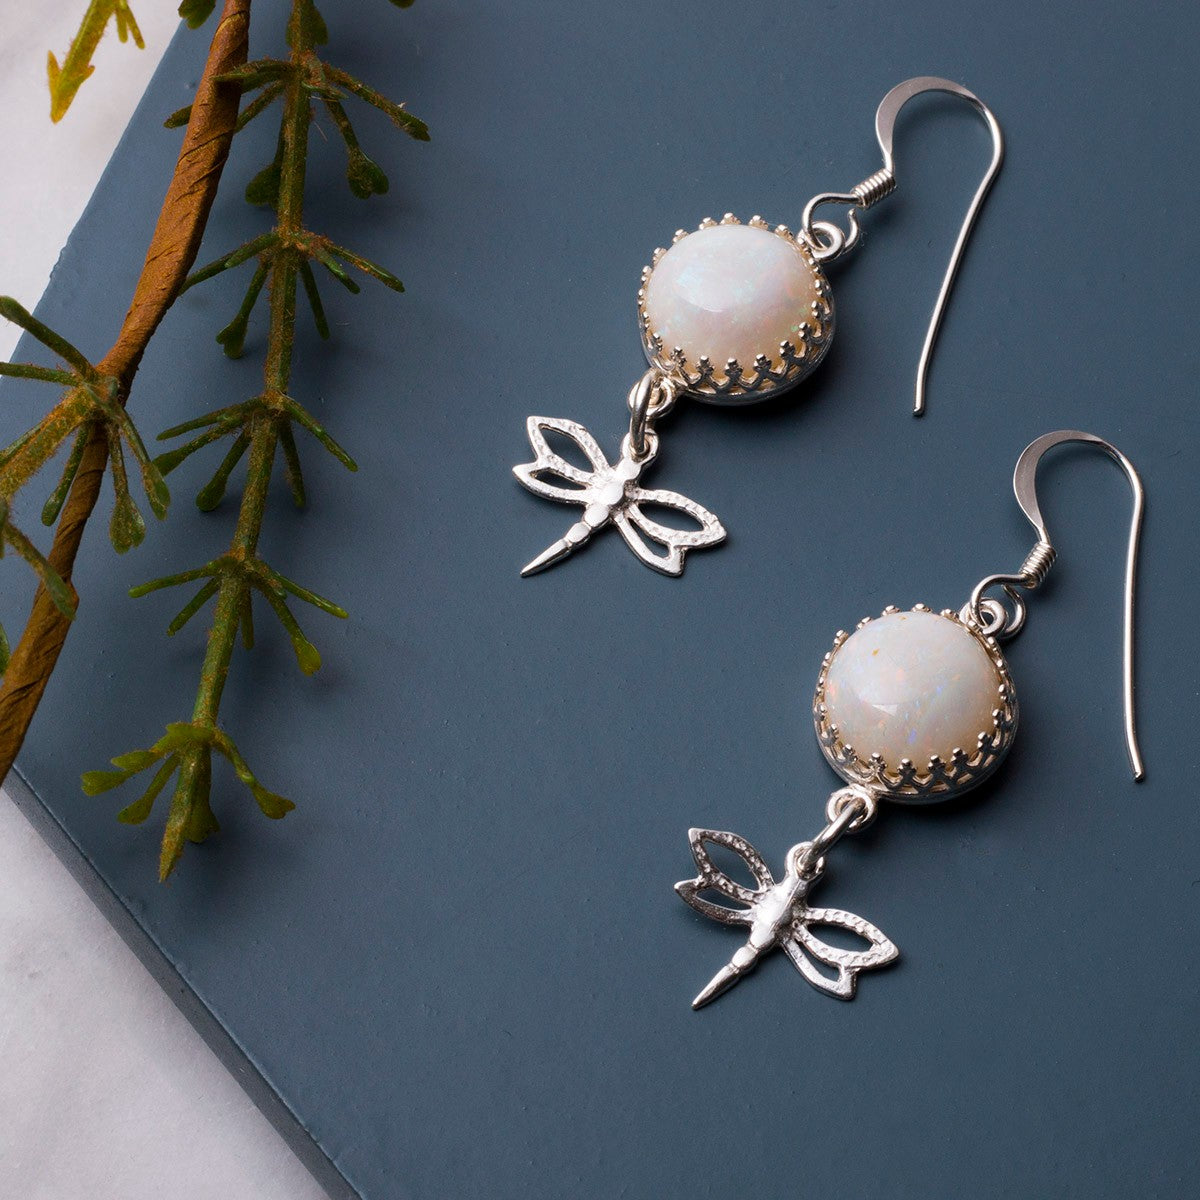
Opal & Dragonfly Earrings
Sale price
£40.98
+ Quick add
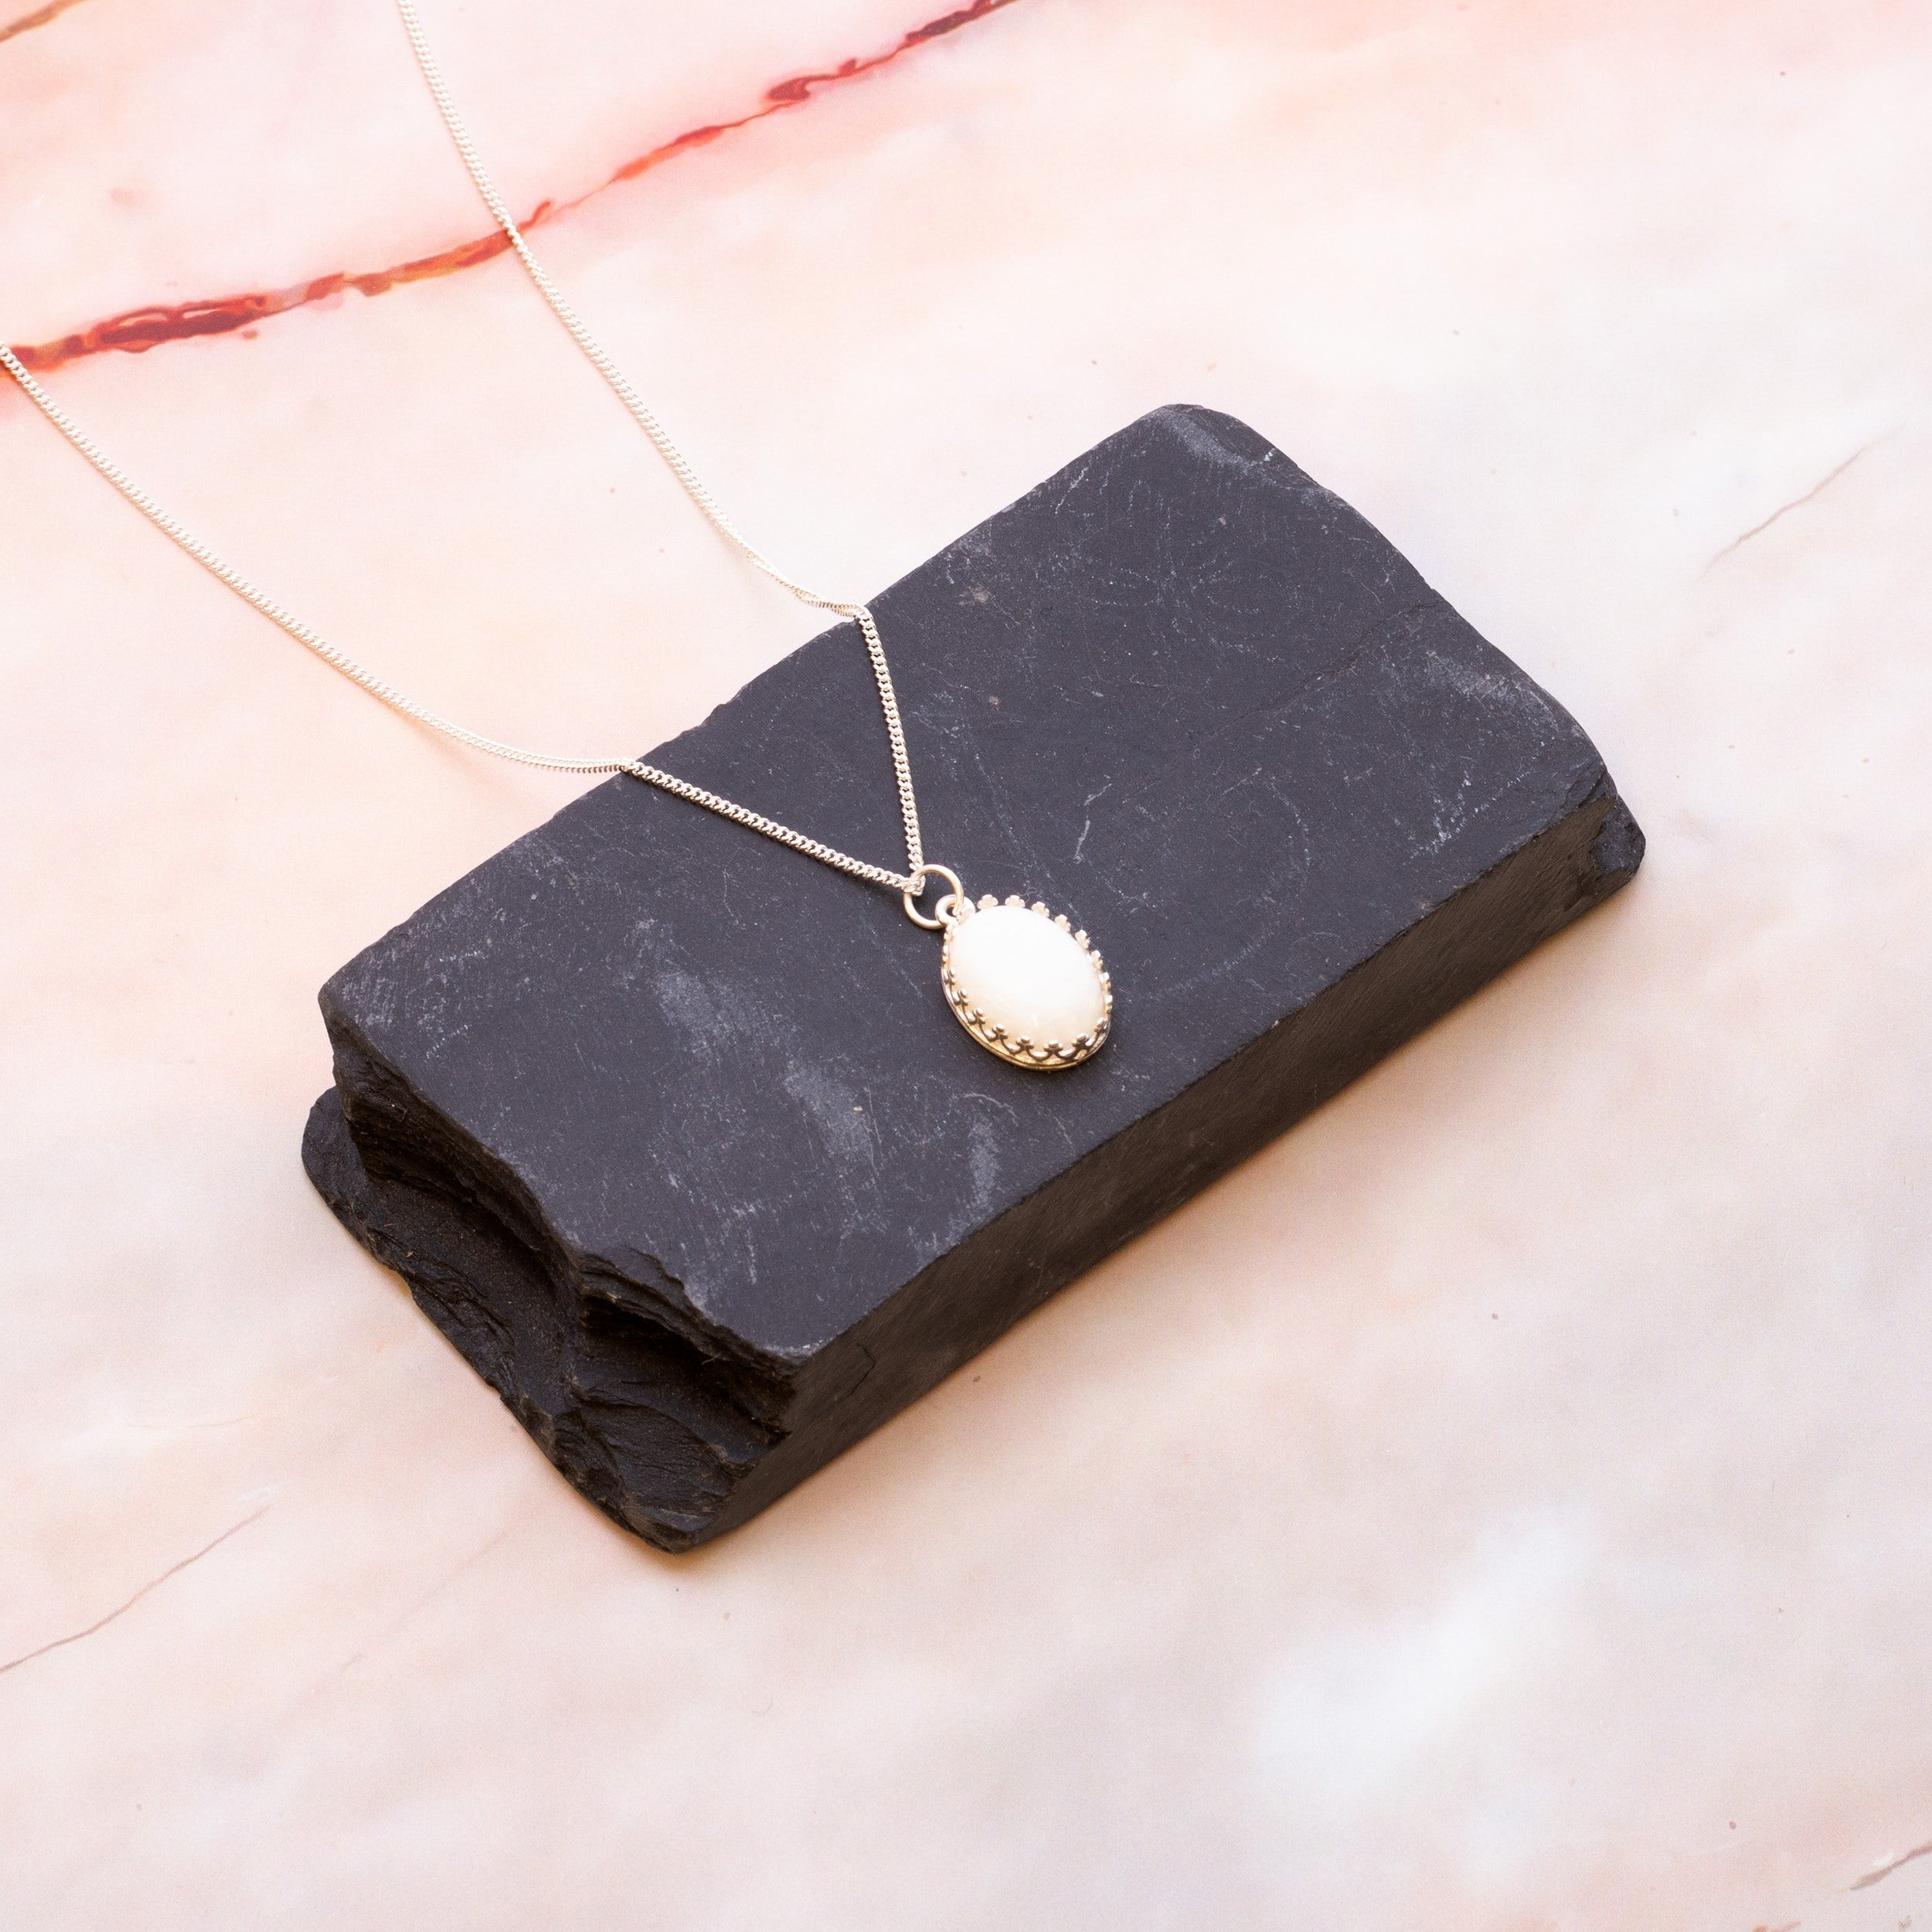
Opal Sterling Silver Necklace
Sale price
£37.57
+ Quick add
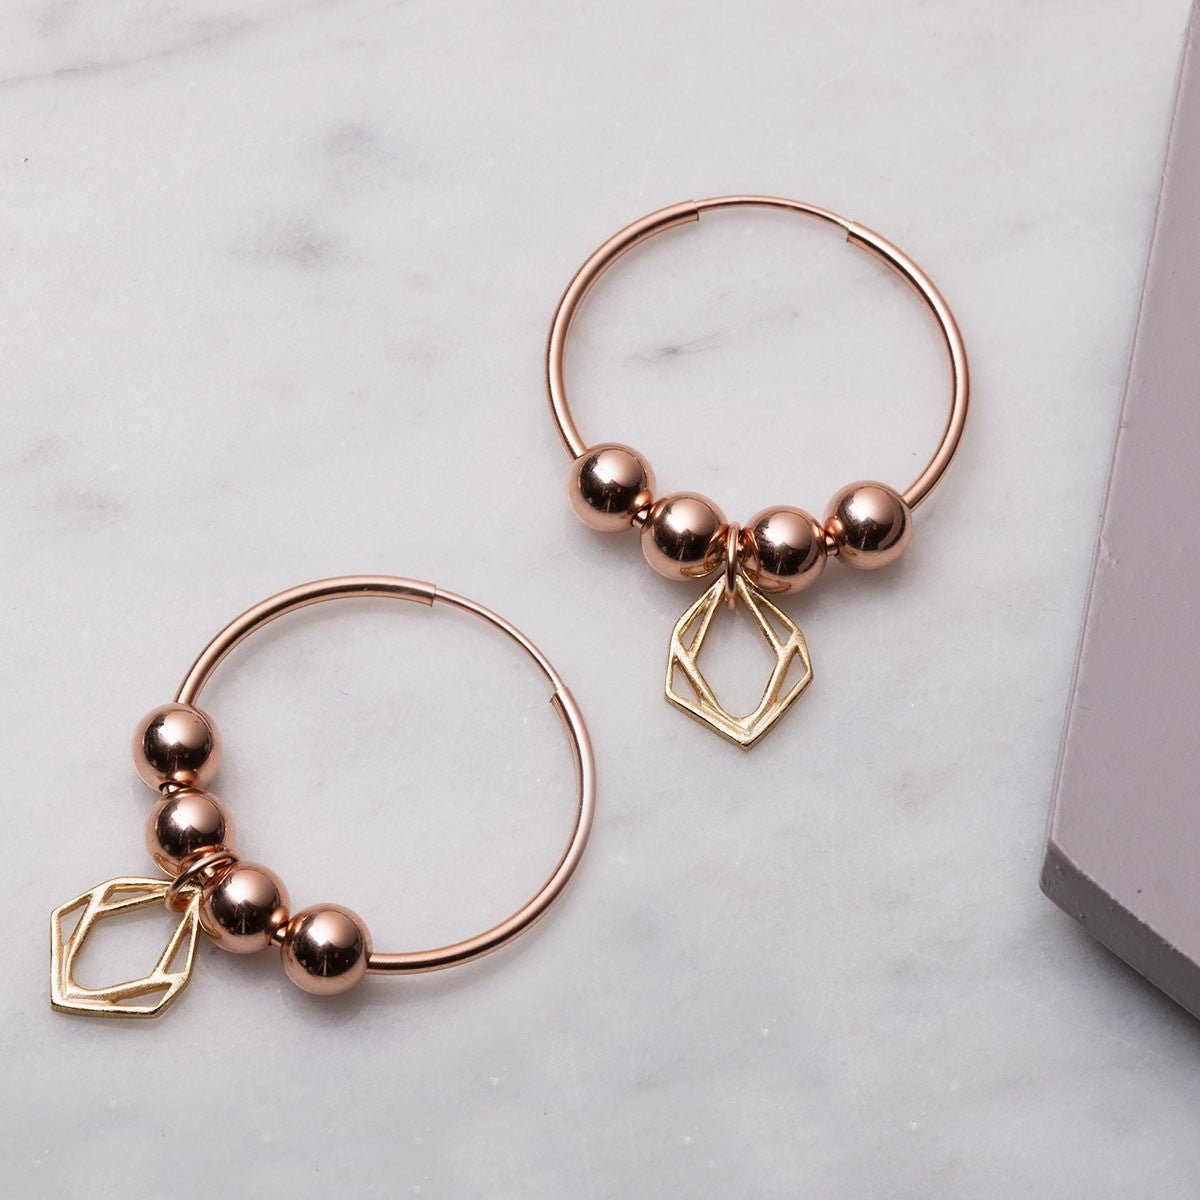
Rose Gold & Diamond Hoop Earrings
Sale price
£54.59
Sold out
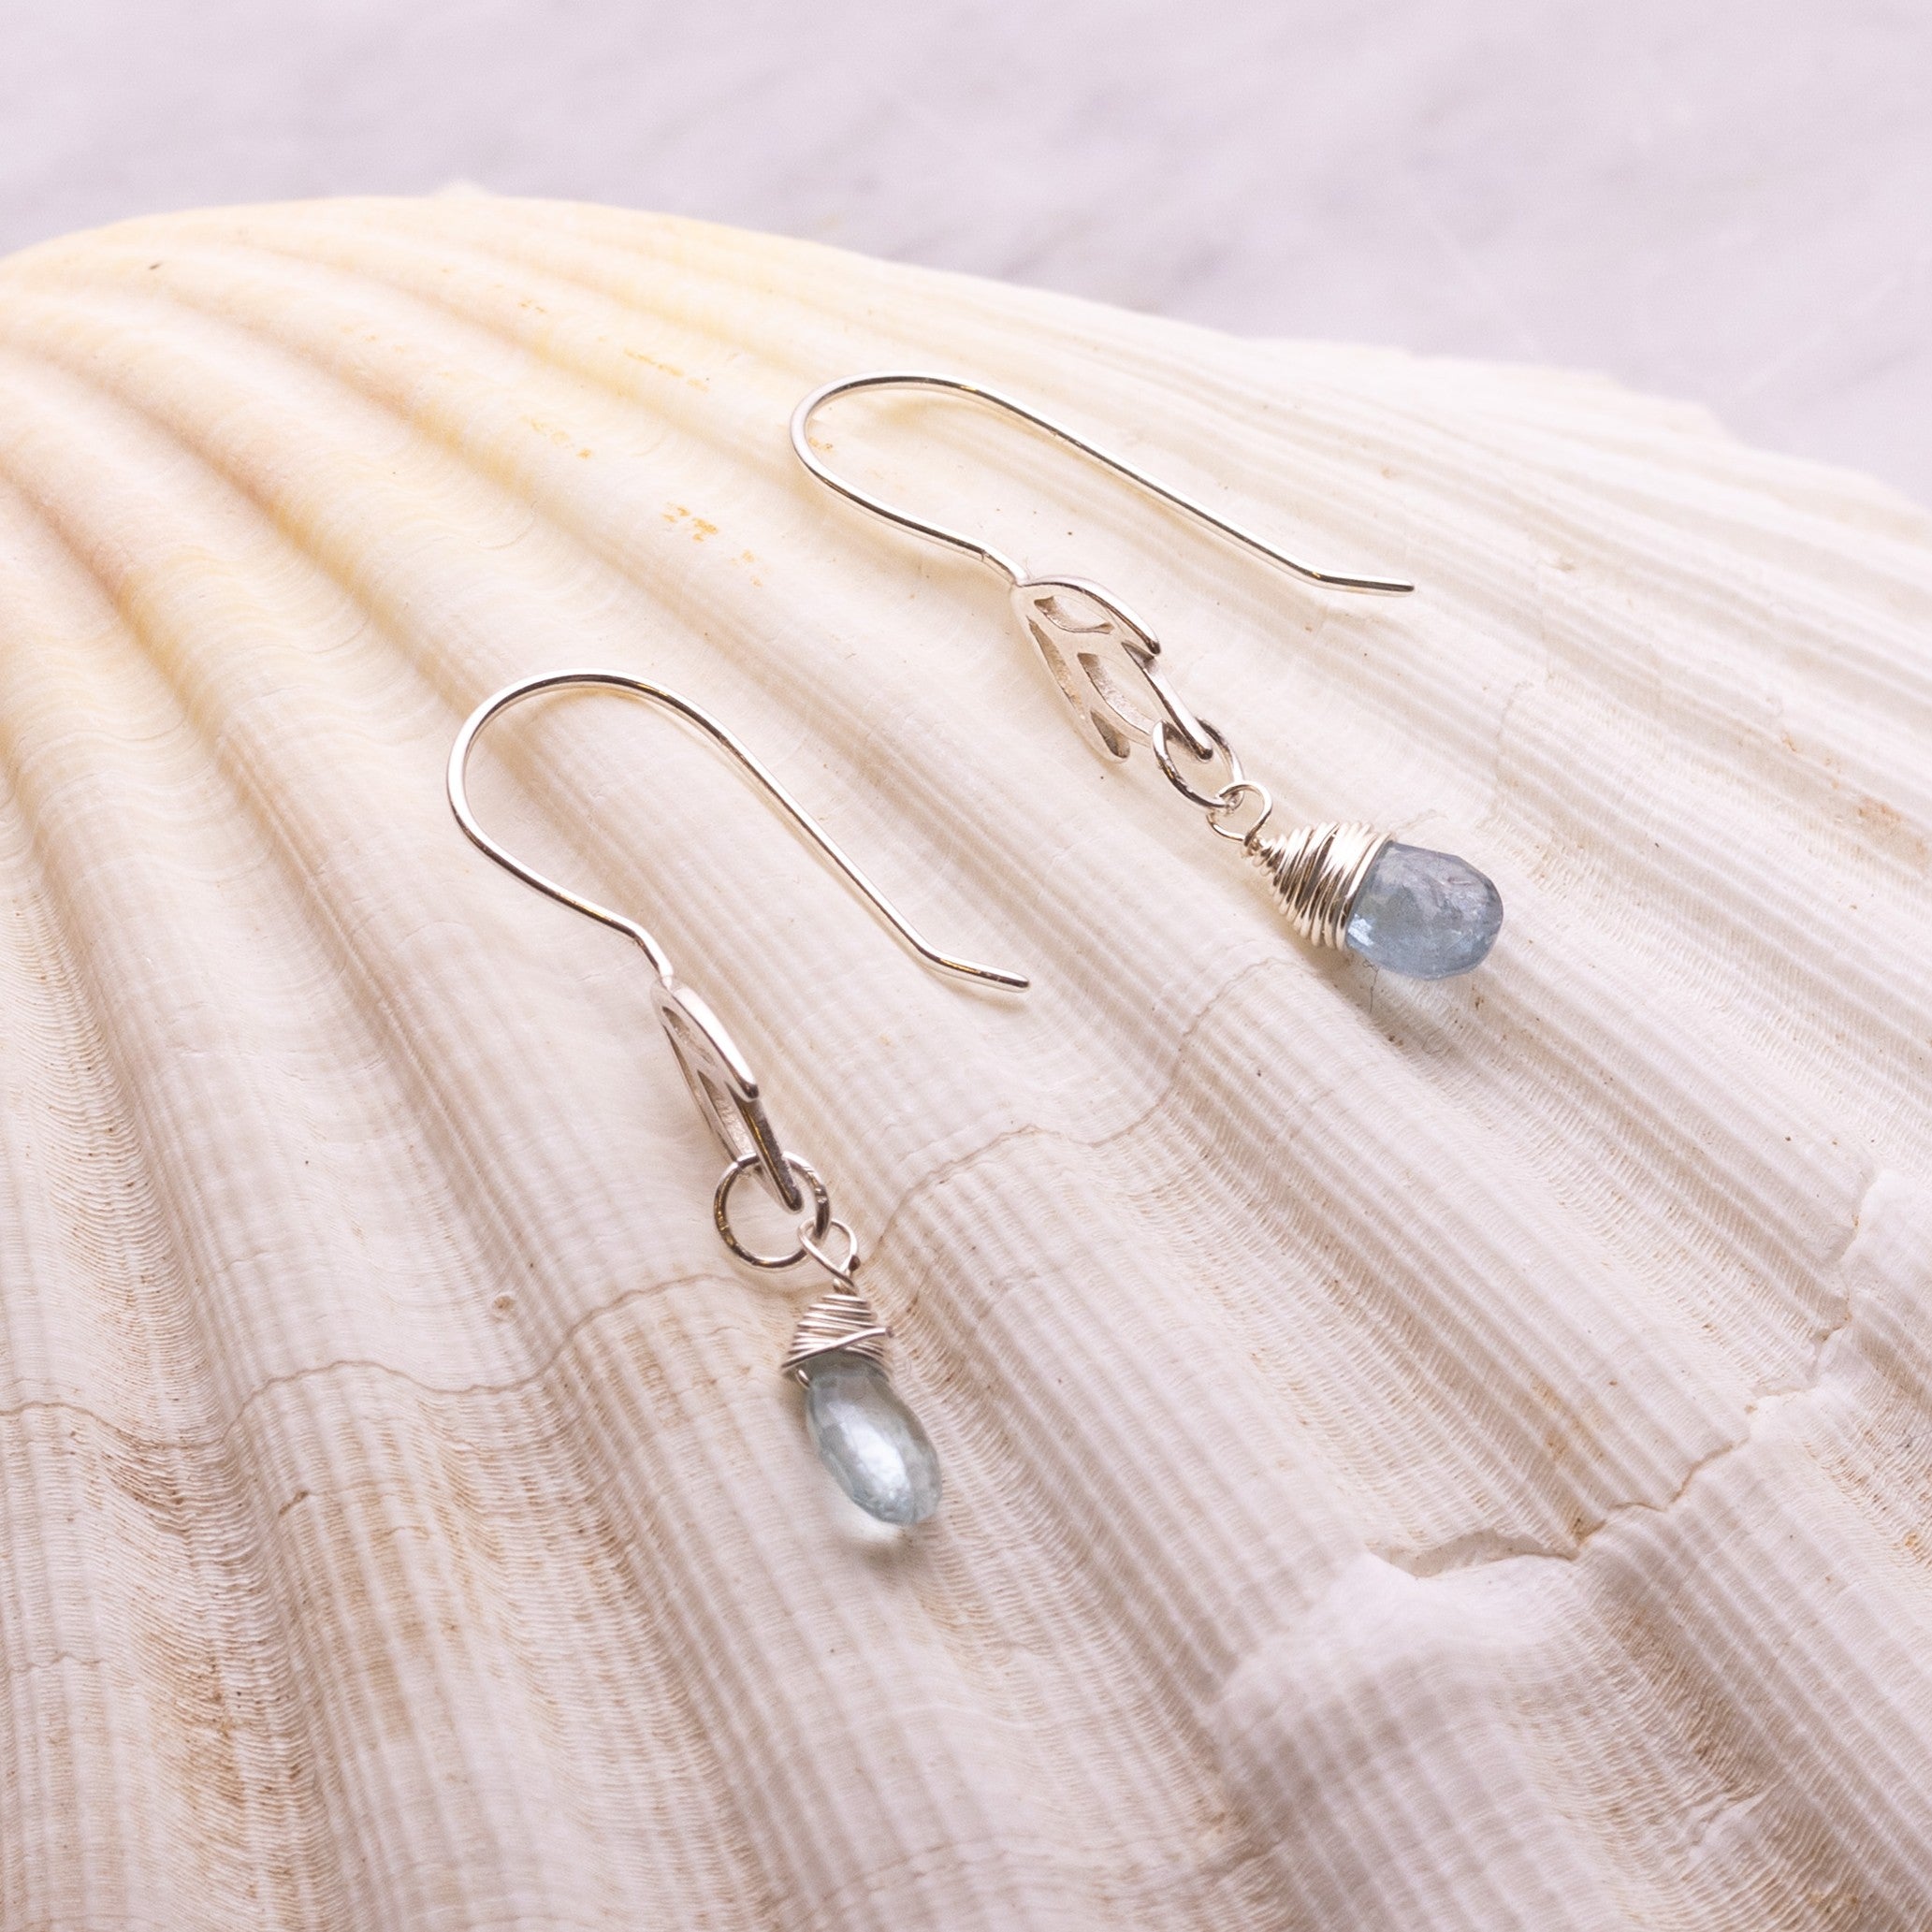
Aquamarine Briolette Iris Earrings
Sale price
£25.88
+ Quick add
Aquamarine and Geo Charm Earrings
Sale price
£18.52
+ Quick add
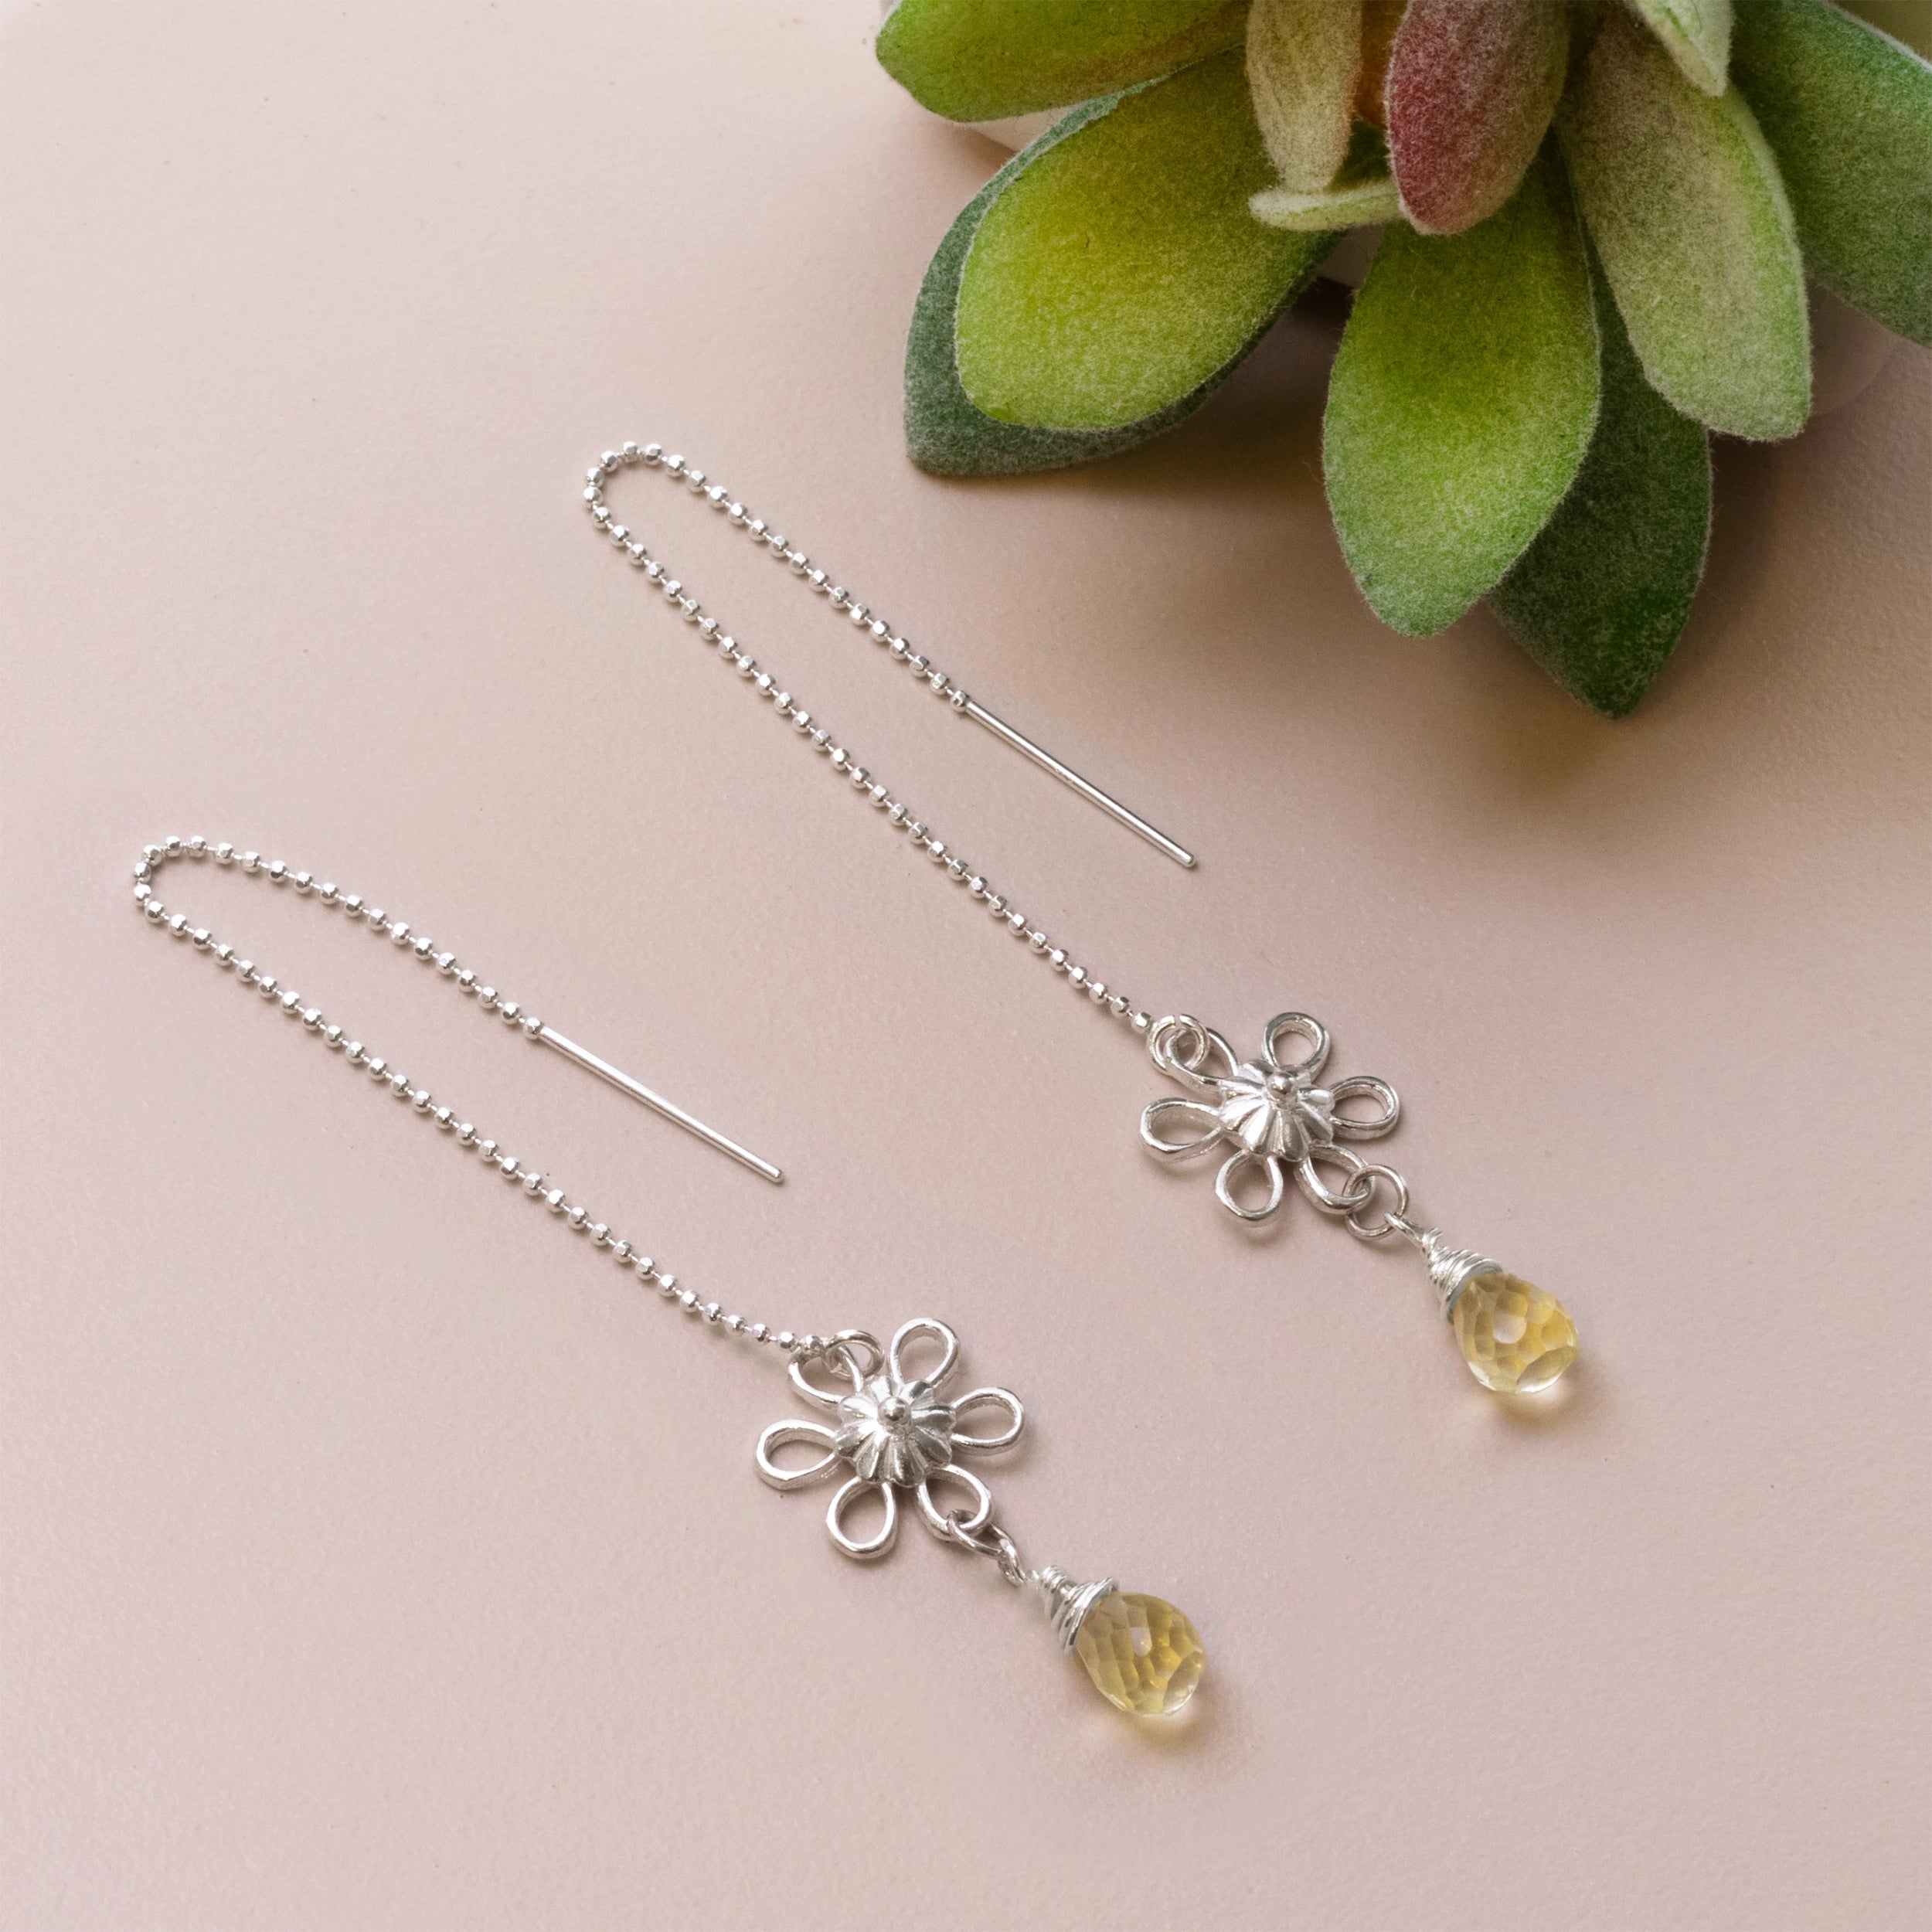
Spring Flower And Lemon Quartz Threader Earrings
Sale price
£37.97
Sold out
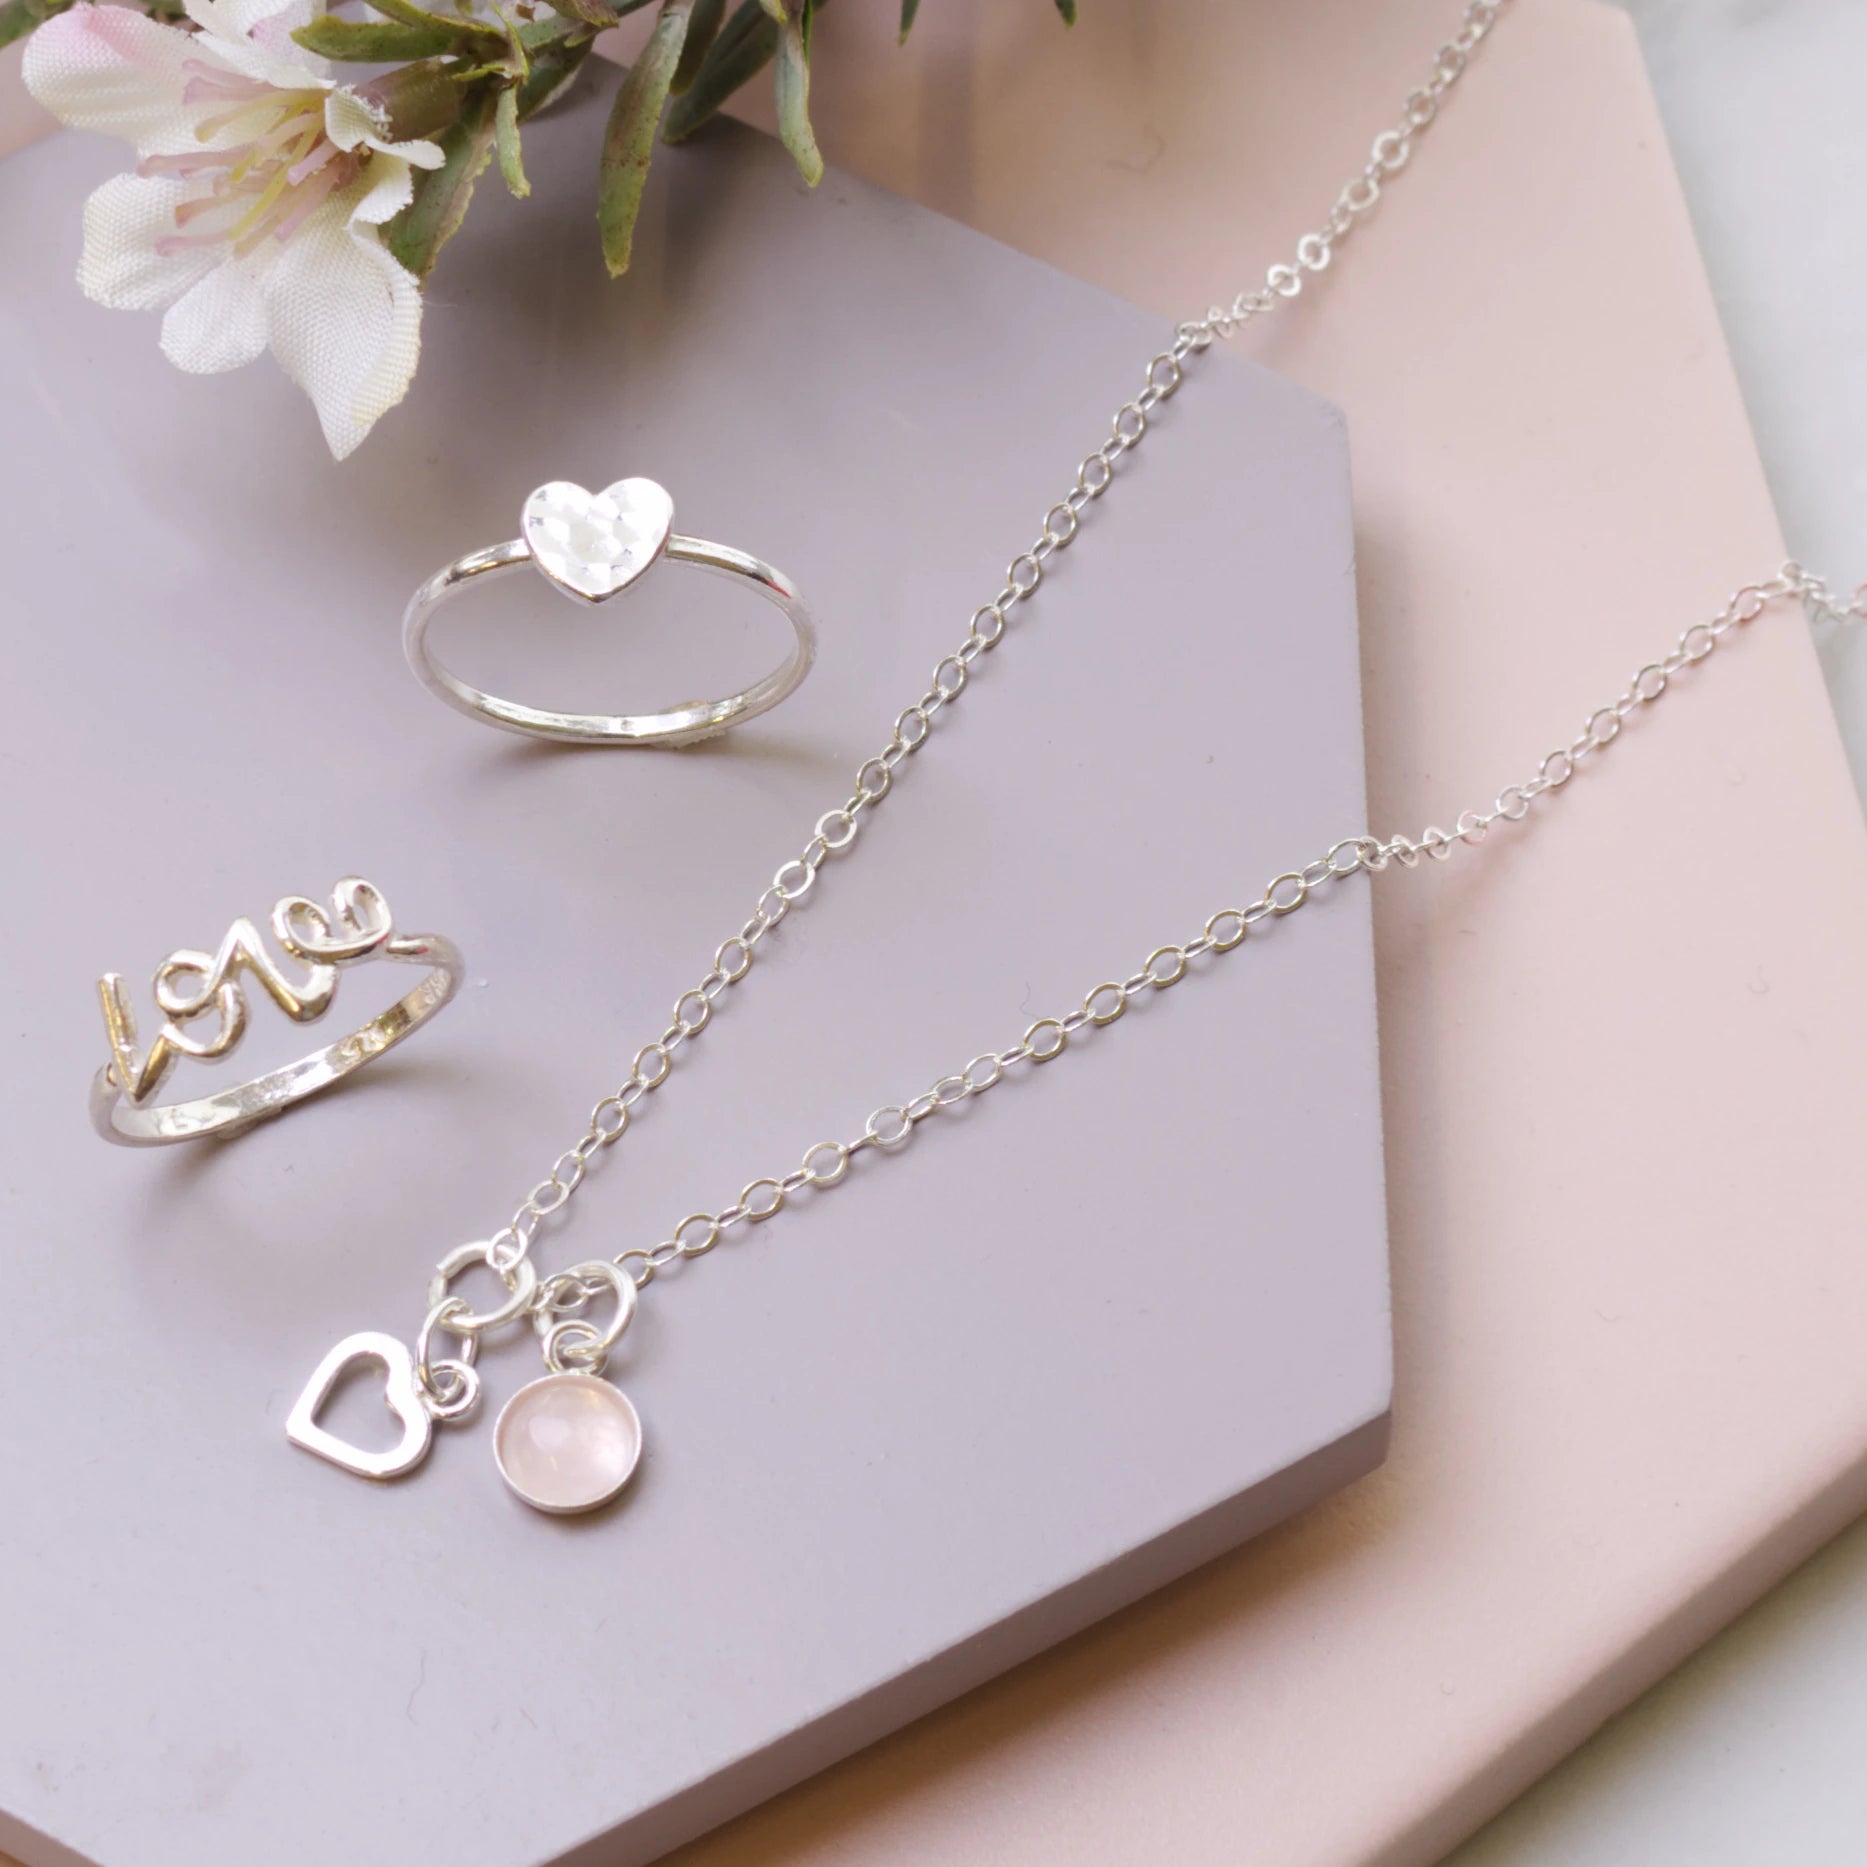
Rose Quartz & Heart Pendant Necklace
Sale price
£26.09
Sold out
Wire Wrapped Aqua Blue Chalcedony Briolette Earrings
Sale price
£17.39
1 / 3