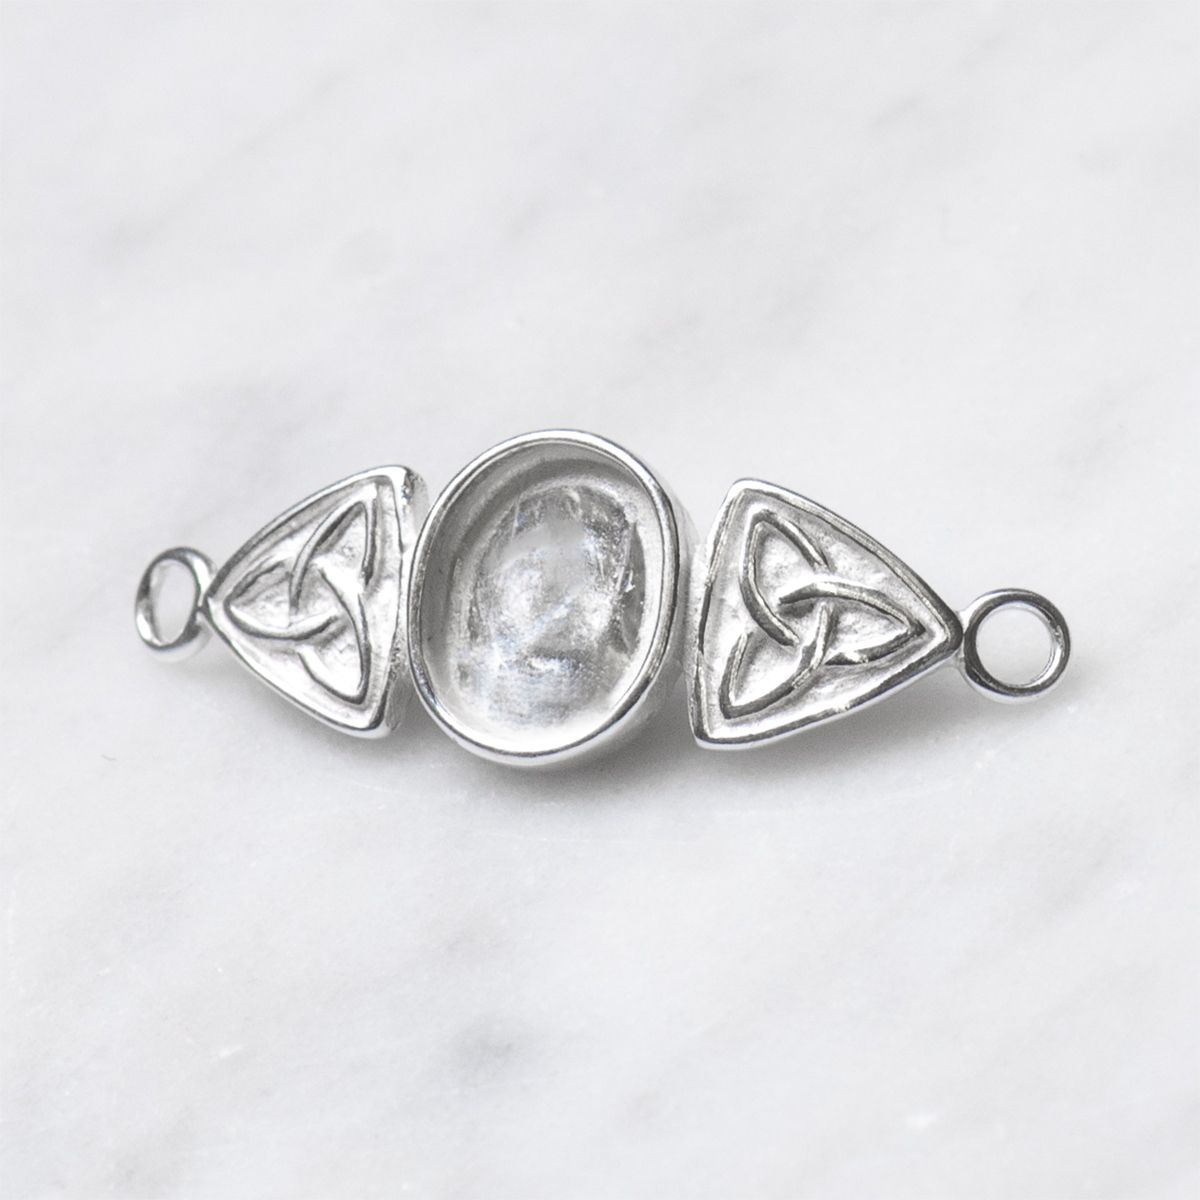
Jade Celtic Knot Earrings
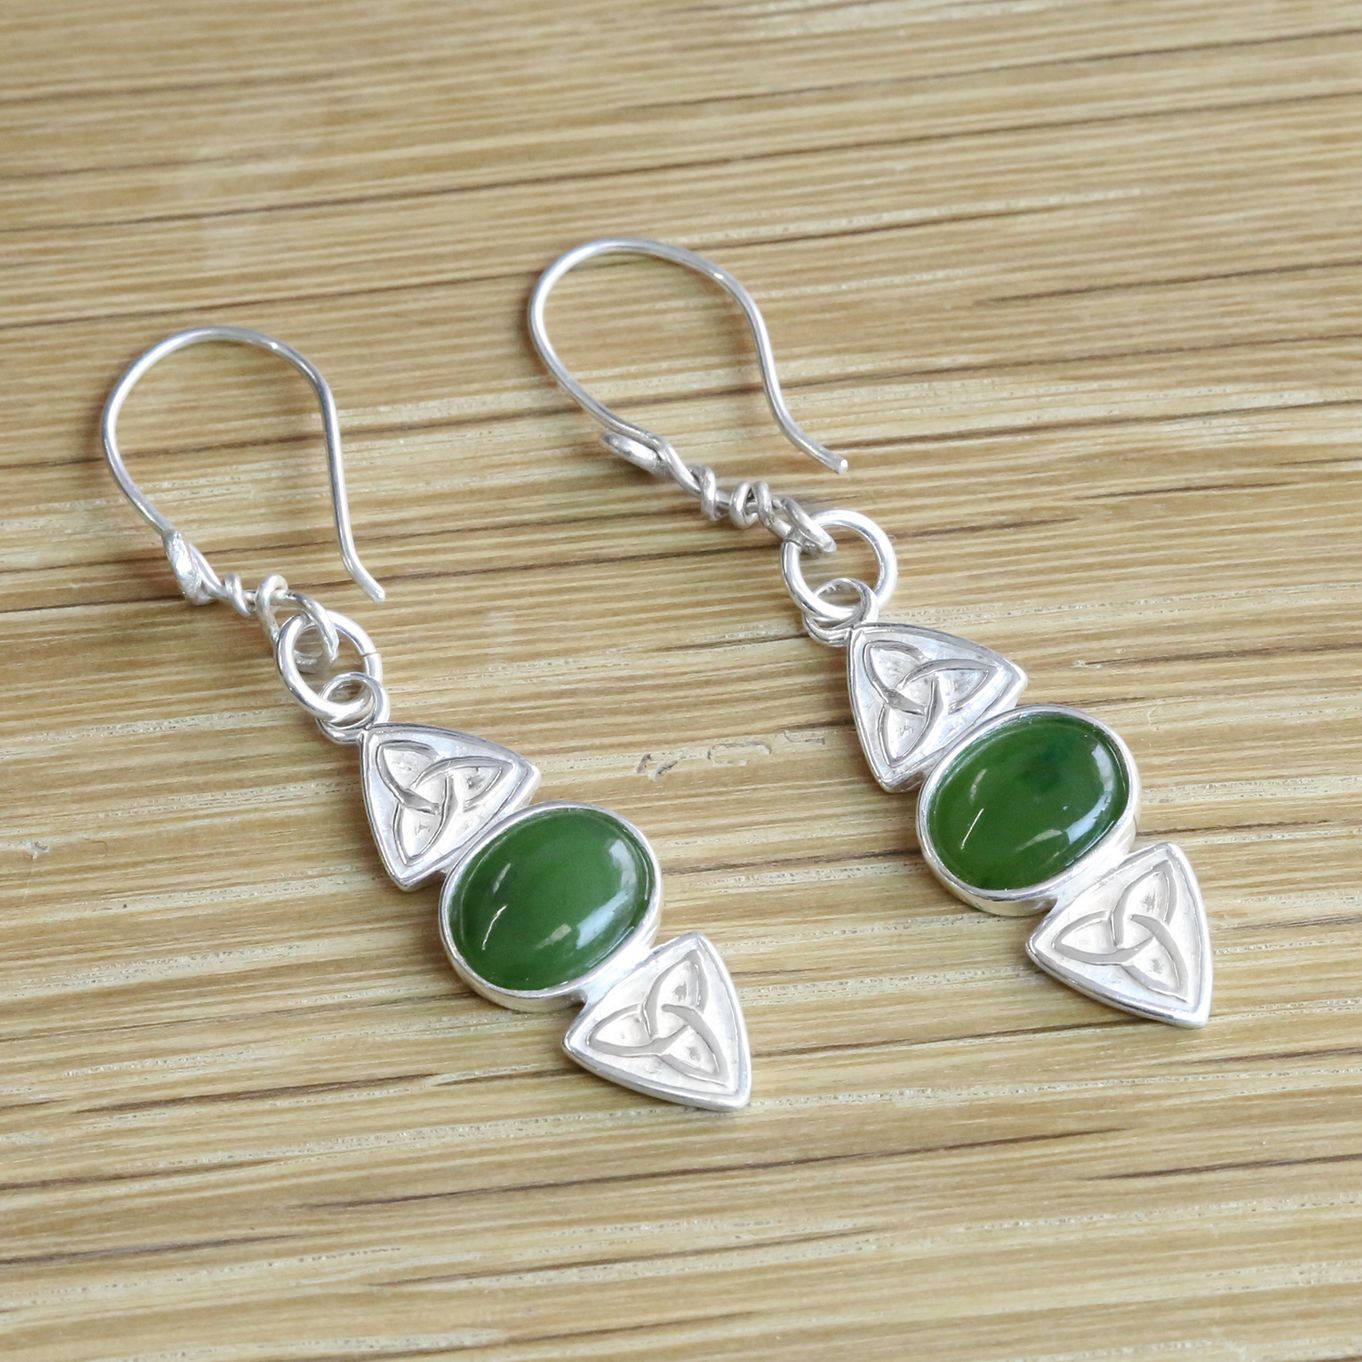
The Celtic knot setting we used for this design is actually intended as a bangle top but we decided to customise the design by removing a loop to make an earring drop.
A lot of jewellery settings and charms can be customised and used in different ways to create new designs, perhaps by soldering on a bezel cup to set a stone on a charm, cutting a loop off or soldering to another design to create something different. Looking at readily made findings in a different way and thinking of how else they could be used will open up new design possibilities for you.
This project is ideal for beginners who have a few workshop tools, but does not involve any soldering.
Step by step instructions
Start by using the piercing saw to cut off one of the loops on each of the Celtic knot settings. Using the saw will ensure a much neater and more accurate cut than using snips.
If you make a neat cut you won't need to finish the area very much at all, a quick file or smoothing with sanding sheets or polishing sheets will neaten it quickly.
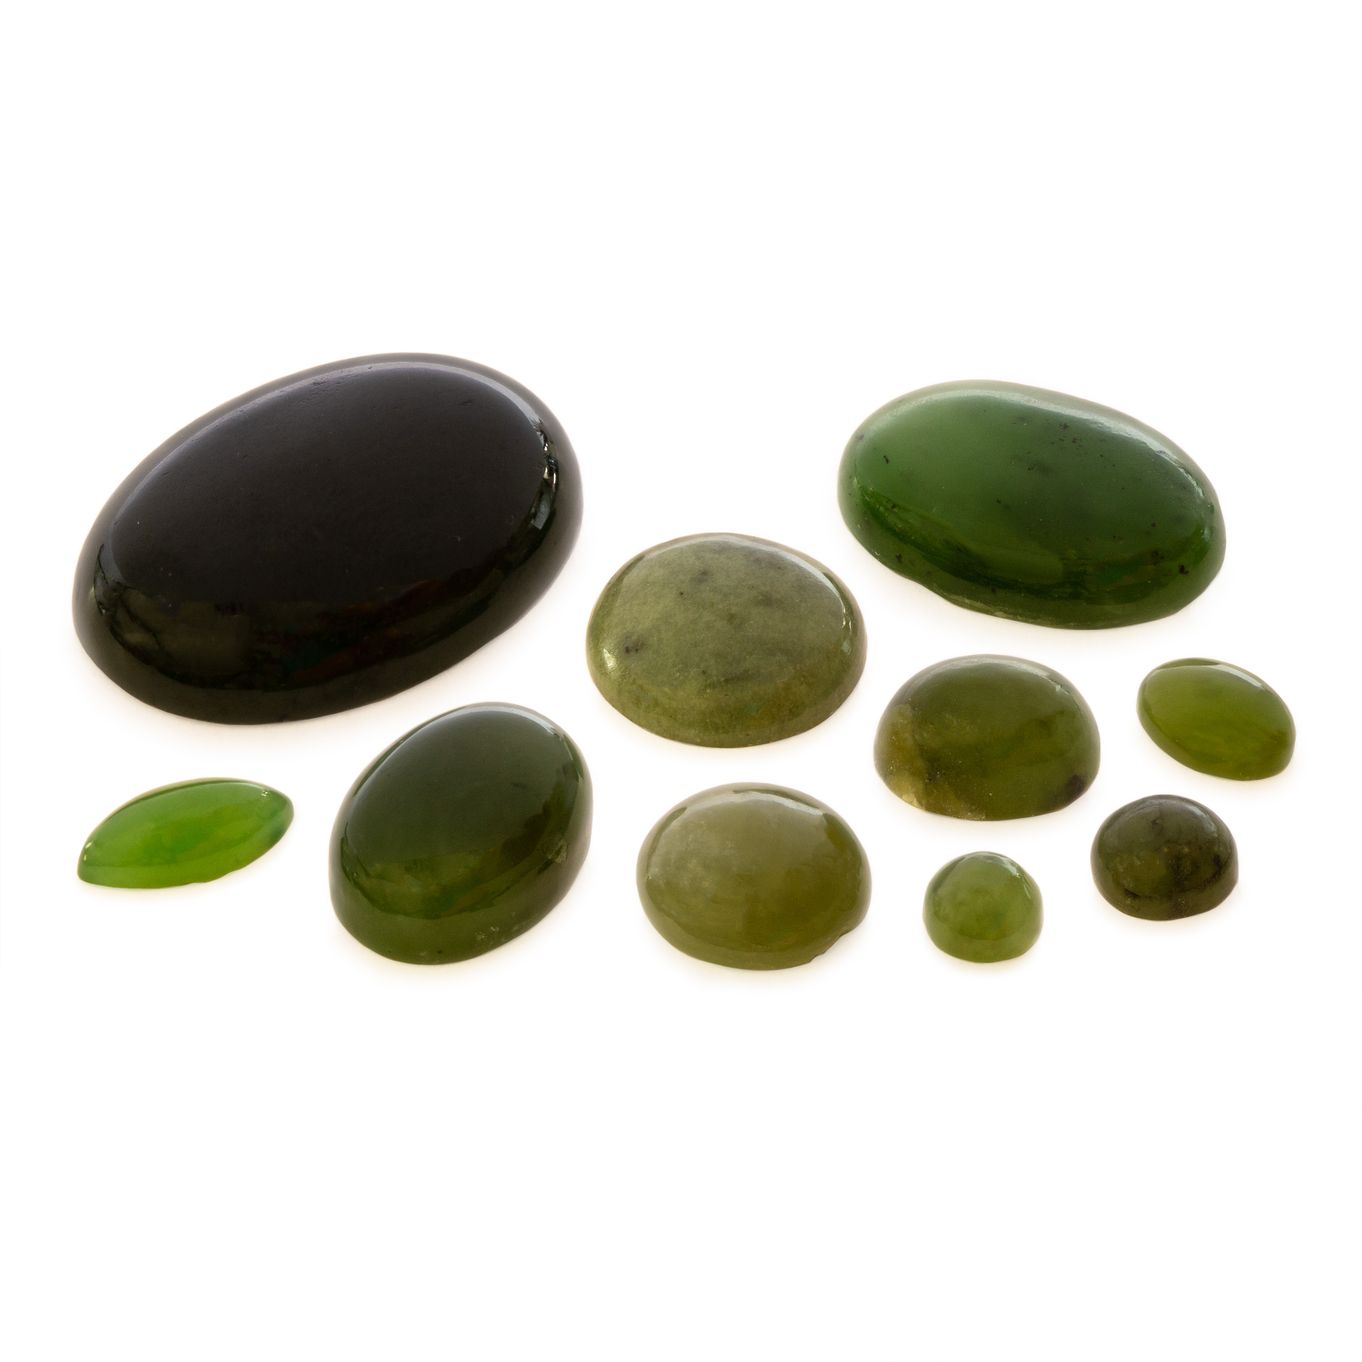
Now check that your stones fit the settings. If they don't quite fit well enough you can use a stone setting burr such as the ball burr to grind away a little of the inner edges of the wall of the bezel to allow the stone to sit comfortably in the setting.
Remove the stones from the setting
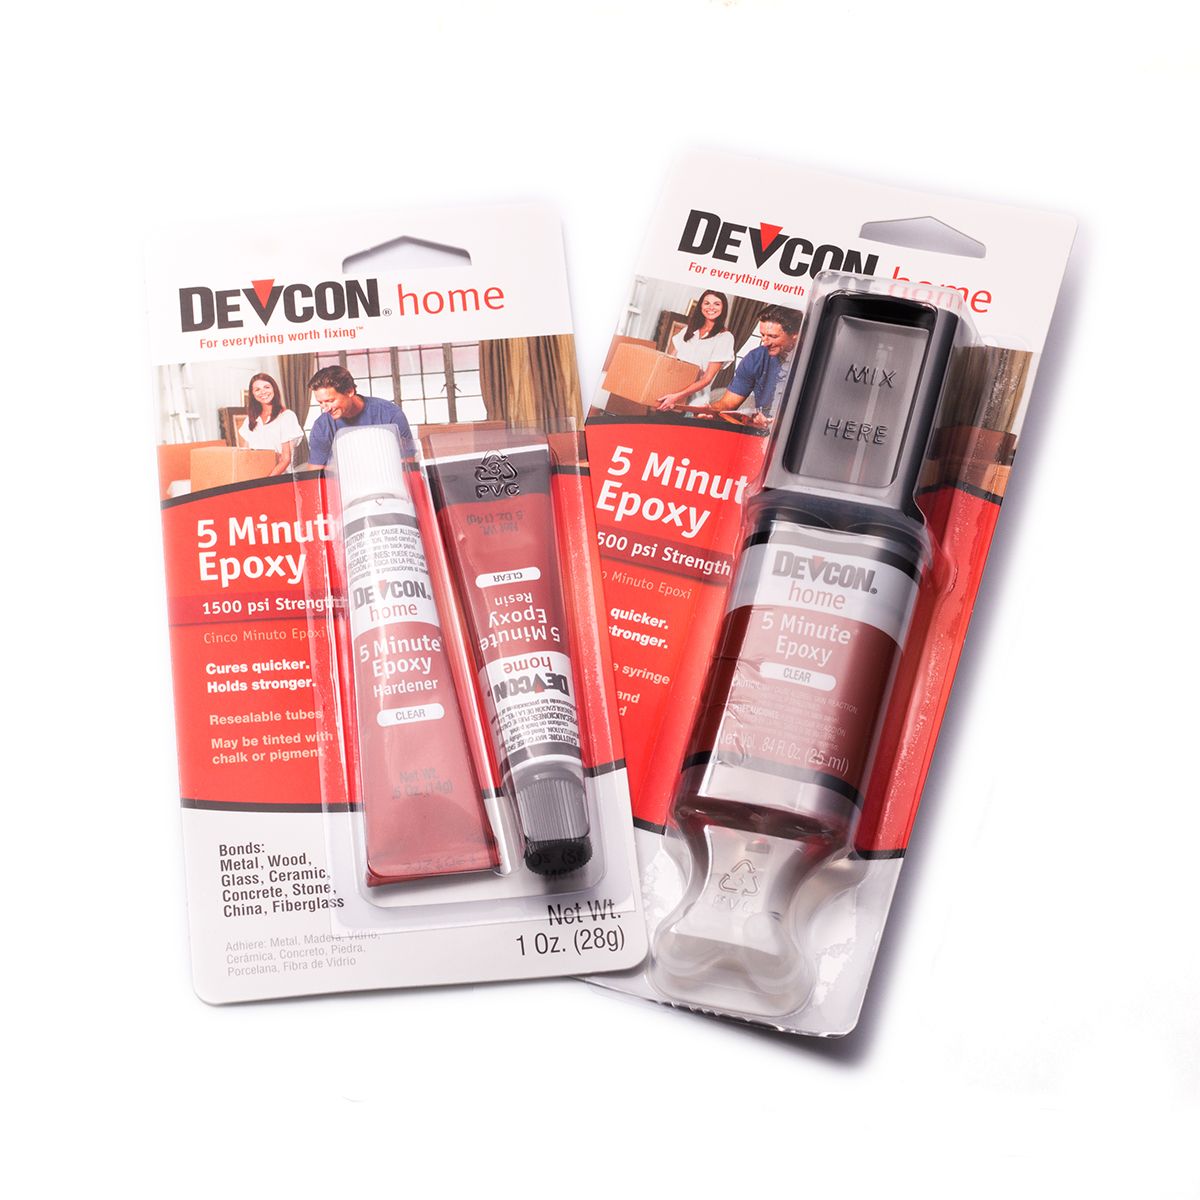
Use Devcon 5 Minute Epoxy Glue to adhere the stones to the settings. Scratch both surfaces (setting and stone bottoms) so that the glue has a rough surface to key onto and then set your stones. Wipe off excess glue.
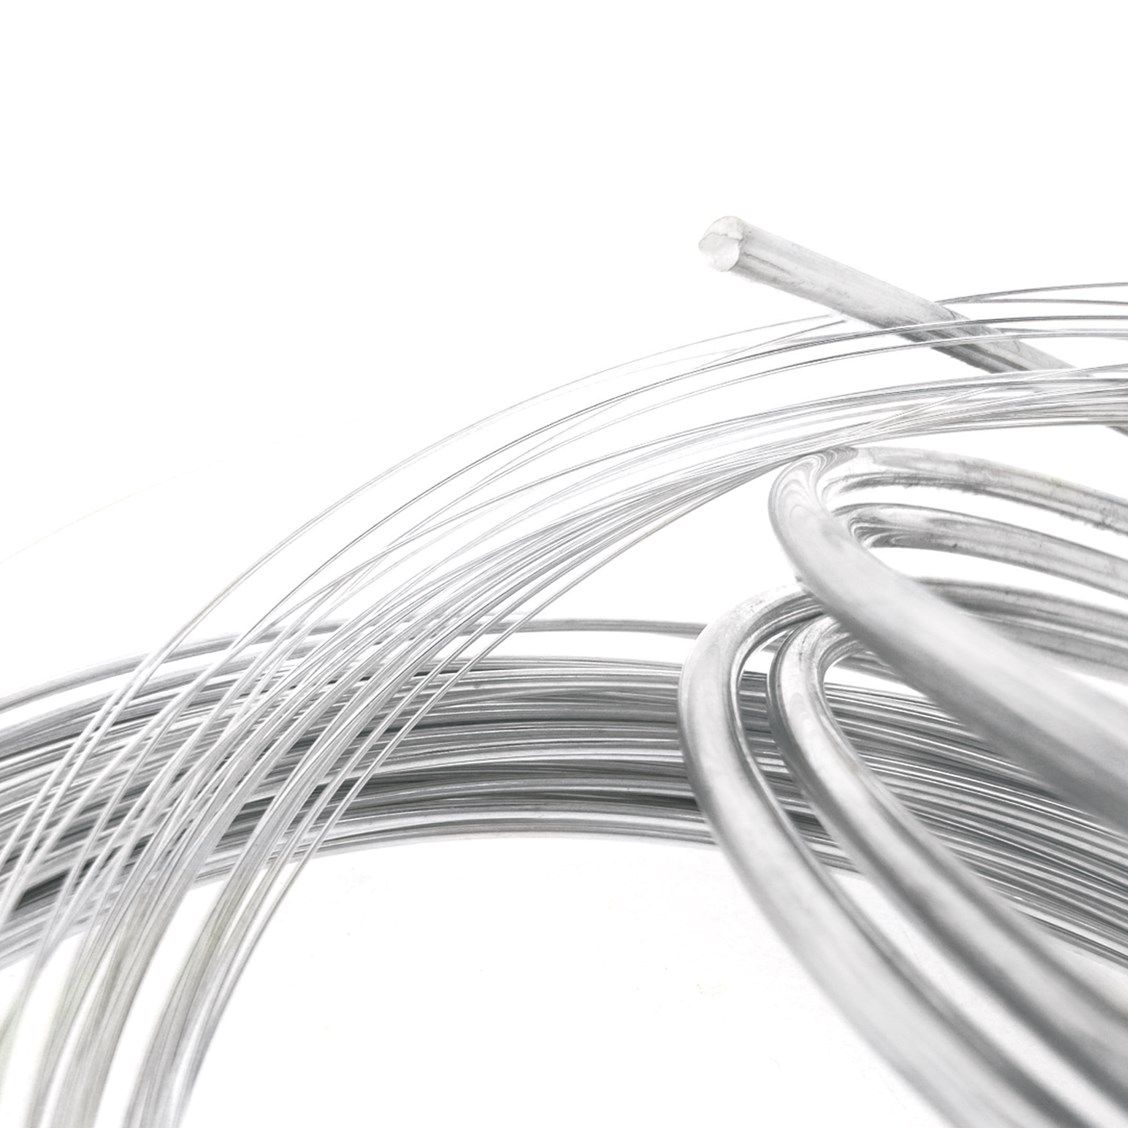
To create the earwires use 0.8mm sterling silver wire. We used approximately an 8-10cm length for each as we created a decorative wire wrap feature on the ends.
To create them we used a gas torch to melt the end of each wire into a silver ball which we then flattened by hammering with a jewellers hammer and then polished each of the flattened balls and wires using polishing papers.
Use a cup burr or needle files to smooth the sharp ends on the end of the ear wires that pushes through the ear.
To form the earwires, bend a curve around a mandrel or dowel to create the curved shape that will go through your ear, then bend a small loop along the wire from the ball (which your Celtic knot drop will hang from).
Using round nose pliers, make sure you leave enough wire to then wrap the wire around itself back up the stem a little way with the flattened ball facing the front.
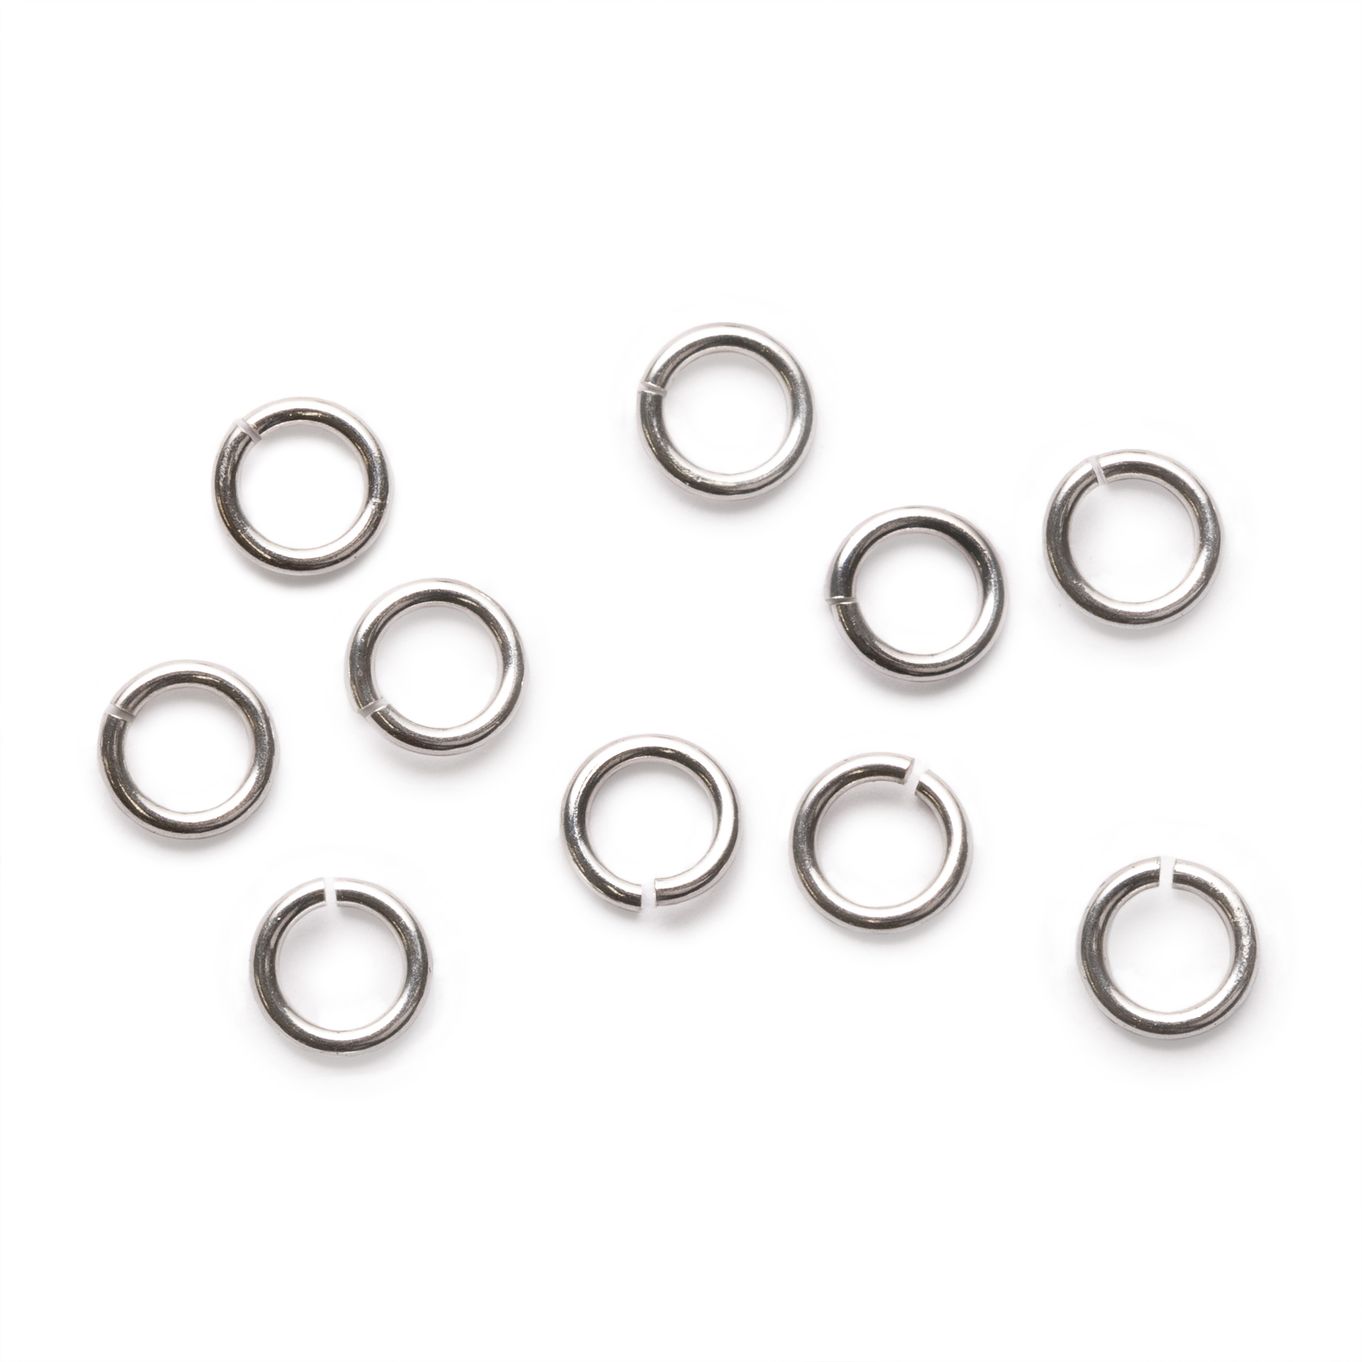
Finally hang the Celtic knot settings to the loop on the earwires using 5mm jump rings.
Suggested tools for this project
Snipe nose pliers or flat nose pliers - for open and closing jump rings
Round nose pliers- to form loops in wire
Hammer- to flatten wire
Gas torch - to melt the end of wire into a ball
Piercing saw - used for cutting wire and shapes out of flat metal sheet
Piercing saw blades - essential for use with the piecing saw
Files- to file down and smooth metal
Stone setting burrs - to grind away metal to allow stones to fit neatly in the setting
Polishing papers - to smooth and polish metal
Devcon 5 Minute Epoxy Glue - For super-fast, high strength, high-quality bonds
You may like to get our pack of pliers & side cutters which is an economical way of buying all the pliers you will need for every project!
Customise Your Kit
Make the design your own by using your favourite jewellery supplies.
Helpful Pages
How to open and close a jump ring
How to use Devcon Epoxy Glue for jewellery making
Read stone setting advice and tutorials
BOOKS WHICH MAY INTEREST YOU
The New Encyclopedia Of Jewellery Making Techniques - Jinks McGrath
The Encyclopedia of Wire Jewellery Techniques By Sarah Withers
Kernowcraft's jewellery making kits are aimed to inspire you - therefore the step by step instructions are available online only with a shopping list, where you can easily customise the design to suit you. We recommend printing or bookmarking this page ready to follow.
The suggested products used in this project are suggestions to inspire you. Products used were compatible at the time of making but do be aware that gemstones are natural and hand cut stocks can vary, so do use your own common sense as to the compatibility of each item when making.
Your Shopping List
You can buy all the products in this collection at once by clicking the button below or add individual products by clicking the button beside each one.