How To Use Devcon Epoxy Glue For Jewellery Making
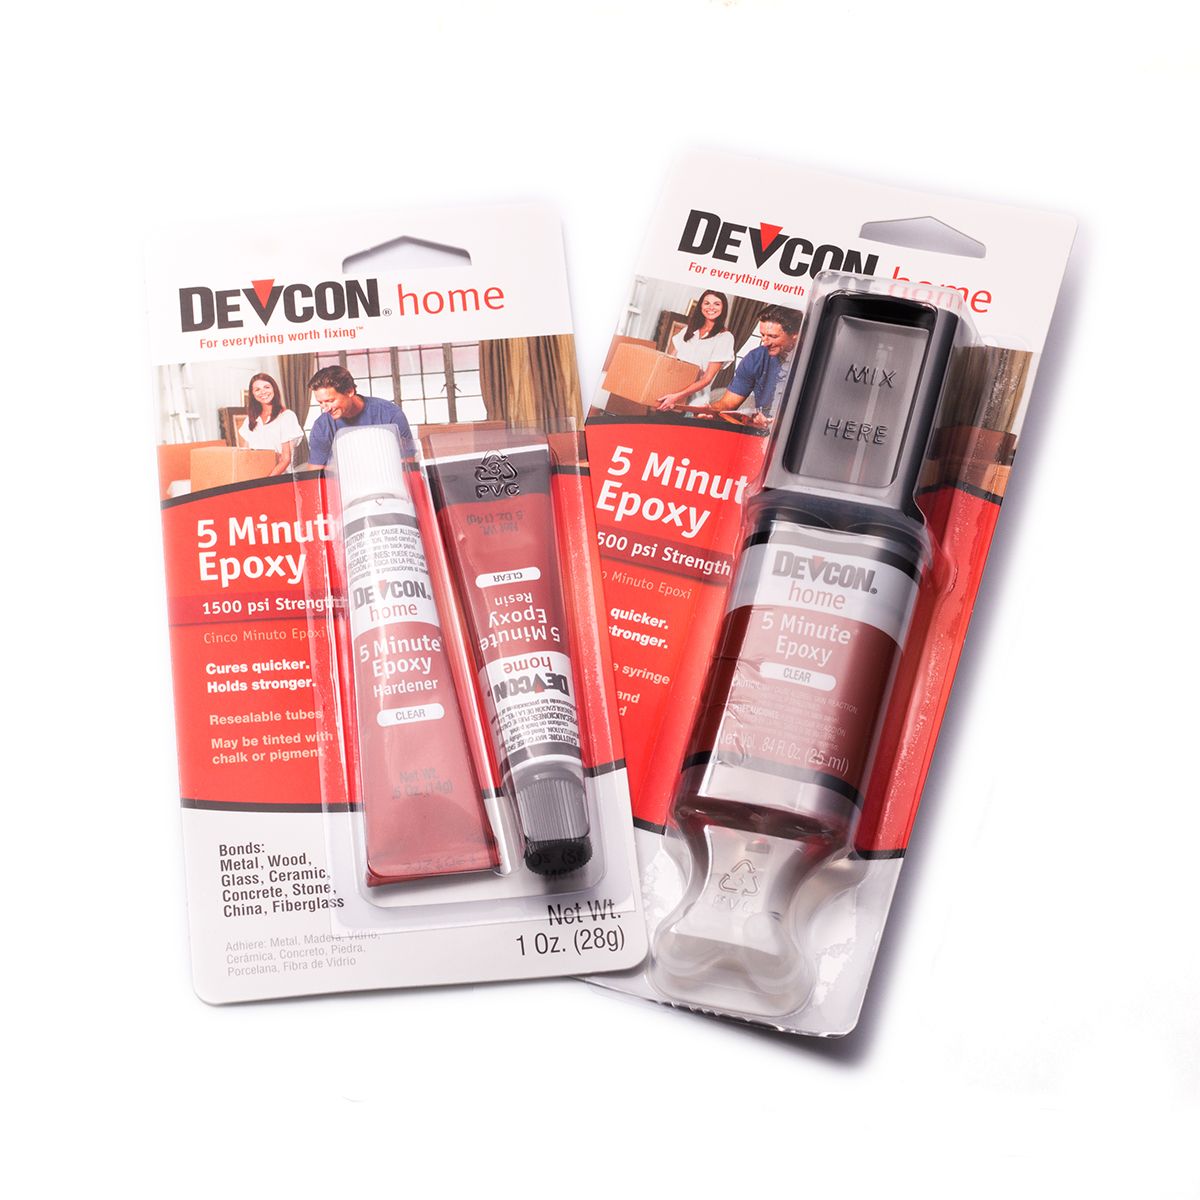
Devcon 5 Minute Epoxy Glue is Kernowcraft's most recommended and best selling glue for making jewellery and gluing gemstones into settings. It is perfect for stone setting as it dries clear and creates a high strength bond.
After many years of making jewellery and experimenting with other glues on the market we believe it to be the most reliable and easy to use glue to use for your jewellery designs.
On this page, we go show you how to mix Devcon 5 Minute Epoxy Glue (as it comes in two parts) as well as sharing our top tips in ensuring your use of the glue is successful. We also include a few tips for how to remove any excess or unwanted glue too.
Troubleshooting
It can be frustrating when you have finished your piece of jewellery but the glue hasn't bonded well or simply snaps off! Read our top troubleshooting tips below to help make sure your jewellery design is secure and durable.
HOW TO MIX DEVCON 5 MINUTE EPOXY GLUE
Step 1
Before mixing your glue check that the surfaces to be bonded are clean and dry.
For best results roughen one or both of the surfaces with something like a small pin - this creates texture on the surface that allows the glue to form a better hold.
Make sure any dust from sanding or scratching is washed away before applying.
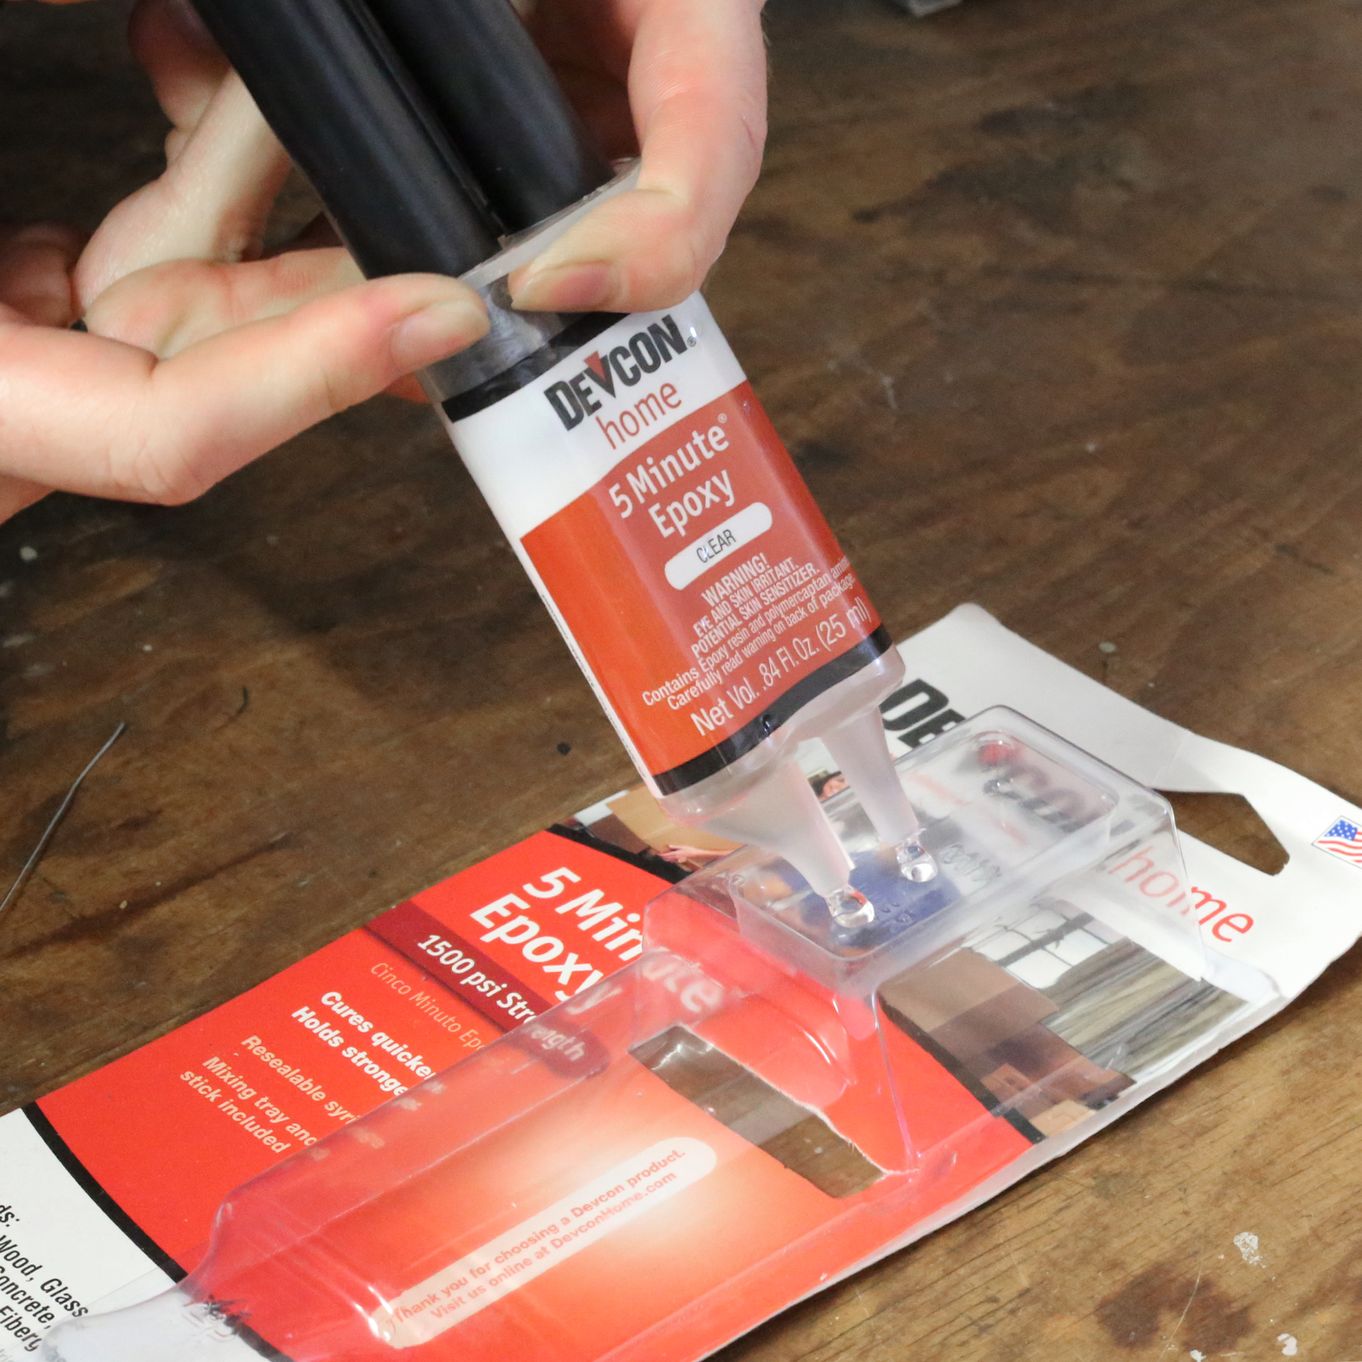
Step 2
Squeeze an equal sized amount of glue from the syringe onto a disposable surface (the plastic packaging has a neat little pot for you to mix your glue in).
The duo syringe means you can't really go wrong as it will dispense equal amounts for you!
Only use small amounts at a time, as the glue dries very quickly.
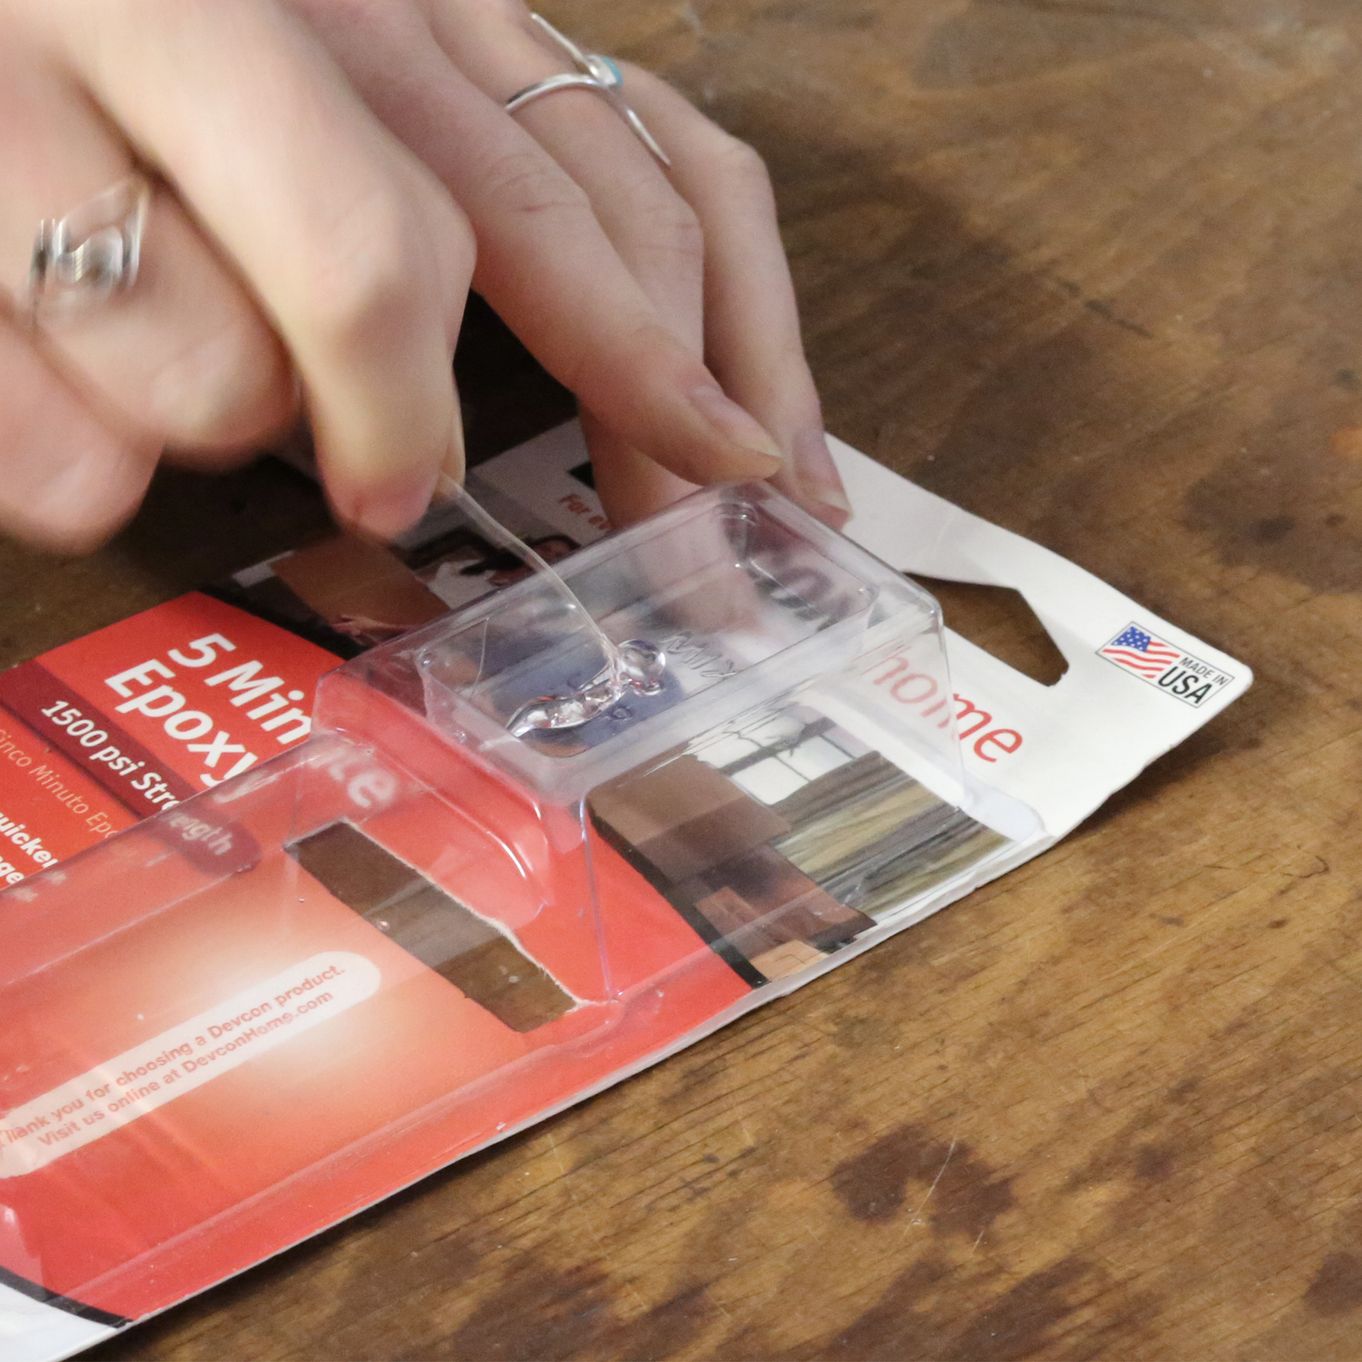
Step 3
Mix together thoroughly! We find that something like a matchstick, a cocktail stick or a scrap piece of wire is perfect for mixing and applying the glue.
Once mixed apply a small amount to the area you wish to glue and join the two components. Again, you will need to be fairly quick as the glue sets quickly. Leave your design somewhere suitable to dry. We have found that applying a little pressure to the glued joint when drying helps with extra security and a close fit.
Top Tips For Using Devcon 5 Minute Epoxy Glue
- Make sure all traces of dirt, oil and grease are removed before applying the glue.
- Roughen the area to be glued by sanding or filing if possible - this will give the glue a stronger hold.
- Working time: sets in 5 minutes, can be handled in 15 minutes, full bond strength in 1 hour.
- Check the room temperature you are working in! Colder conditions can make the glue stringy and messy to work with, whereas warm conditions will allow the glue to remain more liquid in the working time.
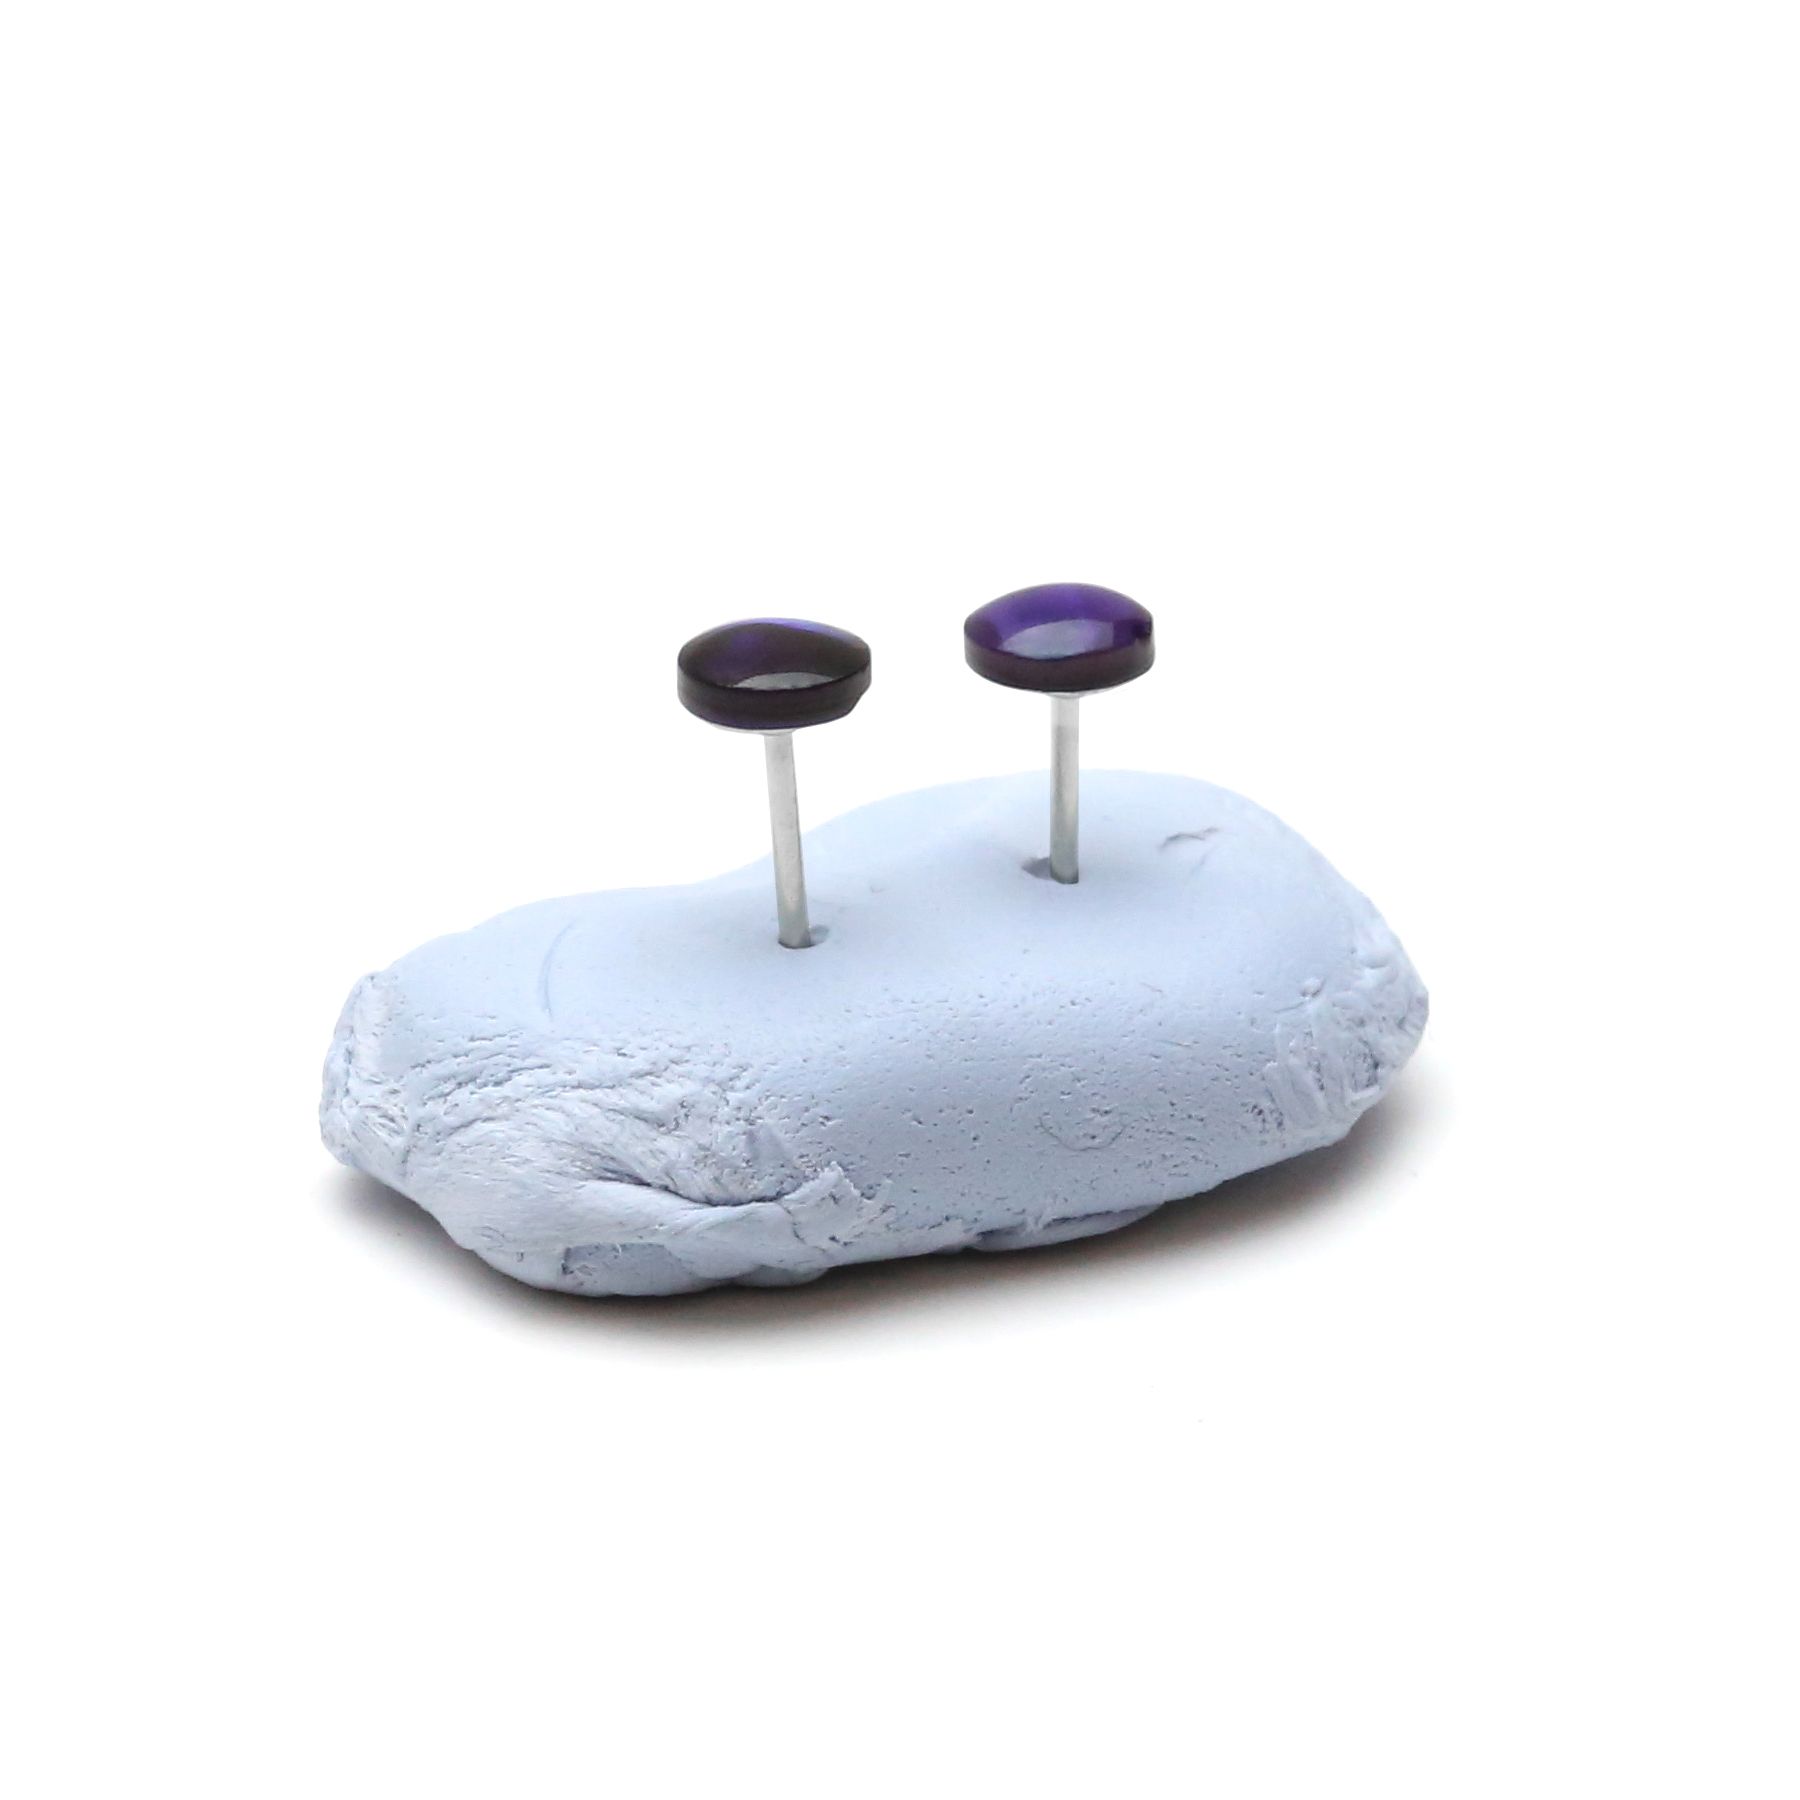
- Use a pin to help apply glue into holes on half drilled beads or into tight spaces.
Removing Unwanted Or Excess Glue
If you find you applied too much glue and it spills onto the stone, here are a few tips to help remove the excess carefully leaving you with a clean finish. Which option to use will depend on the stone you are using and the size of the spill.
- It will be easier to leave the excess in a blob as this will lift away more easily than if you wipe it away whilst the glue is wet - this will leave a thin layer that is harder to remove carefully.
- Dry (or semi dry, non tacky) glue can be removed with a sharp blade, though be very careful not to scratch or damage the stone.
- Excess glue can also be removed with acetone or nail varnish remover (note: you may want to test on a hidden area first. This is usually fine on hard gems like agate, though not suitable for pearls or other soft or absorbent stones like turquoise).
Removing A Stone Stuck With Devcon 5 Minute Epoxy Glue
It is possible to remove a gemstone from a setting when it has been glued with Devcon by soaking the setting in hot water, as this will soften the glue. However this is not guaranteed to work. If you have made a ring using a setting and glue, we recommend removing it from your finger when washing your hands or washing up to reduce any damage.
Watch our video tutorial on how to use Devcon 5 Minute Epoxy Glue to set a gemstone into a ring setting
Troubleshooting
It can be frustrating when you have finished your piece of jewellery but the glue hasn't bonded well or simply snaps off! Read our top troubleshooting tips below to help make sure your jewellery design is secure and durable.
Check surfaces are clean and dry
Before you start mixing the glue, ensure that the surfaces of your components are clean and dry - this will ensure the glue bonds well to both surfaces.
Roughen surfaces
For best results, roughen the surfaces with a small pin or sandpaper - this creates a textured surface that allows the glue to bond better. Don't forget to ensure the surfaces are clean from any dust caused by sanding or scratching before applying.
Use small amounts of glue
With Devcon 5 Minute Epoxy Glue, you need to work fast as the glue dries quickly. So always work with small amounts of glue and mix more if needed.
Mix the glue thoroughly
Devcon 5 Minute Epoxy Glue is available as a duo syringe or as 2 x 5oz tubes - it's important that you mix equal amounts of resin and hardener for best results.
Check room temperature
Colder conditions can make the glue stringy and messy to work with, whereas warm conditions will allow the glue to remain more liquid in the working time.
How to get glue into tight spaces
Use a pin to help apply glue into holes on half drilled beads or into tight spaces.
Also in this section:
- How To Start Jewellery Making
- How To Make Jewellery At Home
- Choosing A Jewellers Workbench
- 12 Basic Tools For Jewellery Making Beginners
- What Is A Cabochon And Faceted Stone?
- Your Guide To Metals For Jewellery Making
- Your Guide To Jewellery Findings
- Types Of Chain For Jewellery Making & Necklet Chain Length Guide
- CM to Inches For Chain Length Conversions
- Jewellery Making Tools For Cutting Metal Wire & Sheet
- A Quick Guide to Jewellery Making Hammers
- The Pliers You Need For Jewellery Making
- The Jewellery Pliers Set For Beginners
- What Are Parallel Pliers For Jewellery Making?
- How To Open And Close Jump Rings For Jewellery Making
- Types Of Earring Findings For Jewellery Making
- How To Make Earrings For Beginners
- Easy Ways To Customise Hoop Earrings
- How To Make Earwires
- 2 Ways To Make Wire Earrings
- How To Make Your Own Balled Head Pins For Earrings
- 7 Ways To Fasten A Necklace or Bracelet
- How To Make An Easy Charm Necklace
- Easy Ways To Make Charm Jewellery
- Sea Glass Jewellery Making Projects For Beginners
- How To Make A Ring: 5 Beginner Projects
- Beginner Jewellery Making Projects Using Glue
- Choosing Glue For Jewellery Making & Top Tips
- How To Use Devcon Epoxy Glue For Jewellery Making
- Time Saving Jewellery Making Tools & Supplies
- How To Make A Ring Smaller With A Ring Size Adjuster
- How To Use A Safety Chain
- How To Tighten & Loosen Earring Backs
- Everything You Need To Repair Broken Jewellery At Home
Have A Question?
If you have any questions, feel free to get in touch with our friendly team who will be more than happy to give you advice over email or on the phone.
You can learn more and find inspiration by visiting our Jewellery Making Tutorials, Jewellery Making Kits and YouTube Channel. Don't forget to follow us on social media and tag us in your designs on Instagram & Facebook, we would love to see!