Common Soldering Problems & Solutions For Jewellers
Soldering is such a fun part of jewellery making but no matter how experienced you are, it can sometimes be a challenge and you will run into problems from time to time.
On this page we delve into the many problems you may face during the soldering process and how to overcome them, although it may not be clear every time what the issue is, you can refer back to this page and ask yourself the following questions.
You'll also find all the soldering tools and supplies you need right here on our website, as well as more handy free advice pages and tutorials to follow too.
Run into a problem? Firstly, ask yourself the following questions:
- Are my metal and hands clean?
- Is my joint tight enough?
- Did I use flux and the correct flux?
- Am I using too little or too much heat?
- Am I heating the metal?
- Is the solder touching the piece?
- Am I using too little or too much solder?
- Am I angling the flame correctly?
Why is the solder not flowing?
One of the most common problems during the soldering process is when the solder just doesn't want to flow! Take a look at some of the most important things to keep in mind during soldering below.
Consider the following...
Is Everything Clean?
Before getting started always ensure that your hands and metal, including solder is clean from any dirt, grease, dust and oxides. If your piece is dirty, this will create a barrier between your metal and solder and prevent the solder from flowing. Wash your hands before working and avoid touching your metal with your hands to prevent any remaining oil or dirt from contacting your piece. If your first soldering attempt didn't work properly, don't be tempted to add more solder and try again, clean everything back and then try again.
If you're worried your metal is dirty before soldering, pop it into pickle solution beforehand. We also recommend using our glass fibre scratch brush which is perfect for cleaning and preparing metals, removing any grease and dirt ready for soldering.
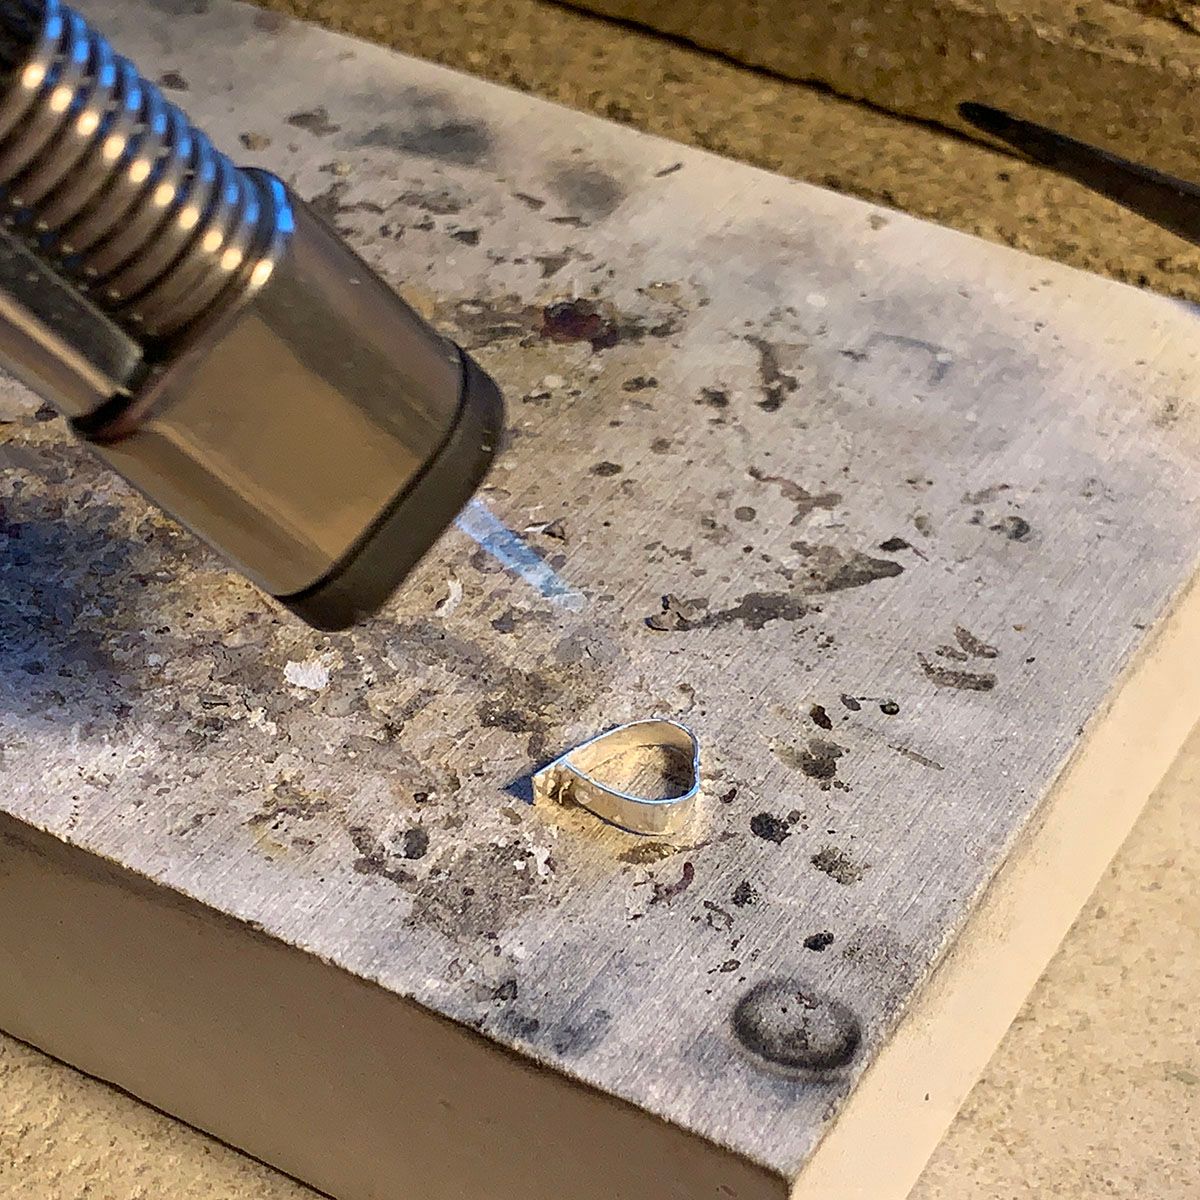
Your Joint Isn't Tight Enough
A tight joint where both ends of metal meet to be soldered is crucial in ensuring the solder flows and is secure. Your aim isn't to fill gaps with your solder, so ensure that the ends meet as tight as possible.
You Forgot To Use Flux Or The Correct Flux
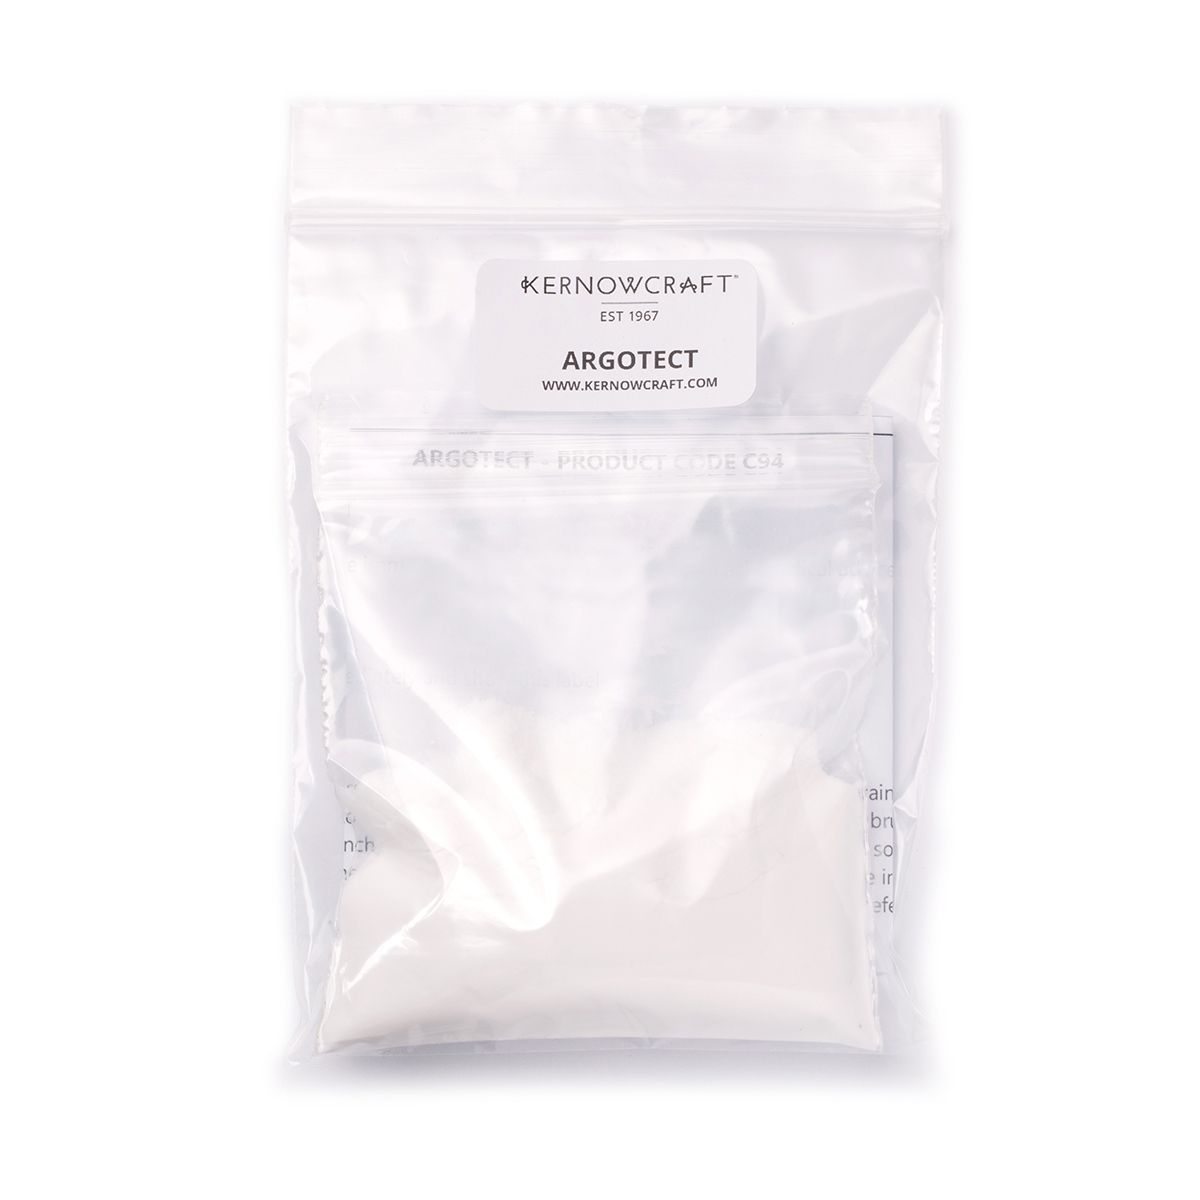
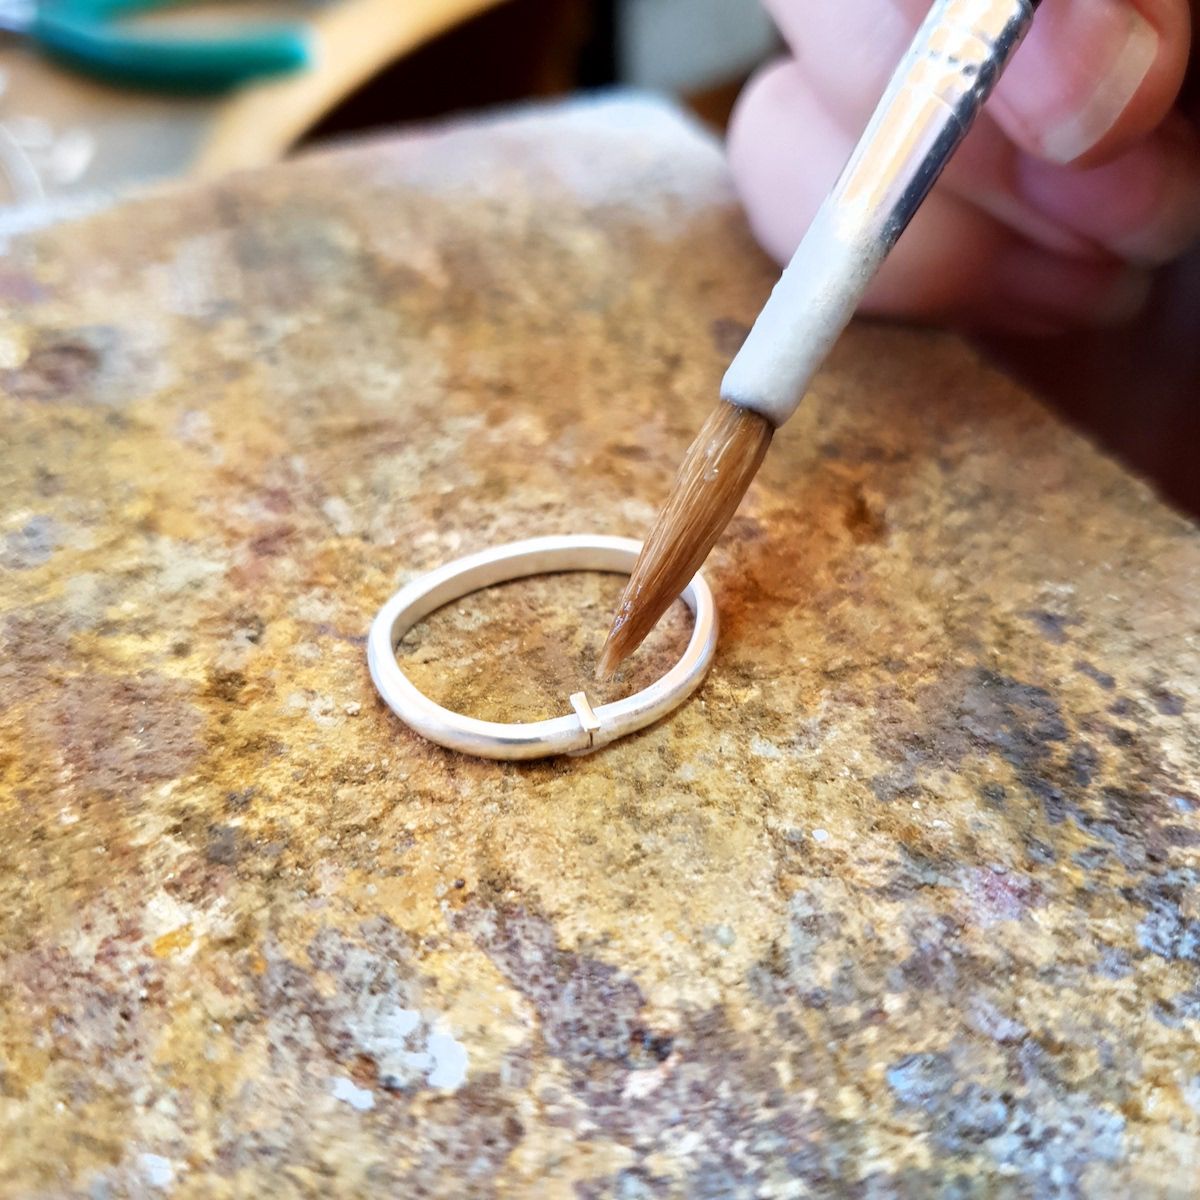
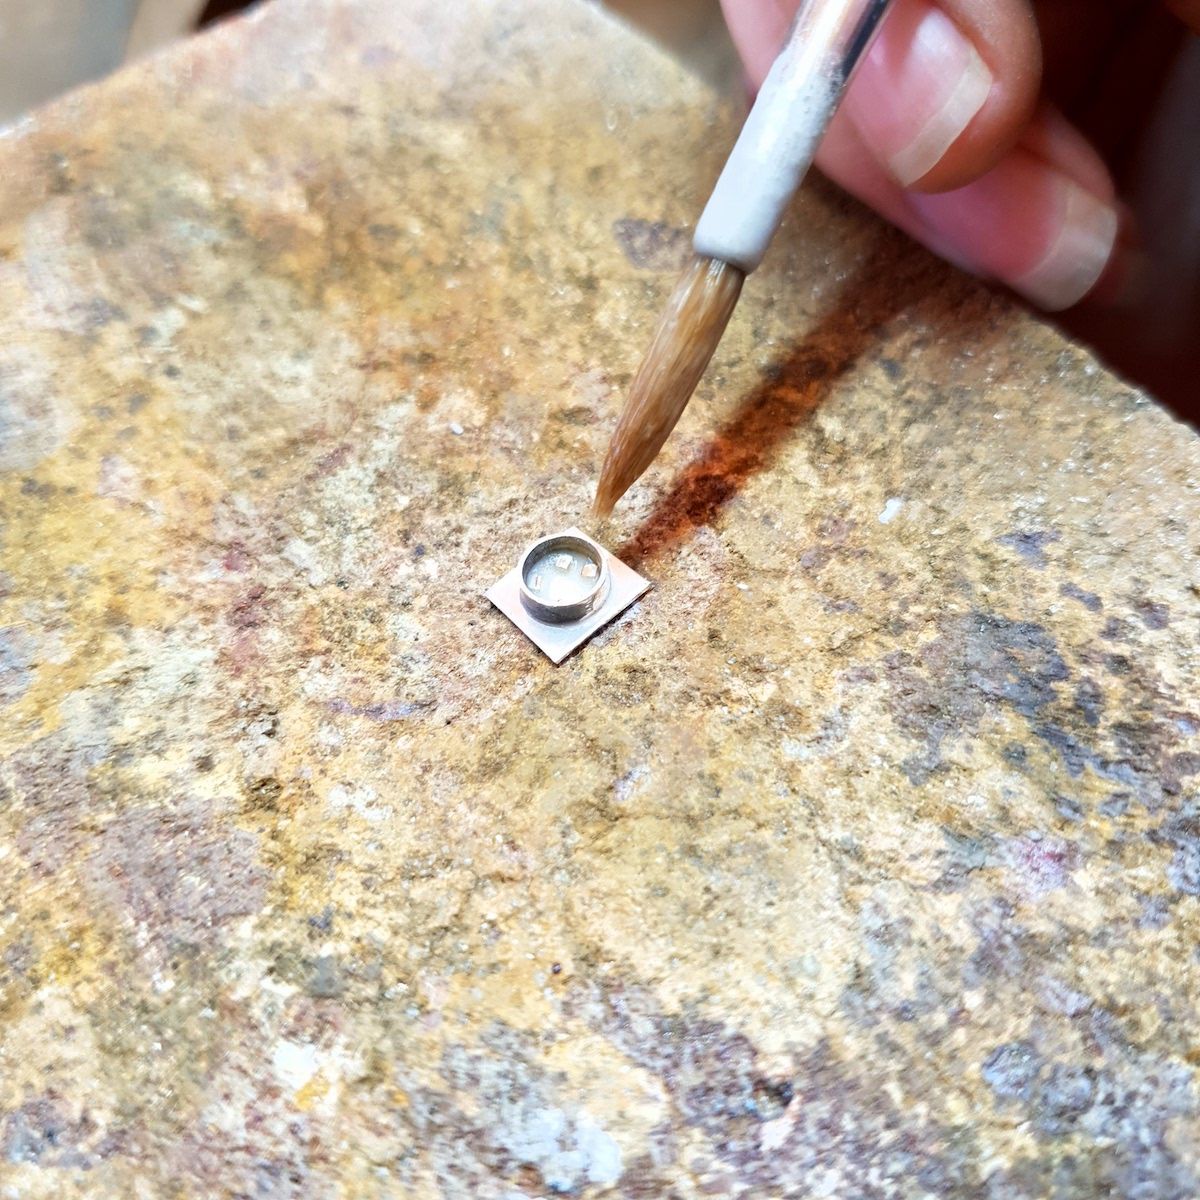
Did you remember to use flux on your piece before soldering? Flux is an essential part of soldering, you apply it onto a joint before soldering to prevent oxides. It keeps your piece clean, allowing solder to flow easily once brought up to temperature. Some flux cannot be used at certain temperatures, therefore make sure you are choosing a suitable flux for your design. Argotect flux available at Kernowcraft can be used with all of our types of solder, simply mix with water to create a smooth paste and apply to a clean joint using a clean flux brush.
If you forgot to apply flux and started the soldering process, simply pop your piece into pickling solution to clean and start the process again.

Too Little Or Too Much Heat
Ideally, you want to only use heat for the quickest possible time needed. Using too little or too much heat can either cause fire stain or melt your work, so this is all down to practice and getting used to knowing how much heat is needed to allow the solder to flow as quick as possible.
If you're wondering why it isn't flowing, it could be that you're not using enough heat and are also not heating the metal around the solder join to bring it up to the correct temperature.
Consider whether you are using the most suitable torch for the job. If you are soldering something large like a bangle and using a small torch, you may want to use another torch at the same time to ensure the whole piece gets hot enough.
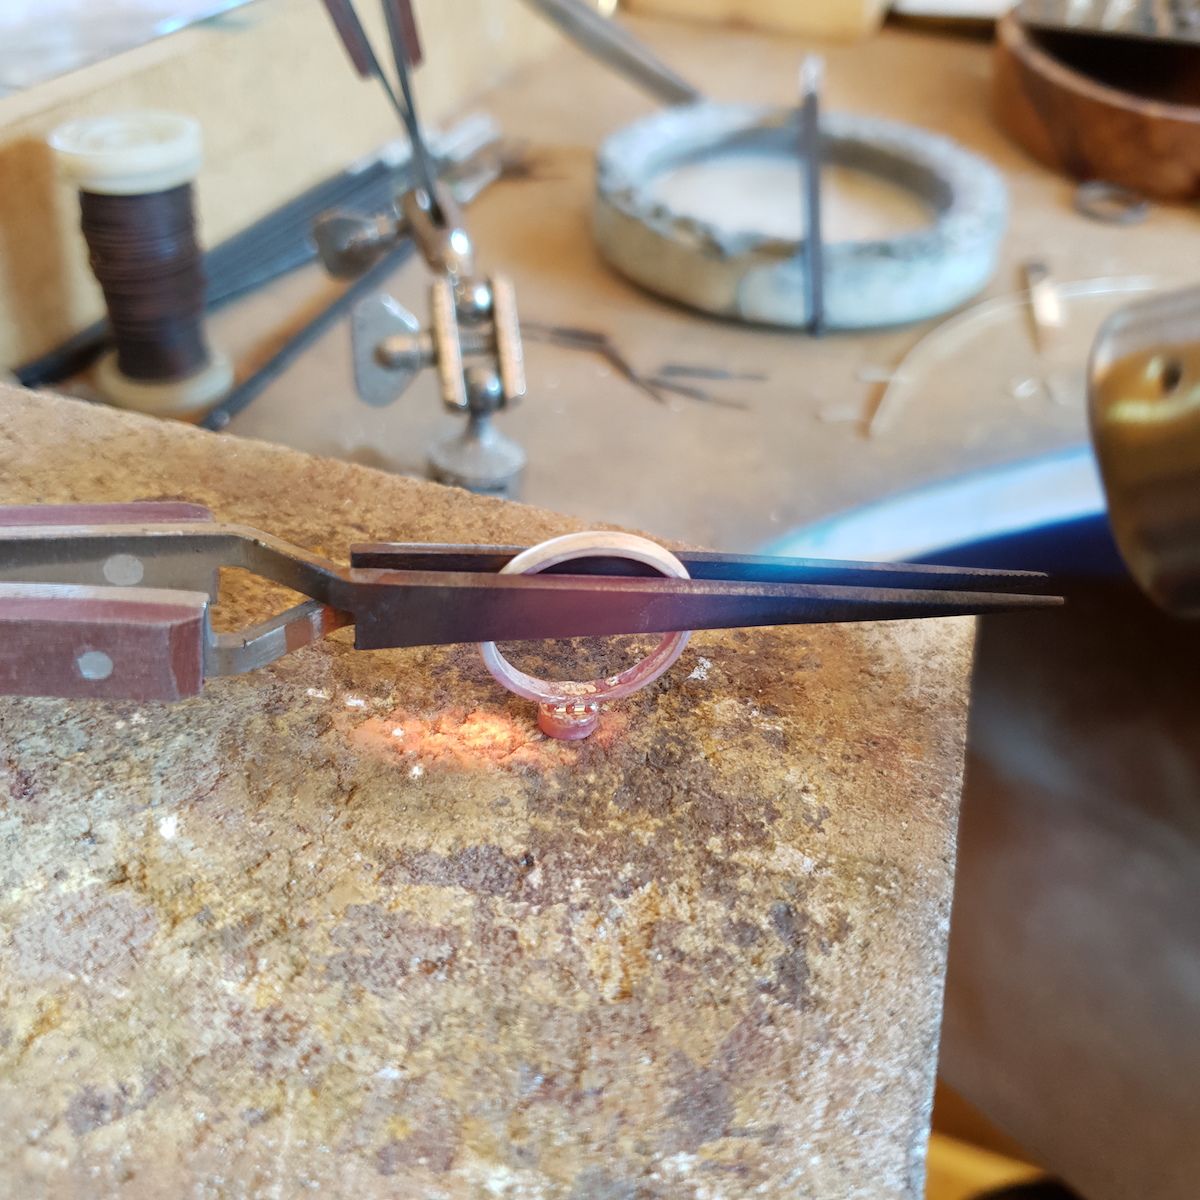
You're Not Heating The Metal
As mentioned in the previous point, it's important that you don't focus the heat on the solder joint but bring the metal surrounding the joint up to temperature. This will allow the solder to flow quickly, and you will minimise the need to overheat your piece which could result in fire stain. While heating your piece, be aware of anything that could also be absorbing the heat such as the tweezers you're using to support the piece, as this will affect the time it takes for your metal to be brought up to temperature.
The Solder Isn't Touching The Joint
Check that your solder is touching the joint, as this is needed to allow the solder to flow into the joint for a secure bond.
Still Having Problems? Take A Break!
If it's simply not working out, step away from the bench and have a break. Sometimes it just doesn't work, so pop the kettle on and think back through all of these steps to see where the problem might lie.
Fixing Common Problems With Solder Paste
We love using solder paste as an alternative to traditional strip solder! It's ready to use straight away and super easy to use as it already contains flux, it is easy to apply accurately to your solder joint plus it's perfect on small fiddly jobs. If you find that you're running into problems, check out these points below which could help you.
How To Prevent Solder Paste From Drying Out
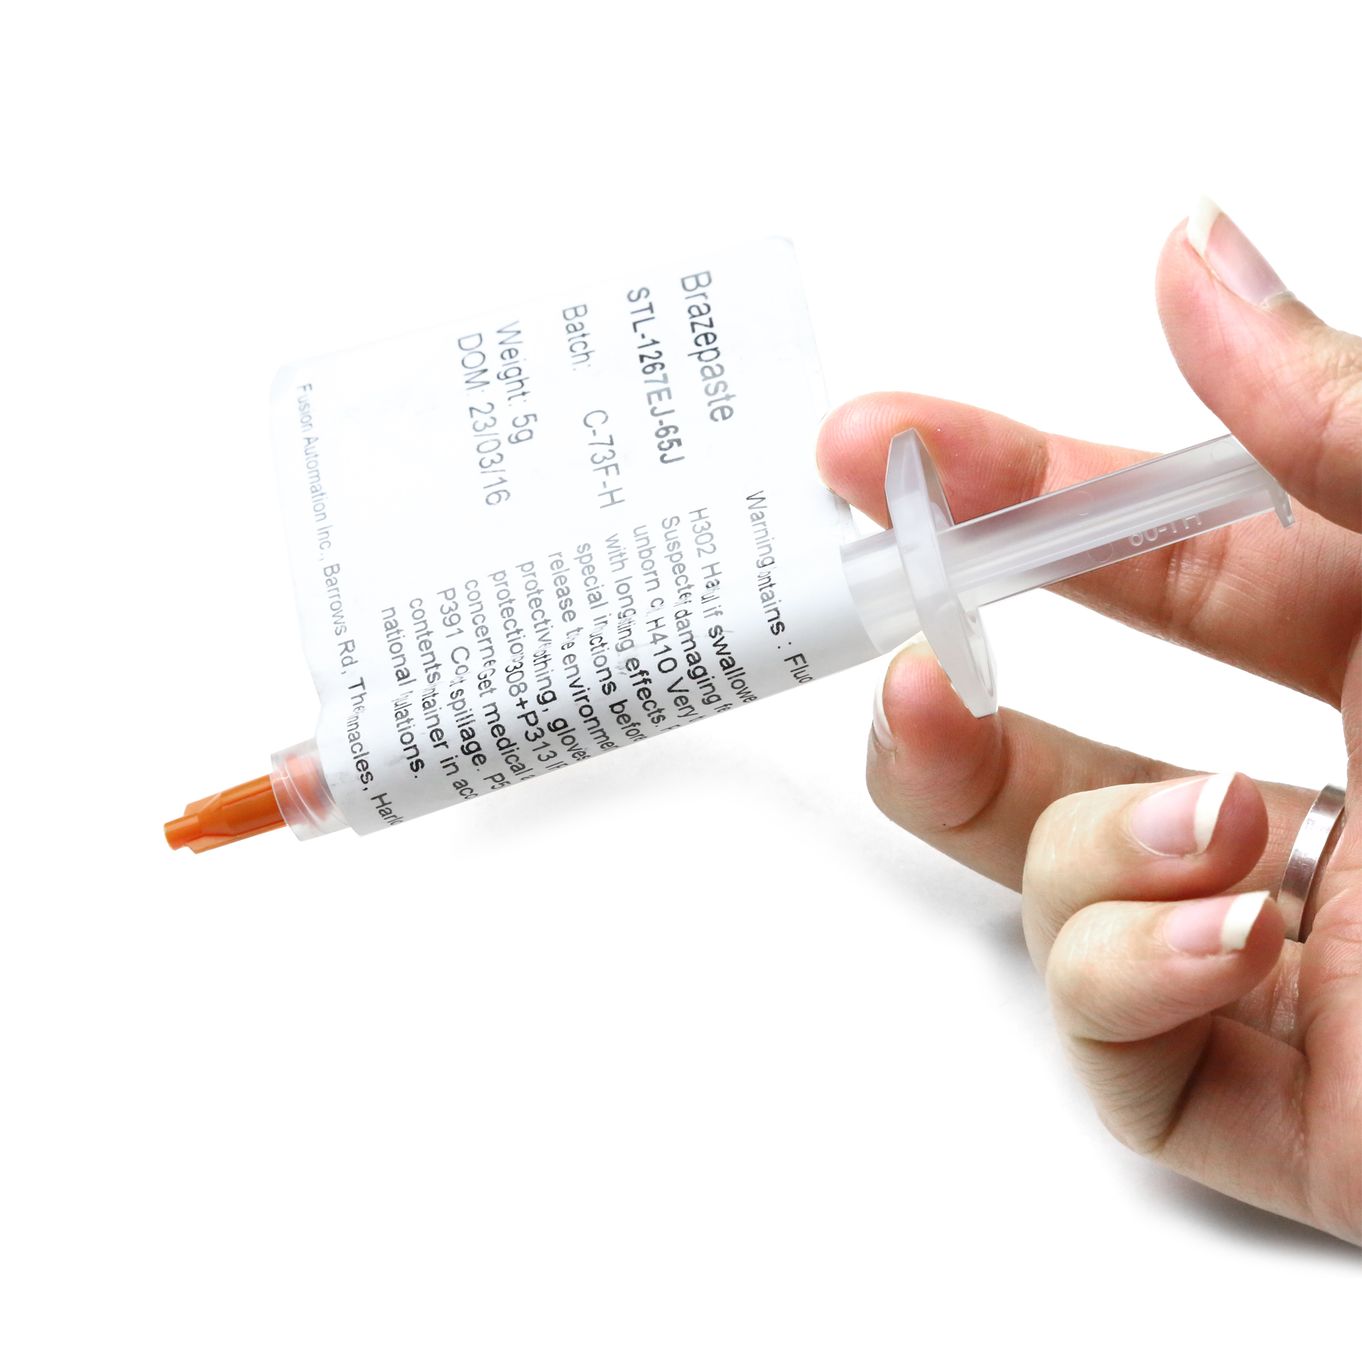
Solder paste has a shorter shelf life than solder strip and a common problem is that you may find that your solder paste has dried out over time as it isn't being used up quickly. At Kernowcraft we sell a 5g syringe and this low amount will reduce and prevent the paste from drying out, depending on how much you use it. We recommend keeping your solder paste in an airtight bag when not in use and keeping the cap on to prevent it drying out.
You Don't Need To Add Flux
Many people make the mistake of applying flux to the solder joint before adding solder paste. Flux isn't needed as it is already mixed into the paste, which is great news as you can skip this step!
For Larger Jobs You Might Prefer Solder Strip
Although solder paste can be used for most soldering projects, it's most suited to smaller jobs such as soldering jump rings, chain and wire work. You may prefer to opt for solder strip for larger designs which will require longer to heat up and need multiple points of solder applied, mostly because these larger pieces take longer to heat up and you may run the risk of drying out the solder paste if you don’t use a suitably sized torch.
How Much Solder Paste To Use?
You won't need much solder paste on your join, a good rule is to use the same amount as the width of the piece you are soldering.
Heat The Metal Evenly & Quickly
If you are soldering a jump ring for example, ensure that you are heating all of the metal evenly to bring the metal up to temperature and ensure the solder flows as quick as possible. If you focus all of the heat on the paste, or take a long time to get the piece to the right temperature you may find the solder paste dries out and crumbles. Also make sure you use a suitably sized gas torch and flame for the item you are soldering too, you want to get the item up to heat quickly not slowly as you might if you are more used to using solder strip and a separate flux.
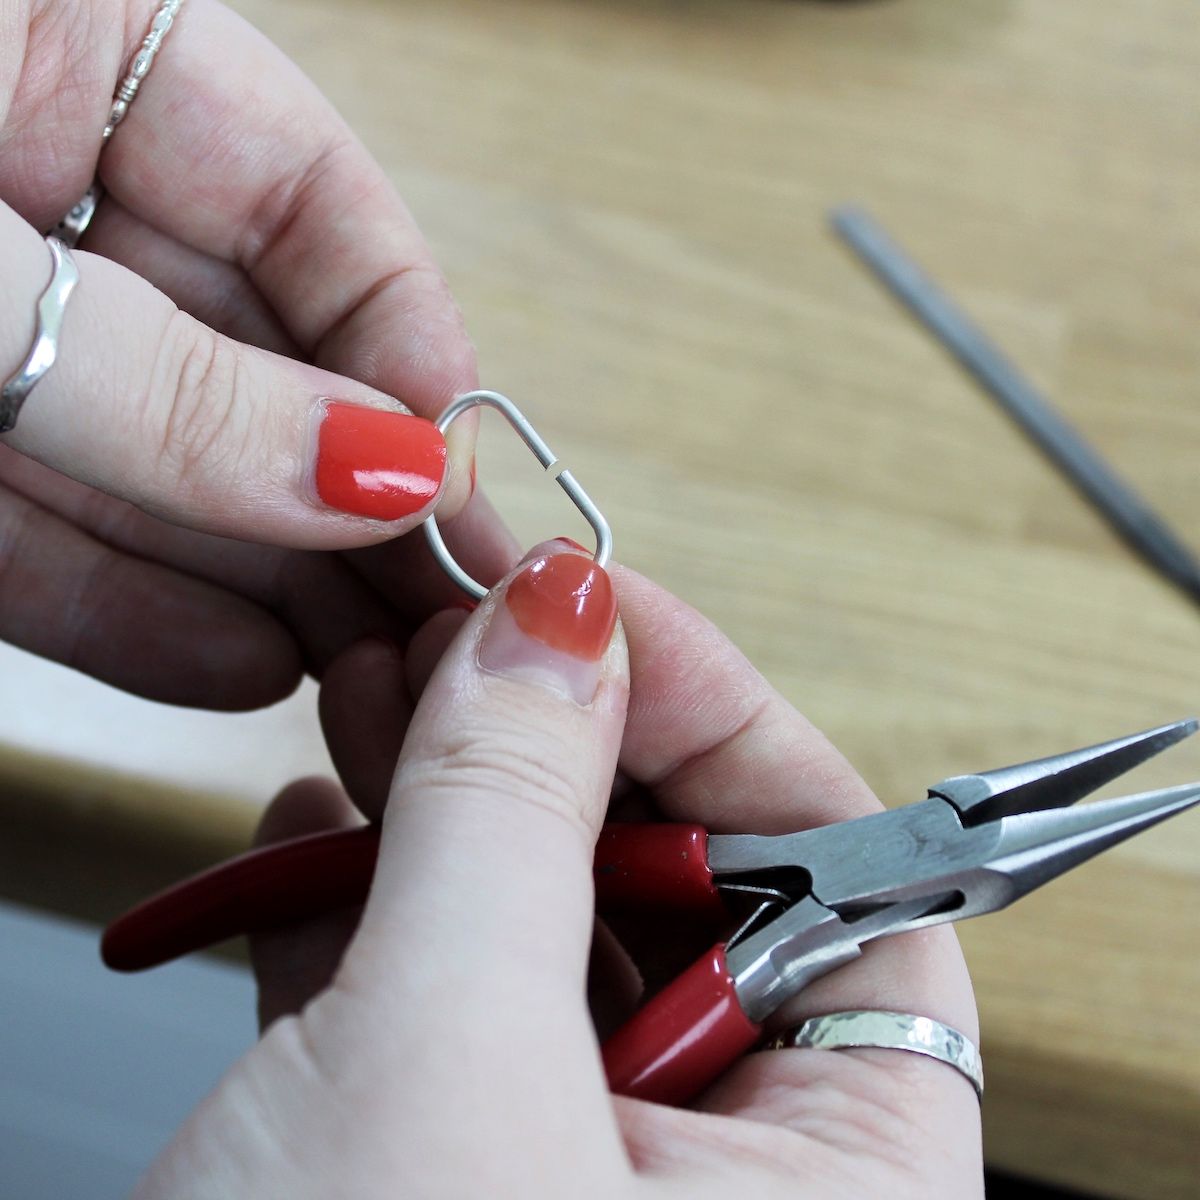
Ensure A Tight Joint
Just like any soldering job, you need to ensure your hands, metal and solder is clean as well as making sure the solder joint is tight.
How Do I Keep My Pieces Still While Soldering?
Check out these handy tools certain to add support and stability to your soldering process...
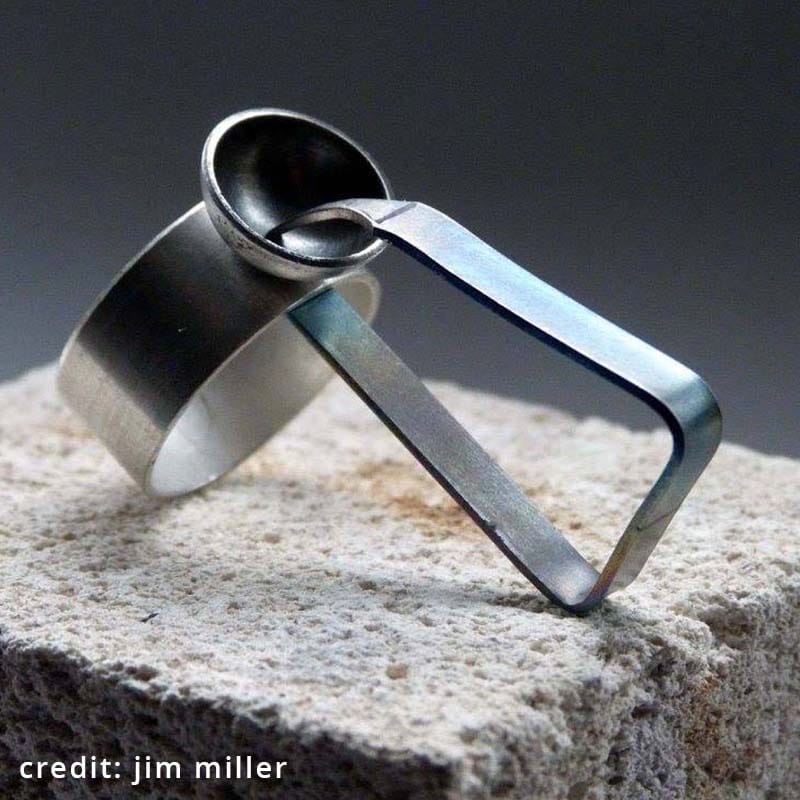
Use a third hand to provide an extra hand in the workshop! Using the right set up and positioning for fiddly soldering jobs can make the world of difference between success and a lot of frustration. This has reverse action tweezers attached to a weighted base and an adjustable arm. Use it to grip your work and accurately position ready for soldering.
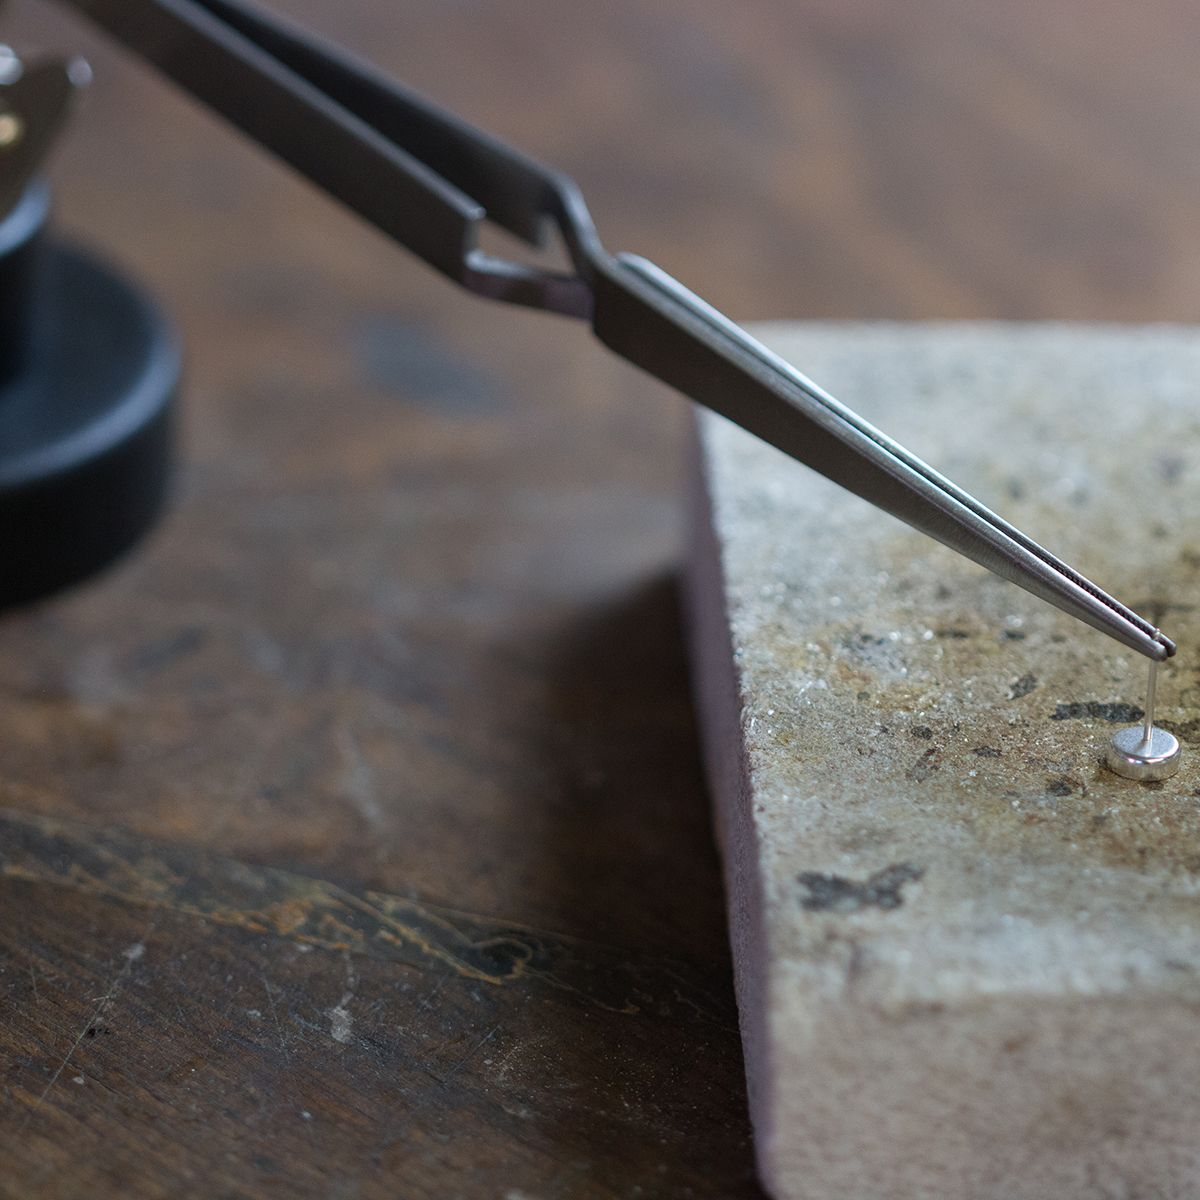
These sturdy 100mm long soldering strips help you solder awkward to hold pieces of jewellery. They can be easily personalised to suit your needs by bending or filing them into curves or points, to create customised clamps.
The best part about these strips is that they do not transfer heat nearly as quickly as steel and therefore interfere less with the area you are soldering.
Why Is The Solder Not Flowing Where I Want It To?
Firstly, always ensure your solder is placed on the joint before applying heat. It's all about the angle of your flame and this comes down to practice! Once the solder flows, angle the flame to move the solder in the direction you need it to go - but you'll need to act fast.
How Do I Remove Excess Solder?
One common problem among jewellers is dealing with excess solder which has flowed onto the surface of your piece. This is caused by using too much solder on the joint, resulting in extra clean up and work needed.
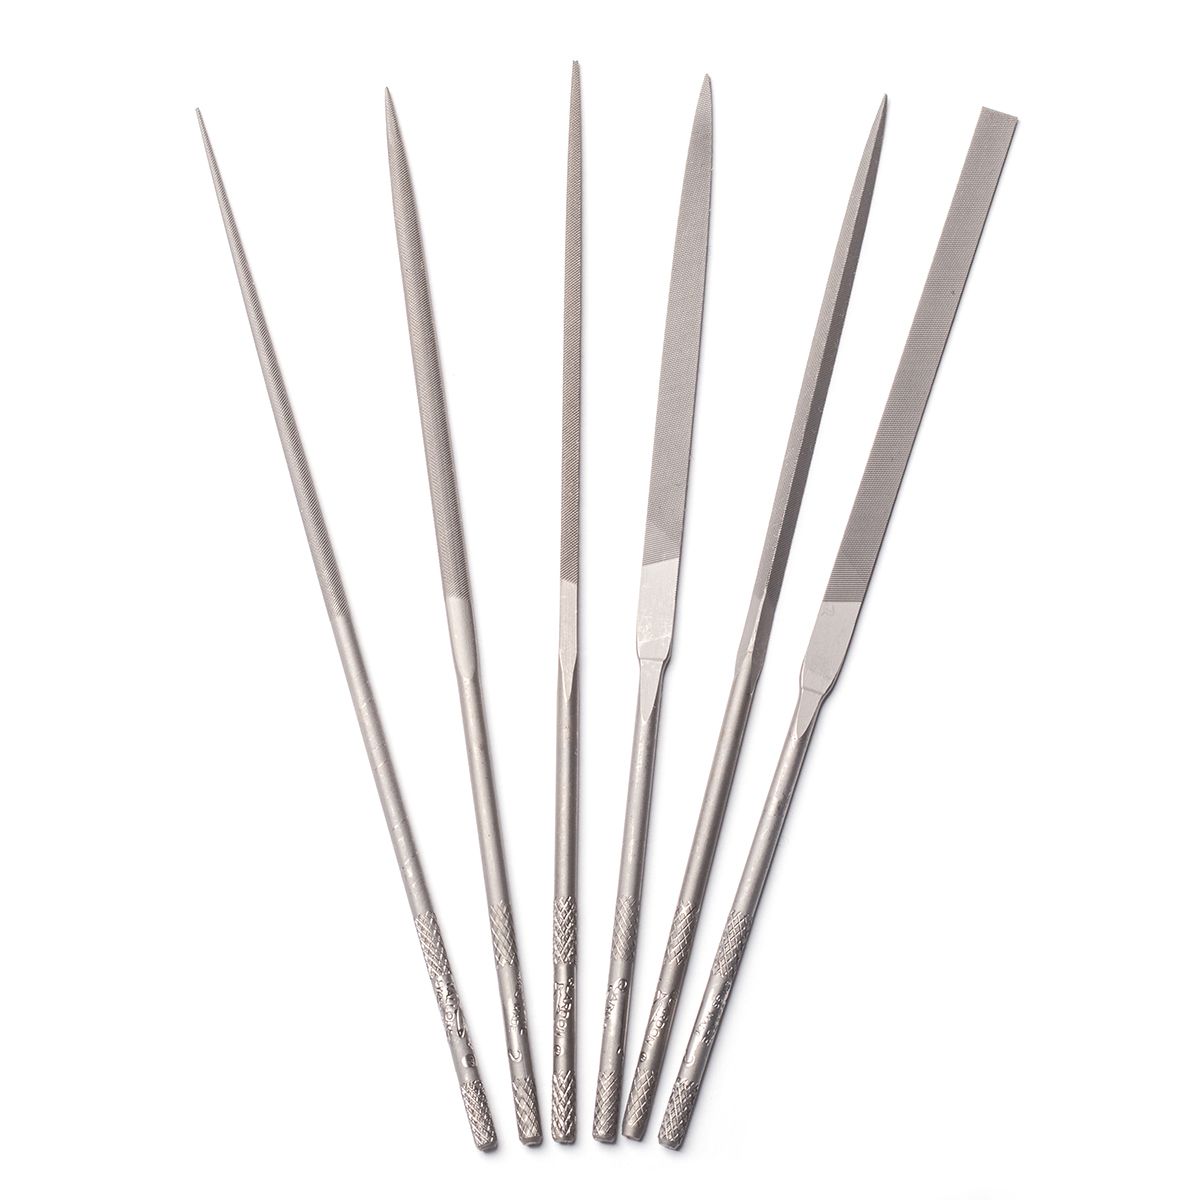
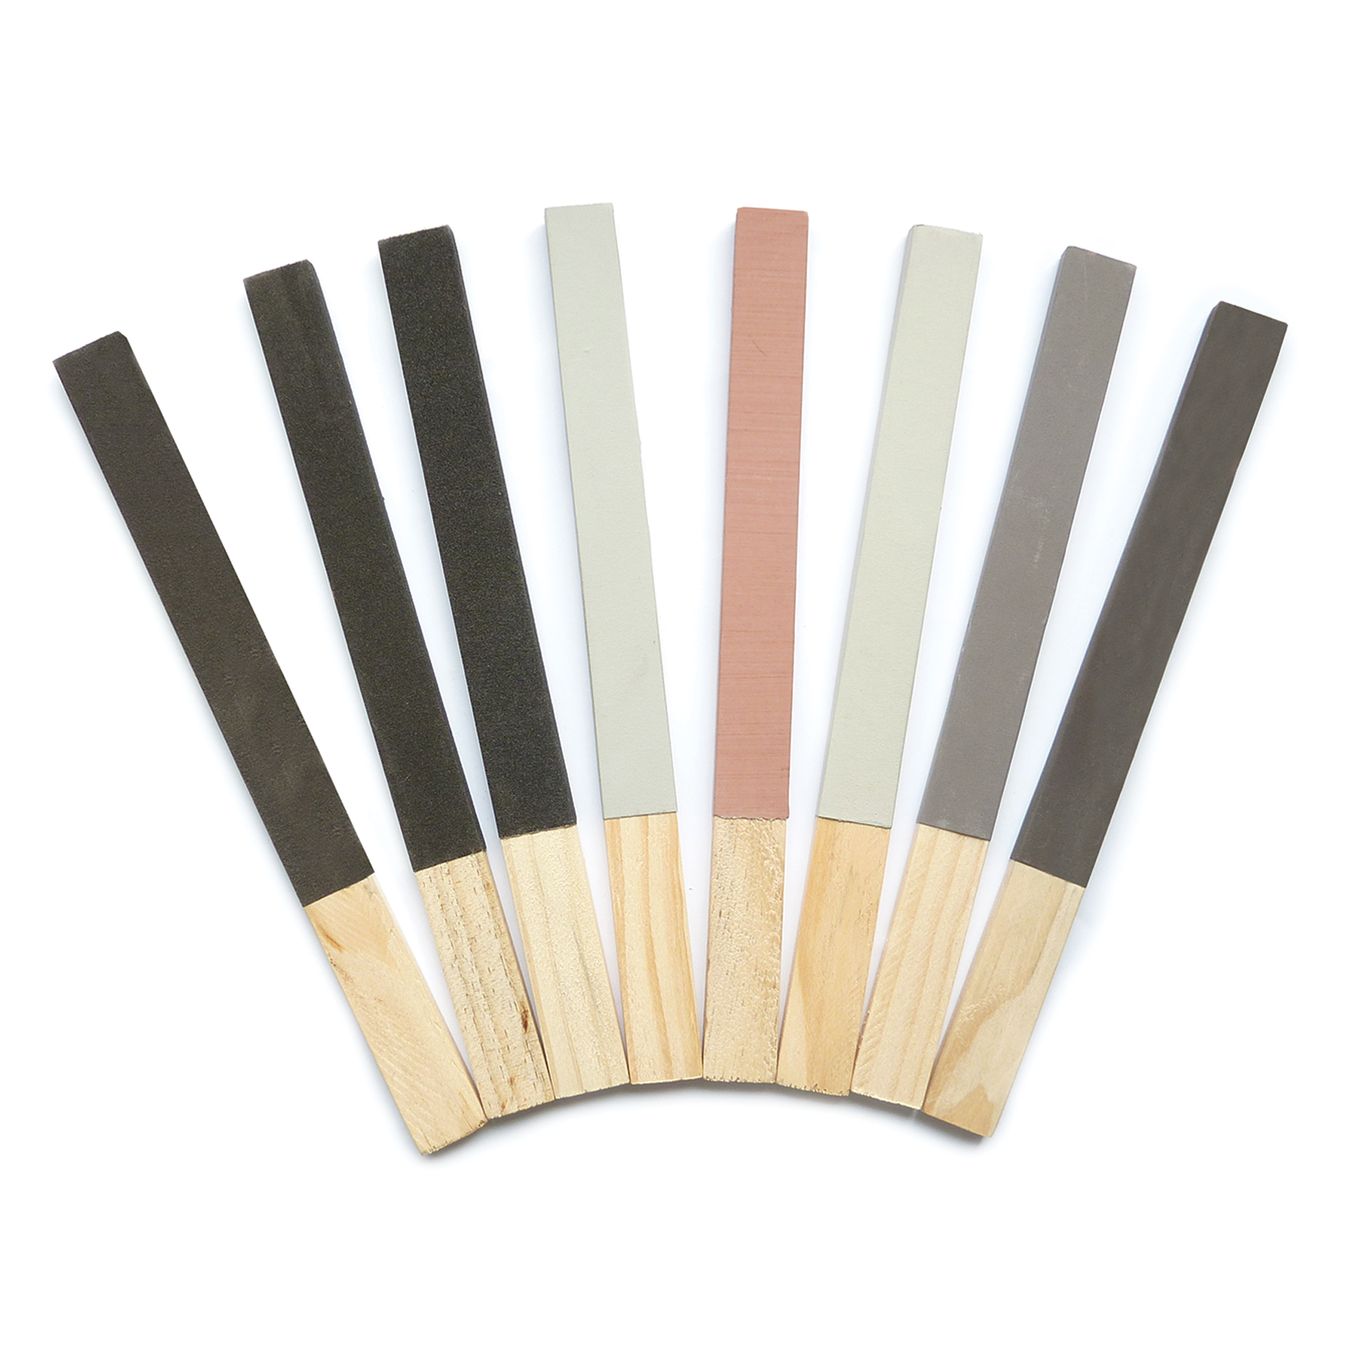
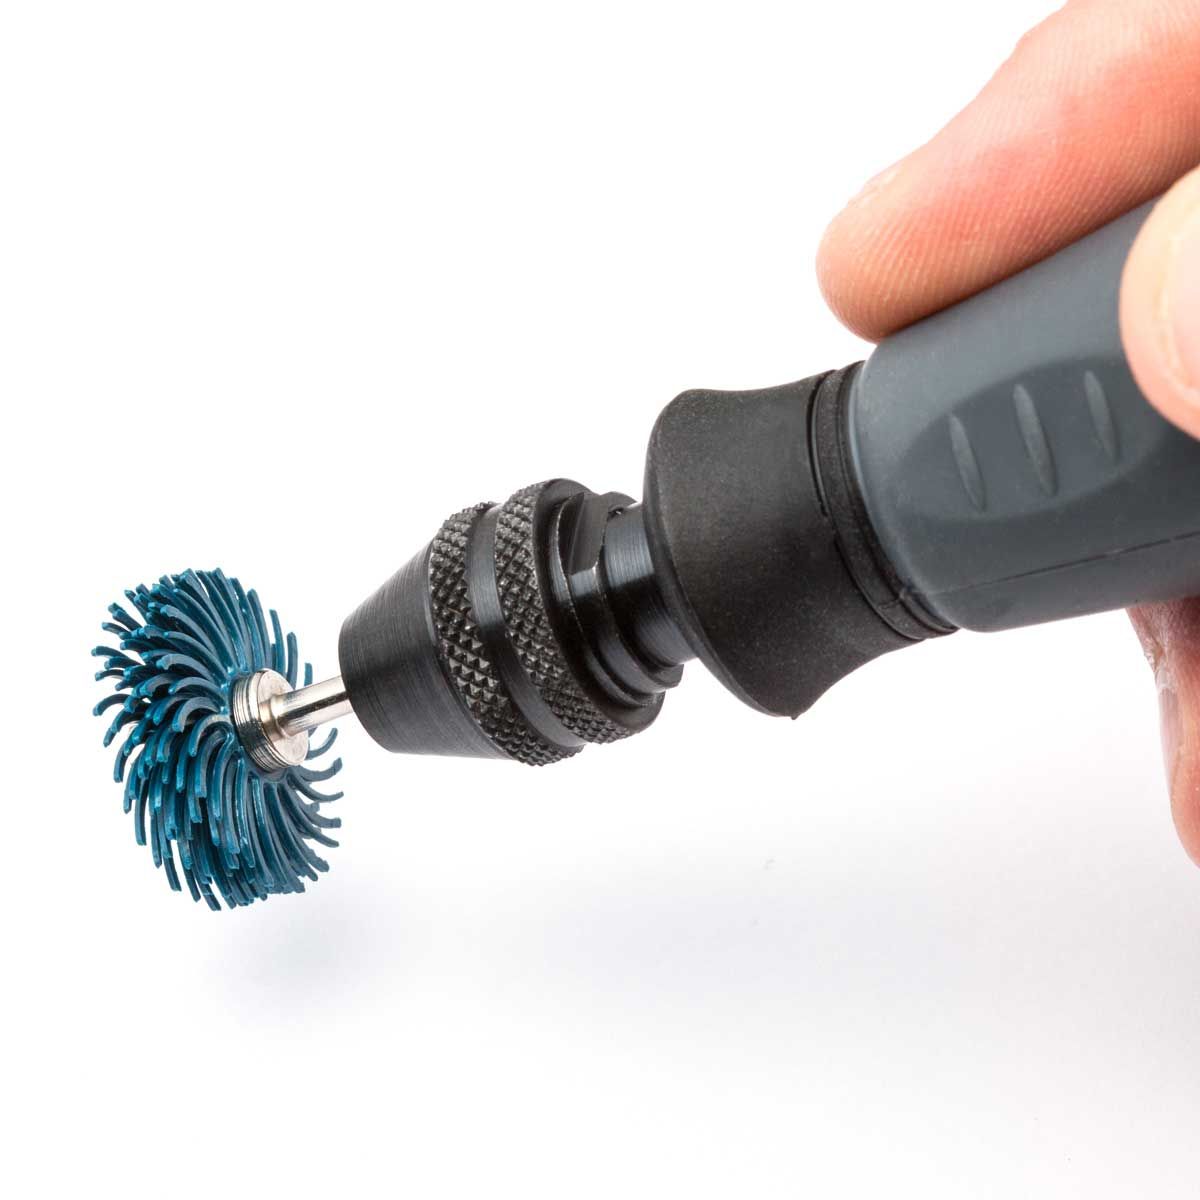
You can remove this solder by using a file or sanding sticks. For a speedy fix, we also recommend our radial bristle discs which significantly reduces clean up time and effort due to their flexibility in reaching awkward to reach areas.
How Do I Remove Fire Scale & Fire Stain?
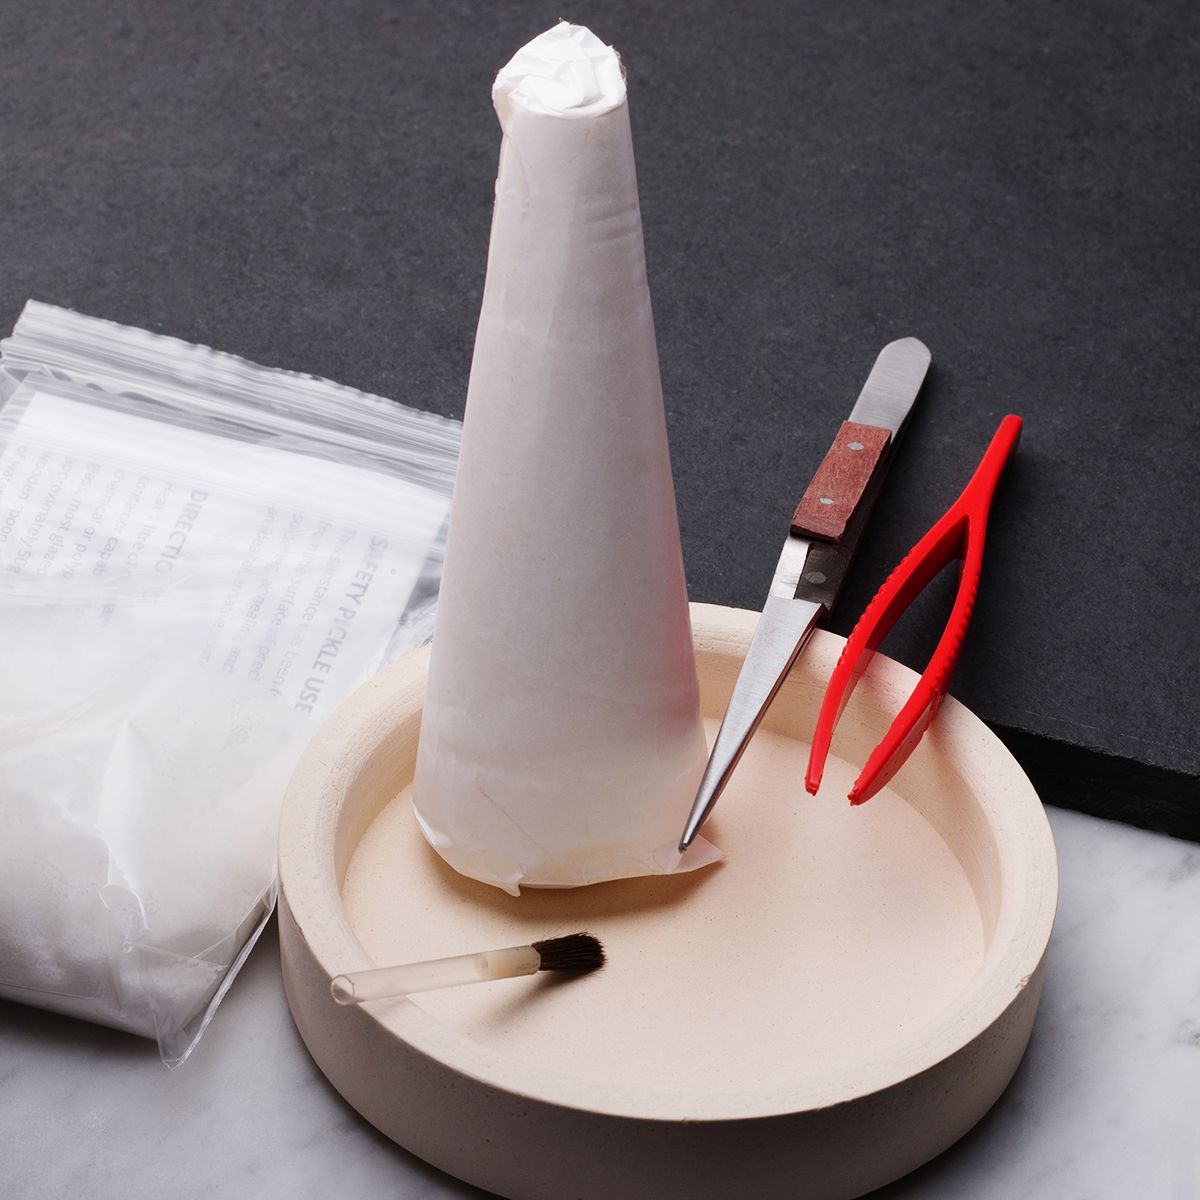
Fire scale is what naturally happens during the soldering process and appears as a grey or dark black colour. This is caused by oxygen coming into contact with the metal, oxidising the copper content within the metal and bringing the copper to the surface of the metal. Simply use safety pickle after soldering to remove the oxides from the surface.
Fire stain on the other hand usually becomes apparent in the final stage of polishing your jewellery, where you may notice pink, purple or dark blotches on the metal. Unfortunately pickle cannot fix this problem and you will need to file away the fire scale and re-polish your piece.
For more information read our advice page with recommended products.
How To Prepare & Store Solder
The video below is part of our Top Tip Tuesday video series of metalsmithing advice! Find out how the best way to prepare your solder and some brilliant tips on storing solder so it's easy to use when needed.
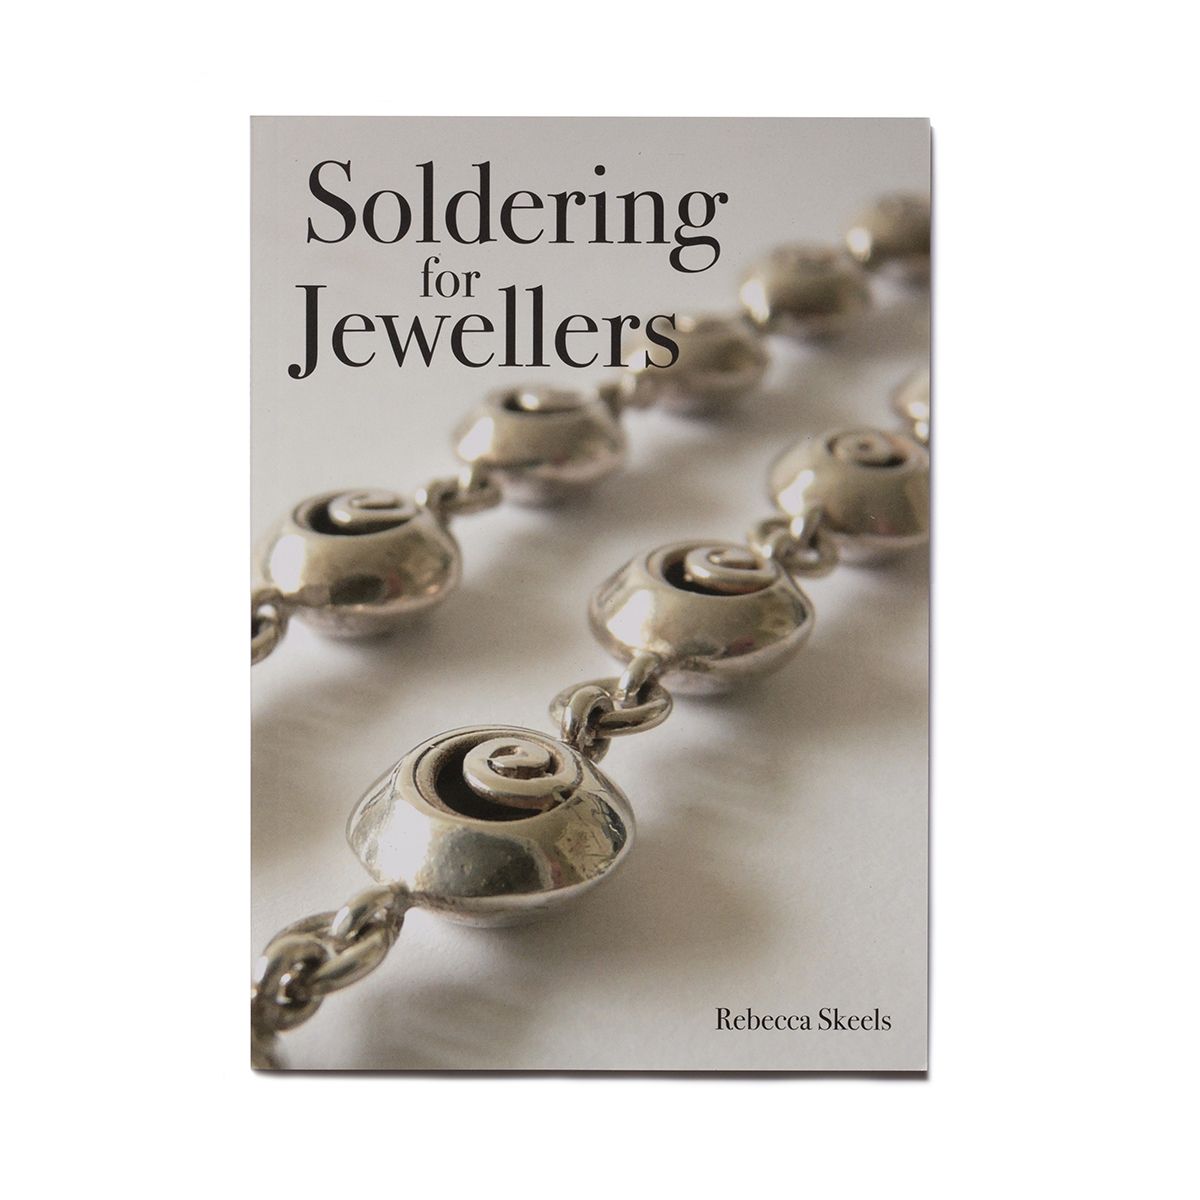
Check Out Our Recommended Soldering Books For Further Reading
Shop Soldering Supplies & Learn More
We hope you found this page helpful and it's eased some of your soldering concerns! You'll find all the jewellery making supplies you need with us online as well as even more advice pages and tutorials to follow for free.
Soldering Tools & Supplies
Shop our range of soldering tools and accessories for soldering your jewellery pieces. Whether you need silver solder in a range of grades, silver solder paste and 9ct gold solder as well as gas torches, flux and other soldering accessories.
Soldering & Jewellery Making Tutorials
There are a large array of tools and techniques that help to make different designs possible. In our soldering & metalsmithing advice section, you will find helpful information pages on products, techniques as well as some exciting tutorials to follow too.
Photos included from our tutorials, including by guest tutors from Be More Me Designs, Jordan Lily Designs & Made By Oonagh.