Snowflake Obsidian Necklace
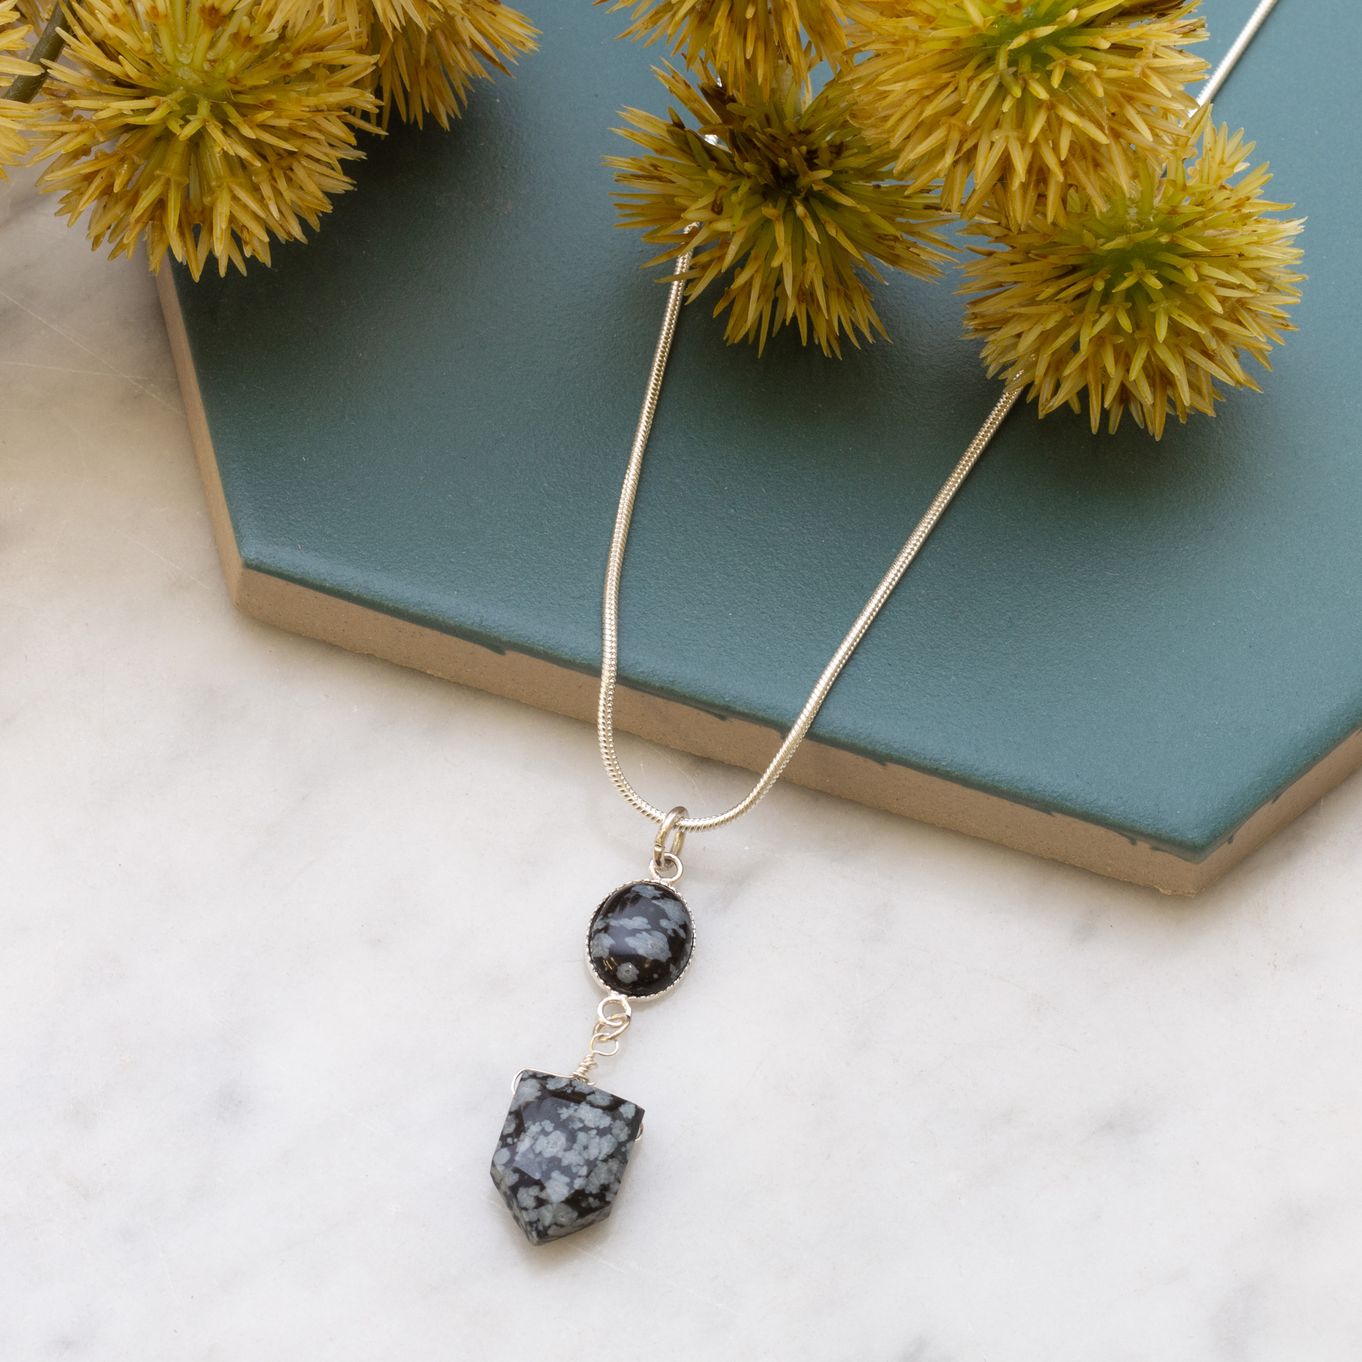
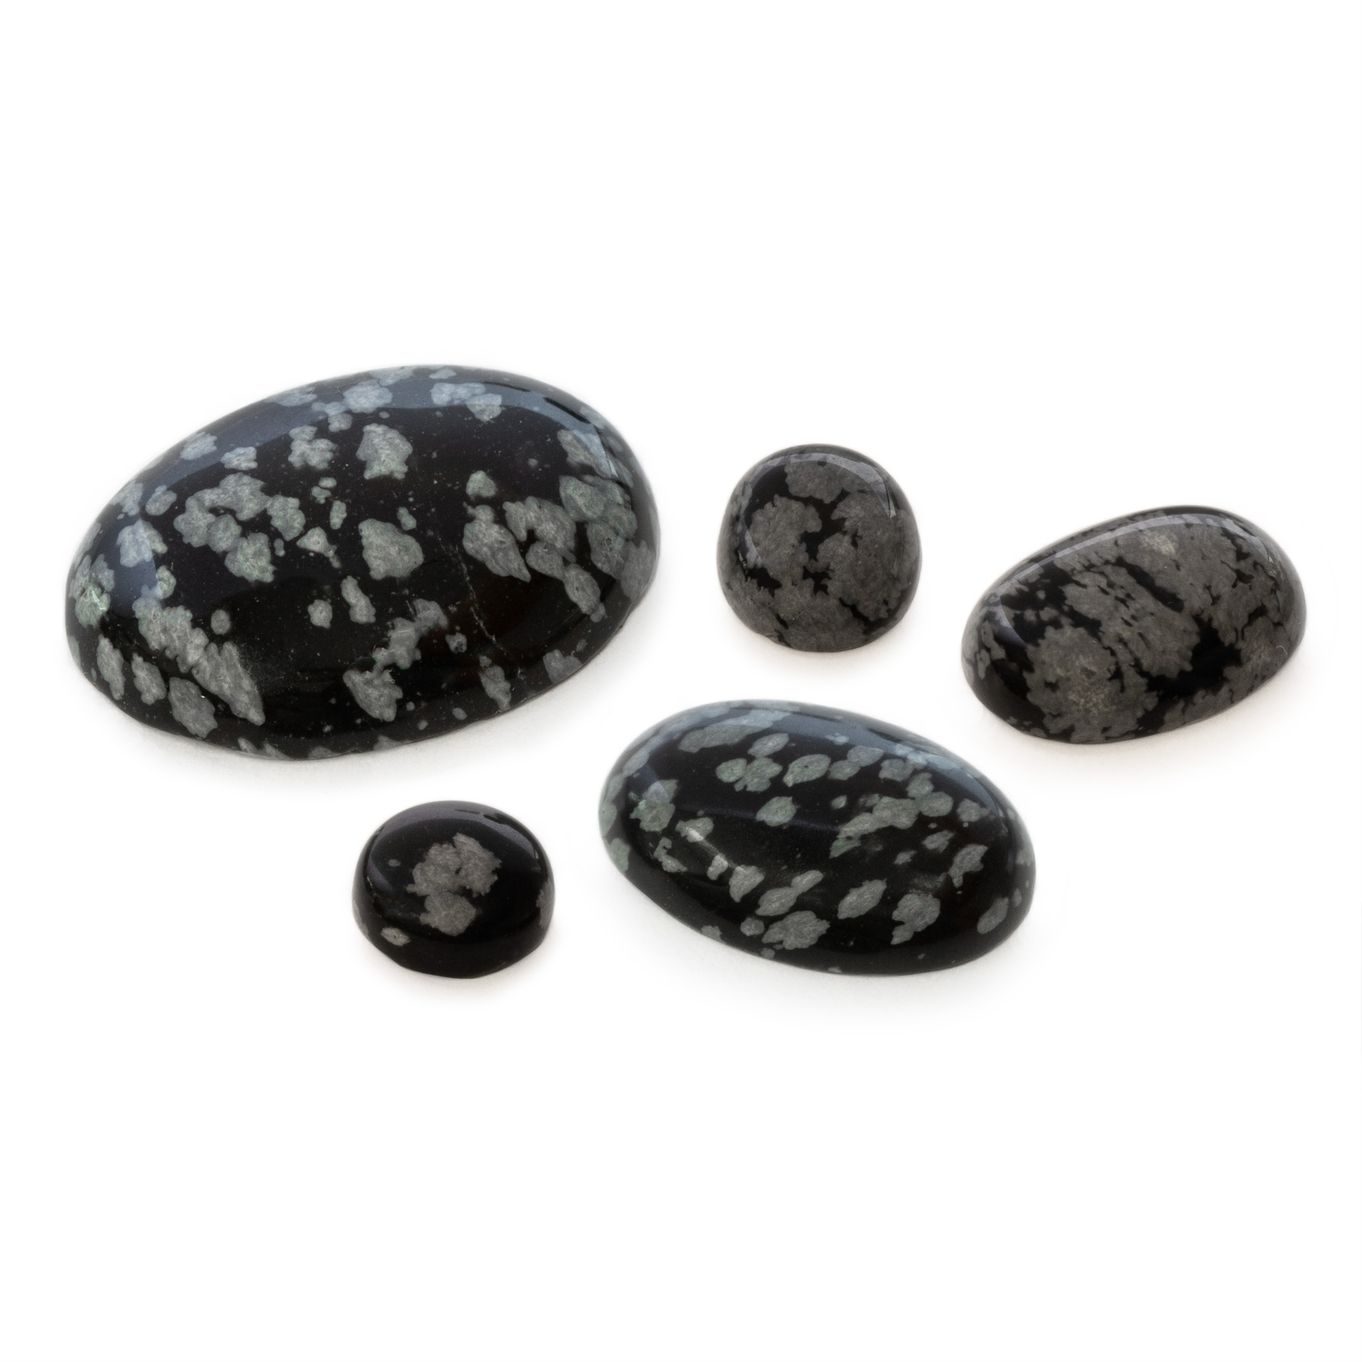
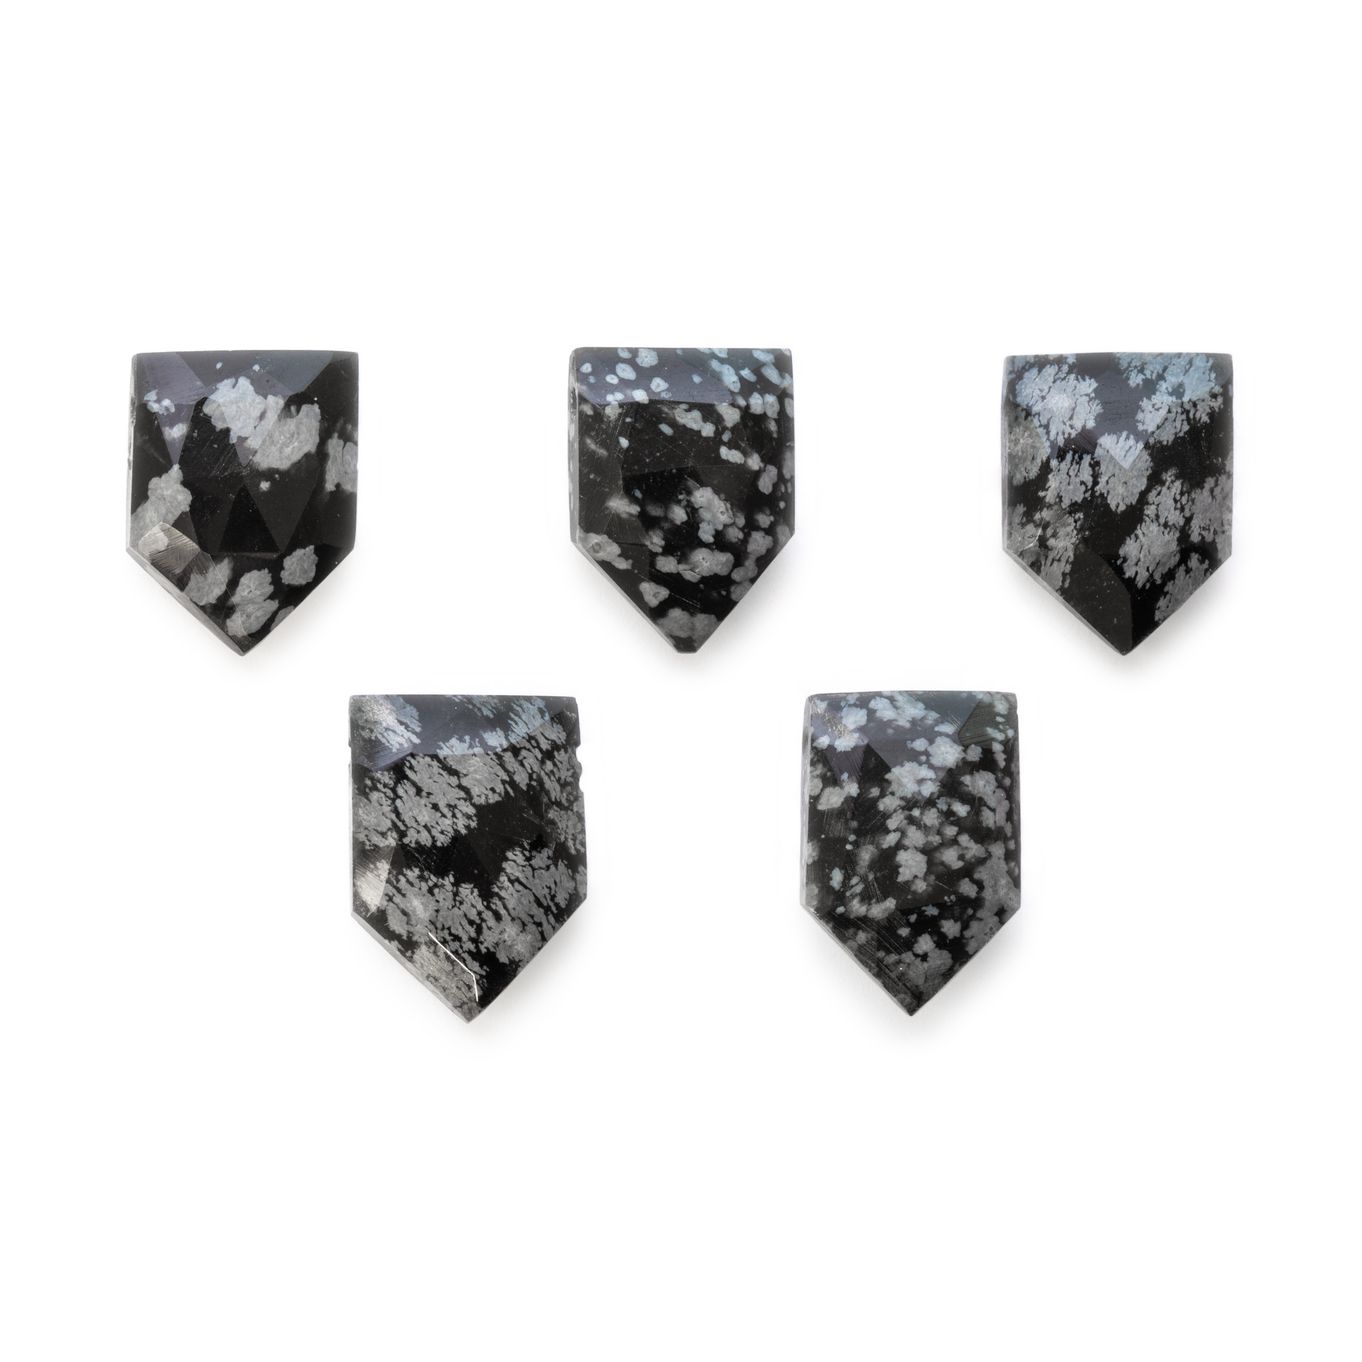
This is a beautiful winter design featuring our gorgeous snowflake obsidian shield beads. You could get creative by choosing your favourite gems from our bead collection instead. The same technique can be used to create dangly earrings too.
STEP BY STEP INSTRUCTIONS
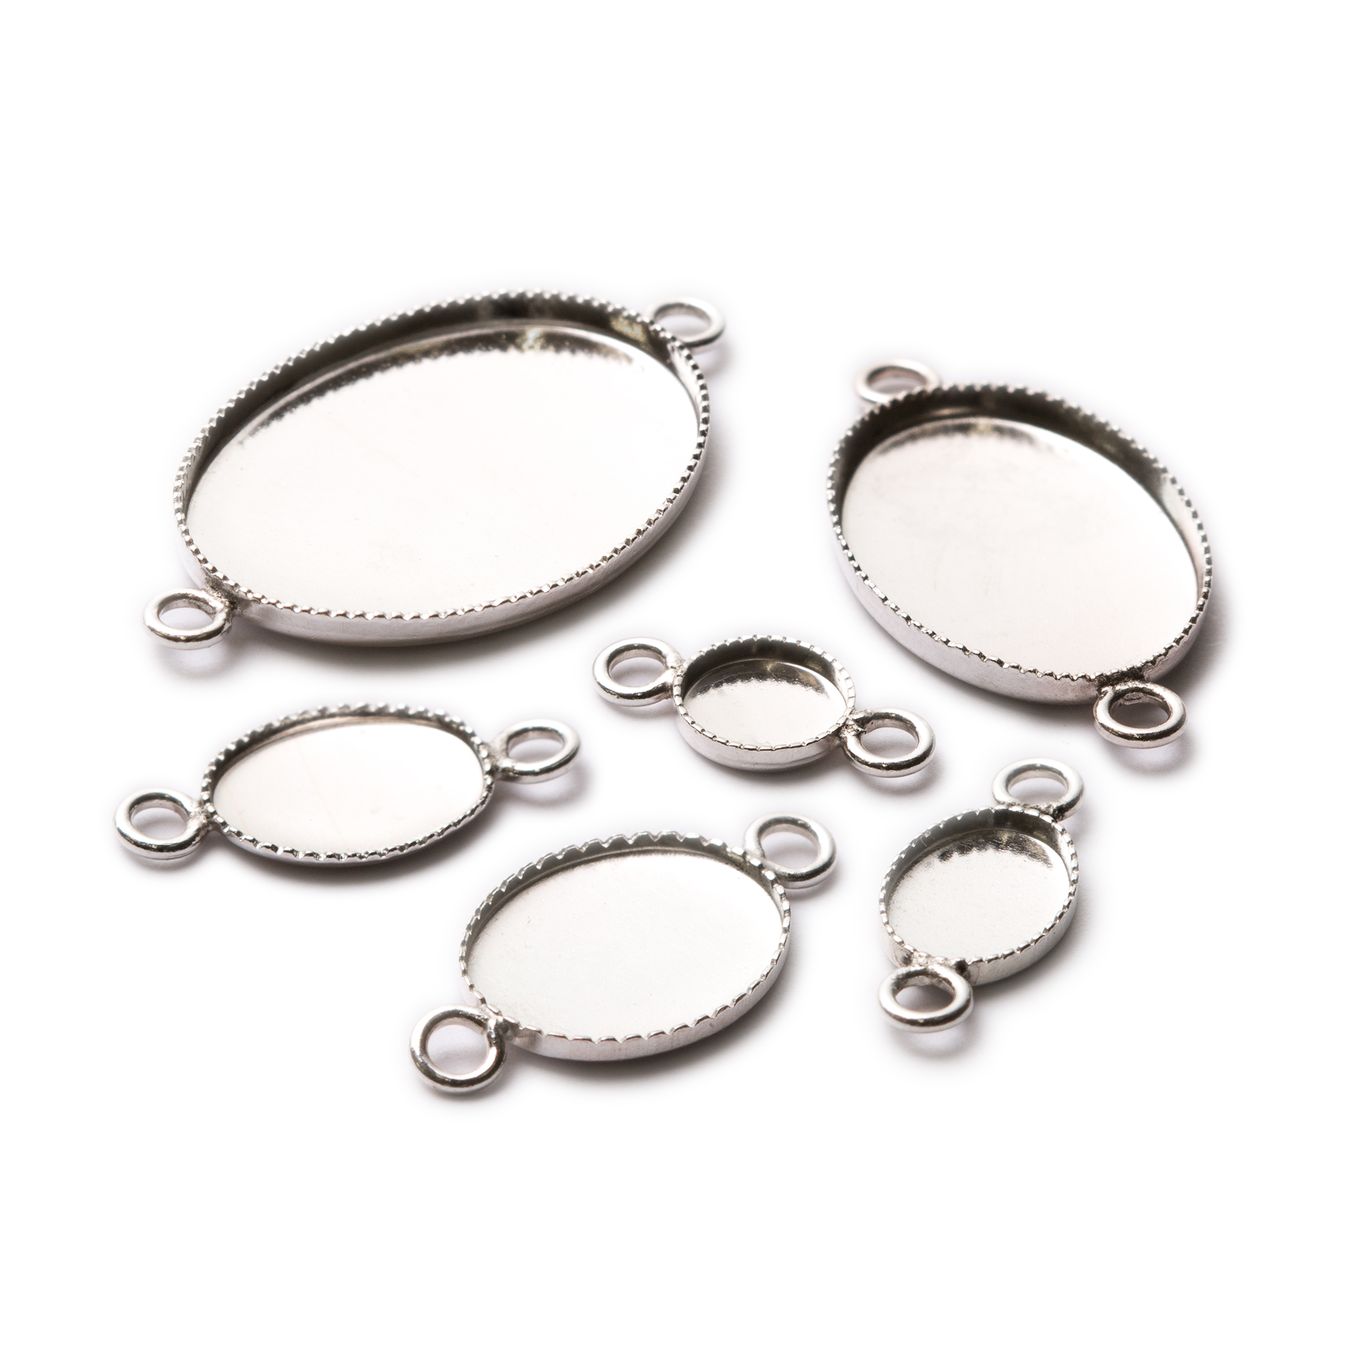
1. Begin by applying glue (we recommend using Devcon 5 Minute Epoxy glue) to the link setting and set the amber cabochon. Leave to dry.
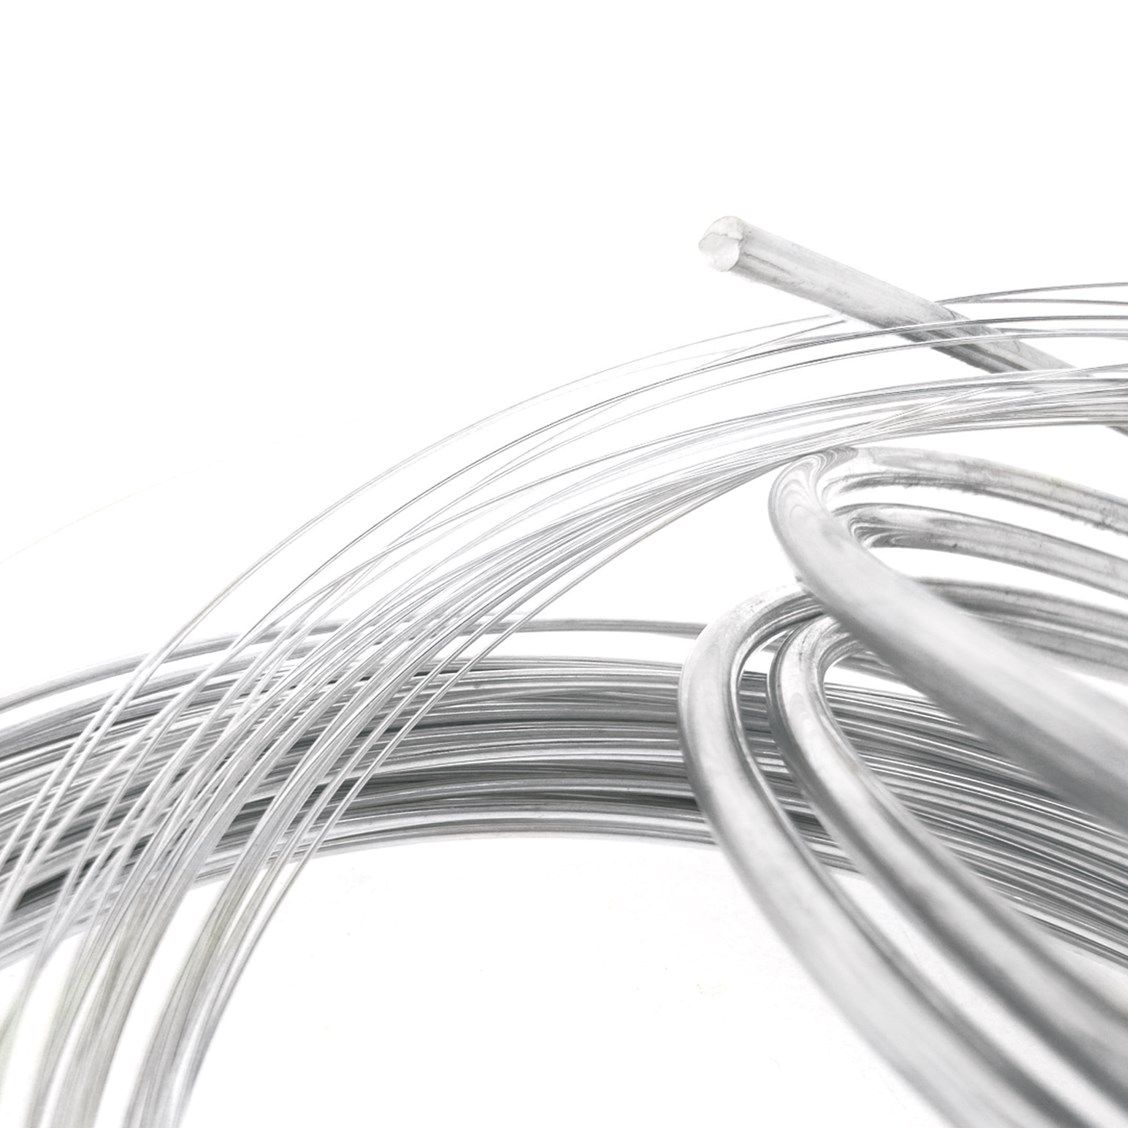
4. Next wire wrap a shield bead - click here for step by step instructions with photos of how to wire wrap a briolette. Using side cutters cut a length of wire approximately 15 - 20cm long. Slip the bead onto the wire around 3-4cm down.
5. Ensuring one side of wire is longer than the other - pinch both ends of the wire together at the top of the bead to form a triangle shape and check that the bead is centred.
6. Hold both sides of the wire with your round nose pliers and bend the longer length to a right angle. At this point work half way up the plier nose to ensure you allow yourself enough room for a good wrap.
7. If necessary use side cutters to cut the short side of wire so that it stops at around the same point as bend on the longer side of wire. This will determine the length of your wrap.
8. Use your round nose pliers to form a loop with the longer side of wire by bending it to a right angle and wrapping it around the tip of the pliers. Make sure the loop is above the end of the short side of the wire and the centre of the bead.
9. Hold the loop flat between the tips of your snipe nose pliers. Take the long length of wire between your fingers and holding it taught, start wrapping it around the stem of the wires - starting at the base of the loop and working down towards the bead. To help keep your wire wrapping tight you can use the tips of snipe nose pliers to gently squeeze the coil together.
10. Continue to wrap until you reach the top of the bead. You can finish your wrapping here or you can continue to wrap around the top of the bead to form a cap. Use side cutters to cut the wire as close as possible to the coil and use snipe nose pliers to squeeze the end of wire into the coil.
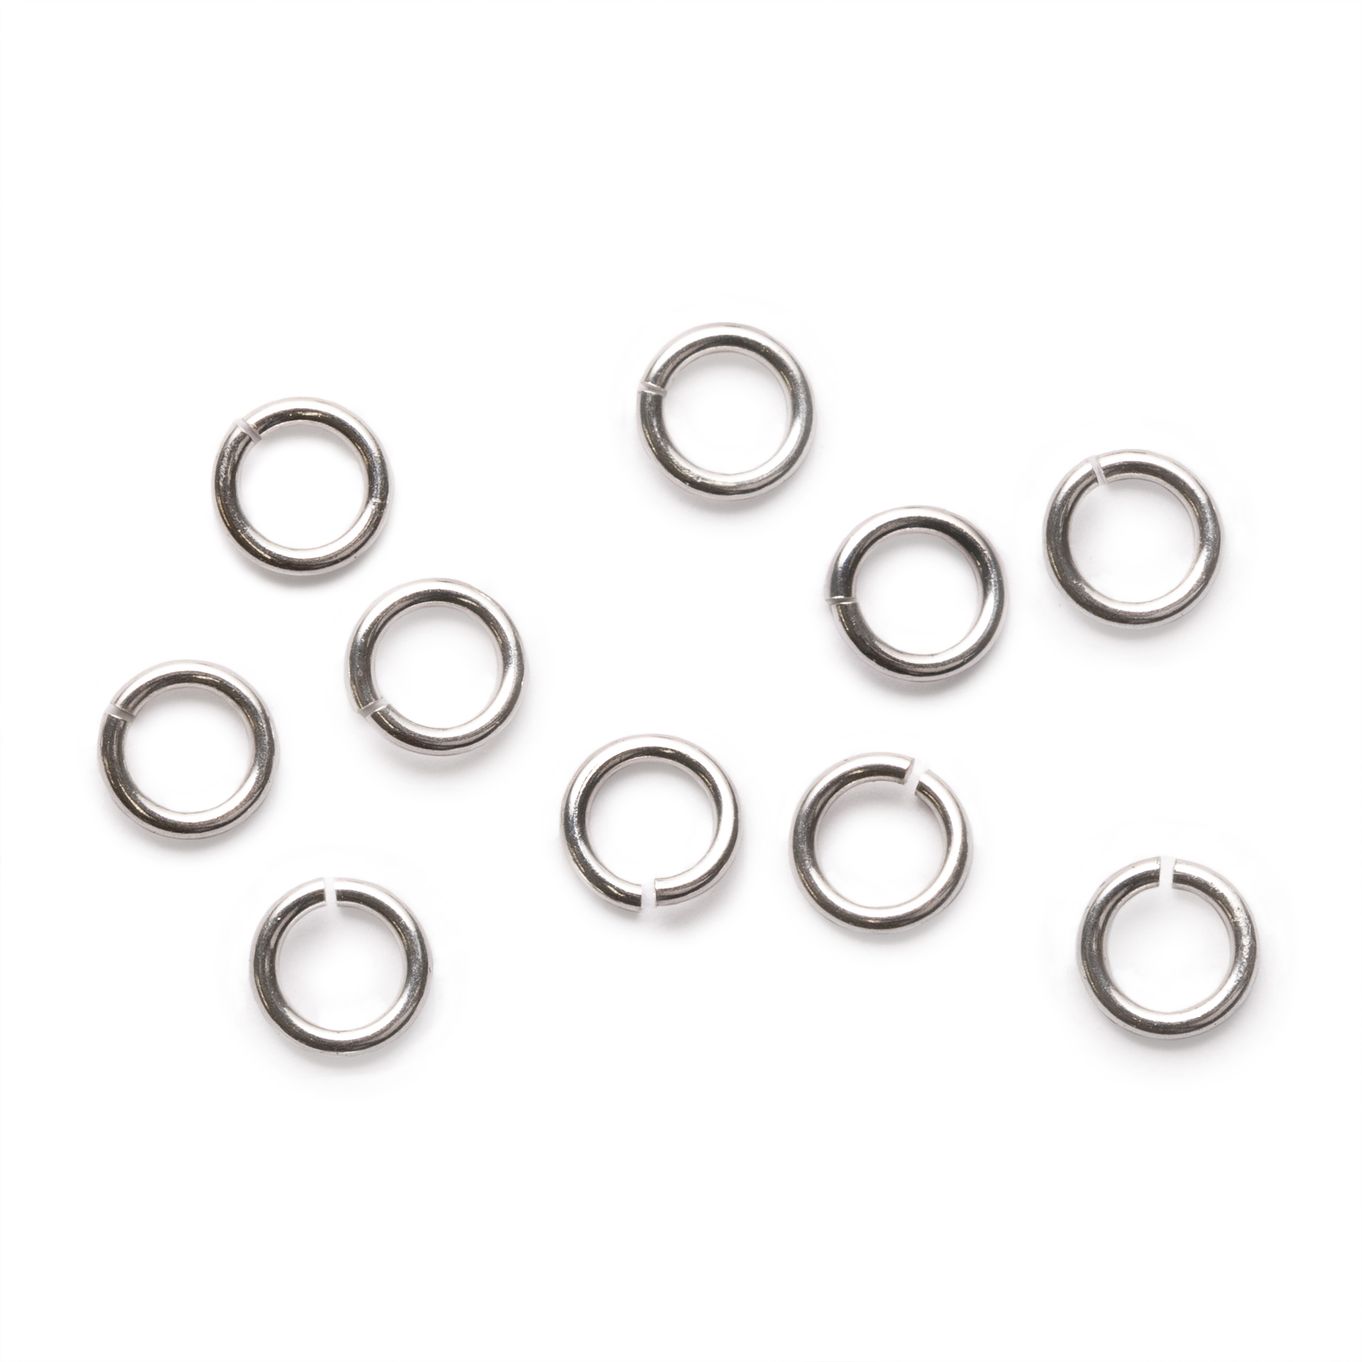
11. Twist open a 3mm jump ring, thread through the bead loop and one end of the link setting. Close the jump ring.
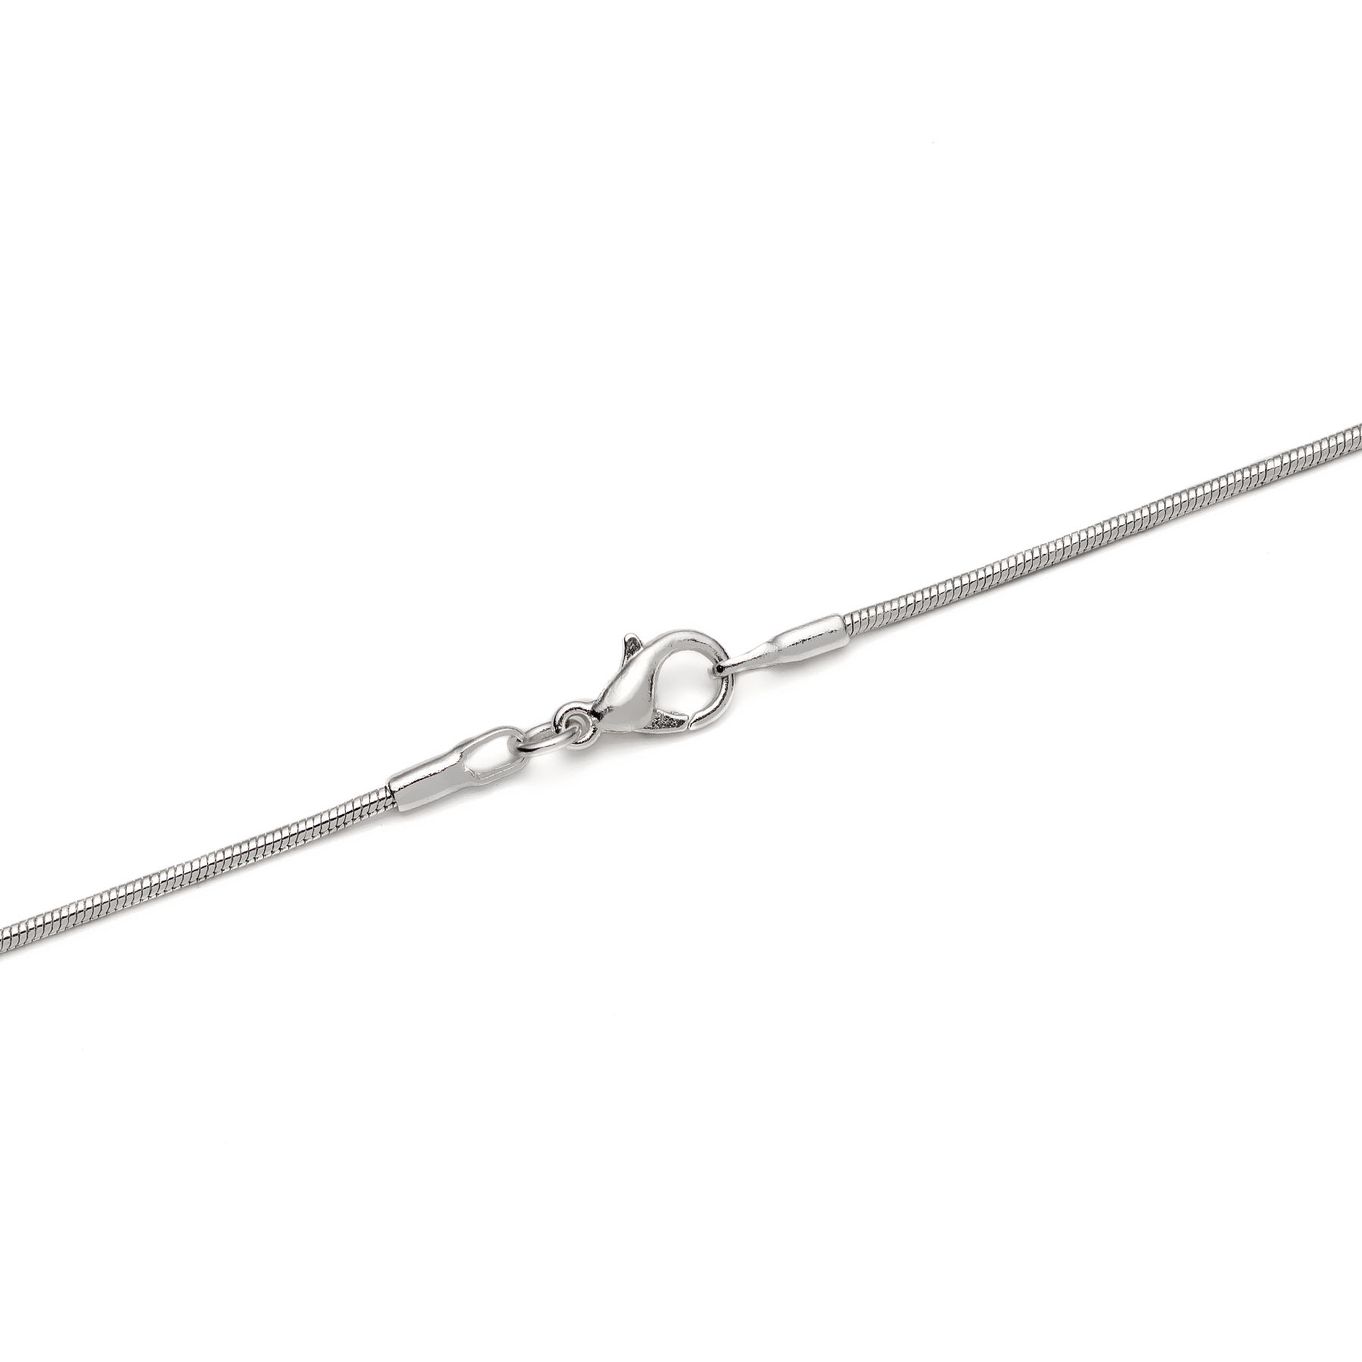
12. Twist open another jump ring, thread through the other end of the link setting and the necklace. Close the jump ring. Your necklace is now ready to wear.
SUGGESTED TOOLS FOR THIS PROJECT
Pair of flat or snipe nose pliers
You may like to get our pack of pliers & side cutters which is an economical way of buying all the pliers you will need for every project!
CUSTOMISE YOUR KIT
Make the design your own by using your favourite jewellery supplies
HELPFUL PAGES
How to wire wrap a briolette bead
Read our wire wrapping advice pages with tutorials
JEWELLERY MAKING BOOKS
The Basics of Bead Stringing by Debbie Kanan
Beading Design by Kim Glover
The Encyclopedia Of Wire Jewellery Techniques by Sara Withers
Kernowcraft's jewellery making kits are aimed to inspire you - therefore the step by step instructions are available online only with a shopping list, where you can easily customise the design to suit you. We recommend printing or bookmarking this page ready to follow.
The suggested products used in this project are suggestions to inspire you. Products used were compatible at the time of making but do be aware that gemstones are natural and hand cut stocks can vary, so do use your own common sense as to the compatibility of each item when making.
Your Shopping List
You can buy all the products in this collection at once by clicking the button below or add individual products by clicking the button beside each one.