Peridot Daisy Chain Necklace
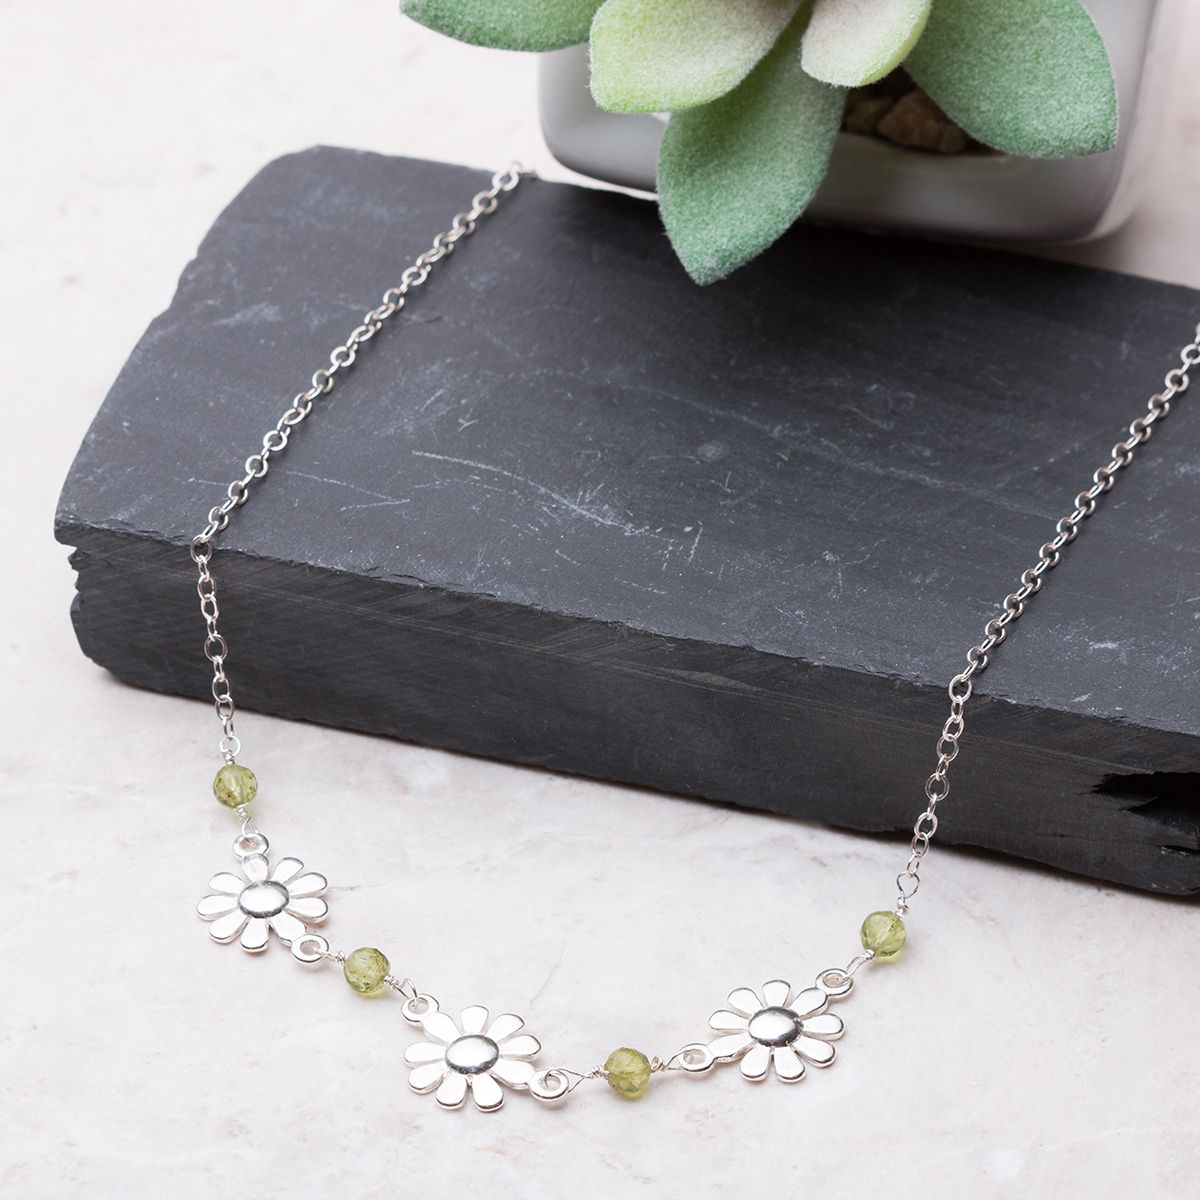
The necklace design is really easy to make and needs only some pliers and wire cutters for the wire work - a great project to practice basic wire wrapping skills!
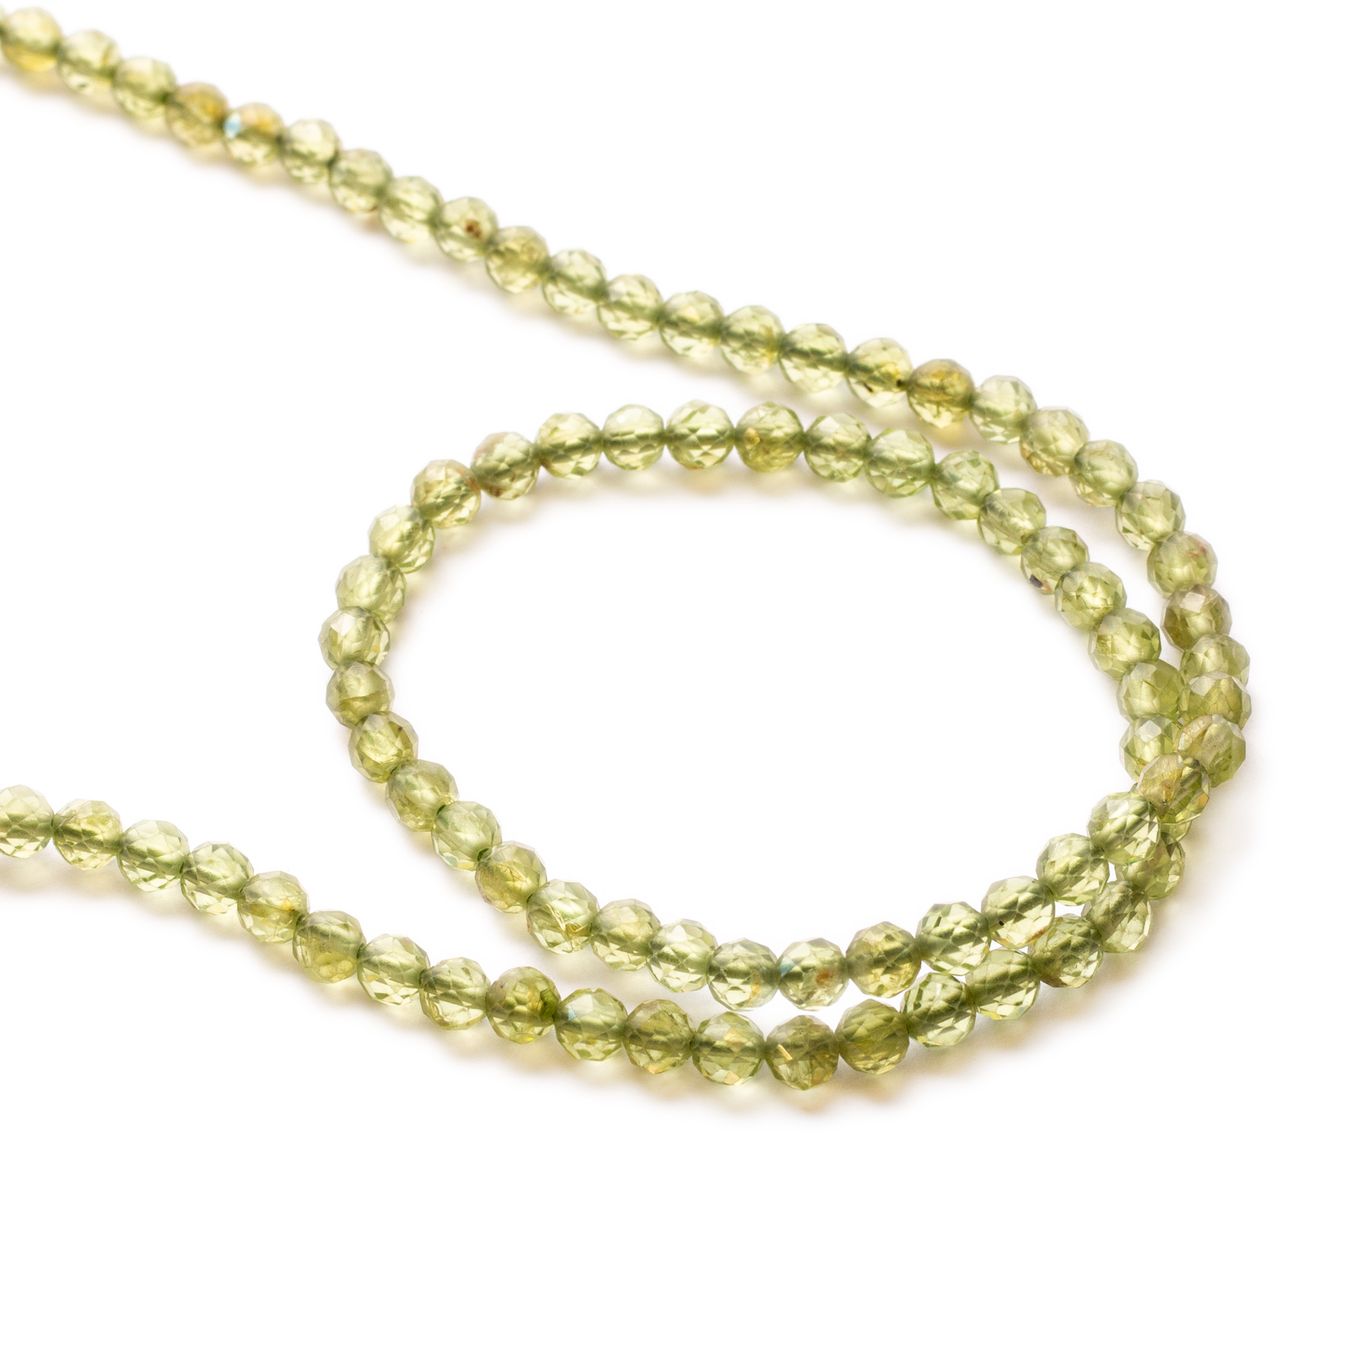
We have used our stunning peridot beads which are great for adding a pop of spring colour. If you like the design but fancy using an alternative gemstone, browse our huge collection of gemstone beads which are delicate and sparkly and would also work really well with this design.
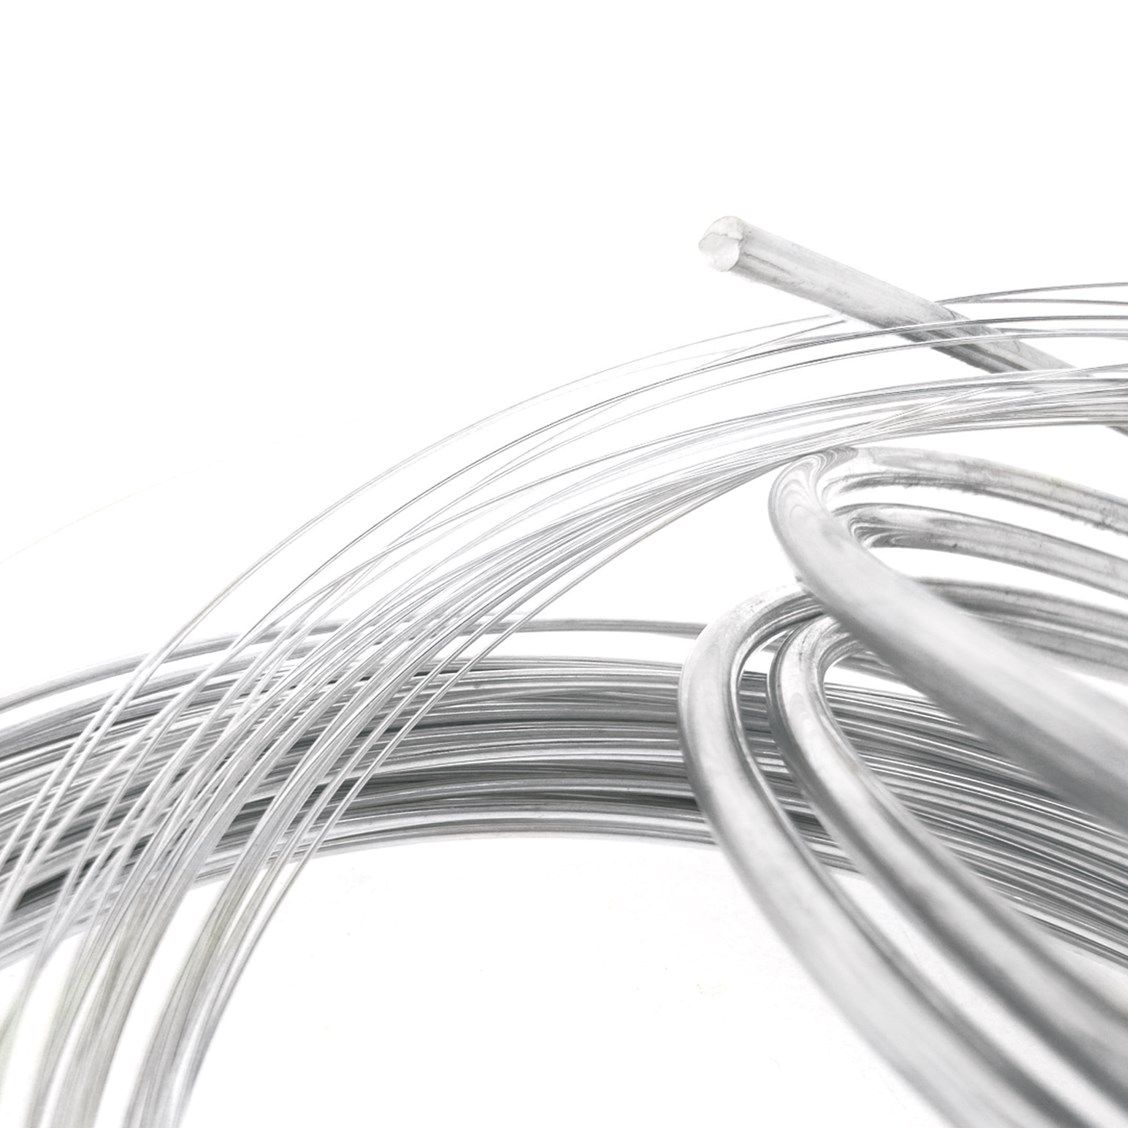
Remember to ensure your wire size is appropriate for the beads you are using. In this project, we have used 0.3mm wire.
This shopping list features a pack of 10 beads, so you can add more to the design or keep them for future projects.
STEP BY STEP INSTRUCTIONS
1. Firstly, find the halfway point in your chain and cut it in half using side cutters - the daisy chain will add some length to your necklace so you can always reduce the length of the chain before starting.
2. Next, take about 10cm of 0.3mm round wire. You may wish to harden the wire a little before use as it is quite fine and flexible. An easy way to do this is to hold either end of the wire with snipe or flat nose pliers and twist gently in opposite directions, you will notice after twisting a few times the wire will feel a little stiffer.
3. Now use round nose pliers to form a loop about 2cm down from one end. Thread one end of the chain into the loop and then create a tight neat coil with the wire by wrapping the shorter end around itself. Trim and tuck in any wire ends.
For a detailed step by step instructions including clear photographs to help you learn the technique click here.
4. Next, thread a bead onto the wire and leave enough wire on the other end (about 2cm) and using the same wire wrapping technique form a loop and attach the loop of a daisy charm link before wire wrapping to secure.
5. Continue with the bead chain technique with your desired amount of beads and charm links - with the final bead don't forget to link onto the end of the chain-link before securing the wire wrap.
Your necklace is now finished and ready to wear!
Watch our video tutorial on how to create a bead bar necklace below, which uses a similar technique
SUGGESTED TOOLS FOR THIS PROJECT
Snipe nose pliers or flat nose pliers
You may like to get our pack of pliers & side cutters which is an economical way of buying all the pliers you will need for every project!
CUSTOMISE YOUR KIT
Make the design your own by using your favourite jewellery supplies.
Kernowcraft's jewellery making kits are aimed to inspire you - therefore the step by step instructions are available online only with a shopping list, where you can easily customise the design to suit you. We recommend printing or bookmarking this page ready to follow.
The suggested products used in this project are suggestions to inspire you. Products used were compatible at the time of making but do be aware that gemstones are natural and hand cut stocks can vary, so do use your own common sense as to the compatibility of each item when making.
Your Shopping List
You can buy all the products in this collection at once by clicking the button below or add individual products by clicking the button beside each one.