Green Onyx Christmas Tree Earrings
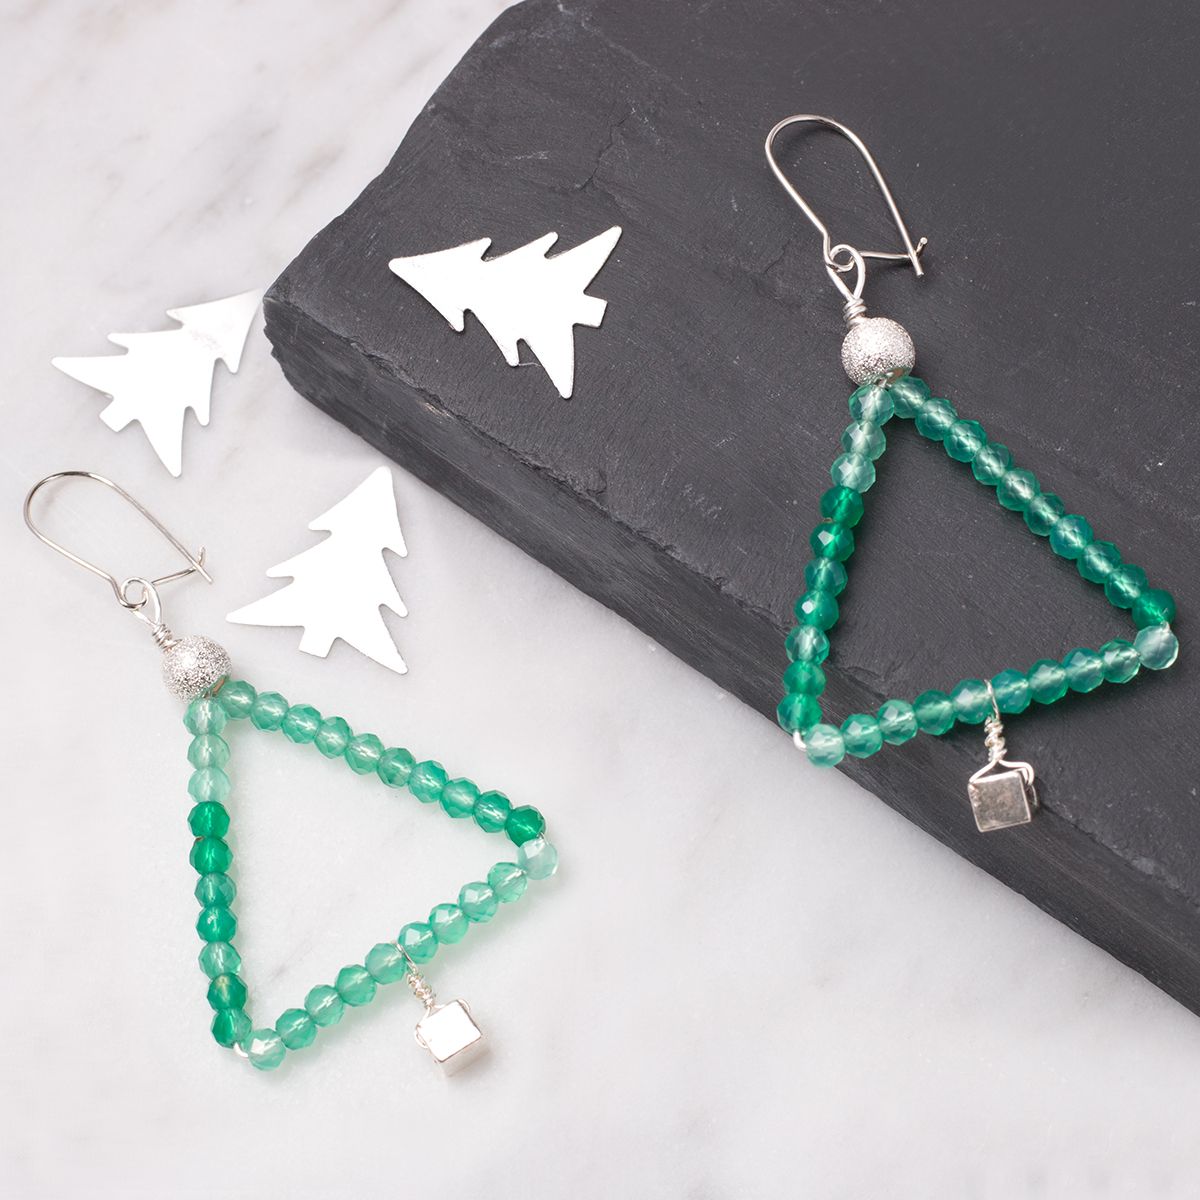
These dazzling green onyx christmas tree earrings sparkle in the light and are the perfect gift - we've chosen our sterling silver cube beads and stardust round beads to add to the elegant design. This project uses basic wire wrapping techniques for a simple yet effective design.
STEP BY STEP INSTRUCTIONS
1. Use side cutters to cut your wire to length - we recommend a length of wire approx 15cm of 0.5mm per earring for this design.
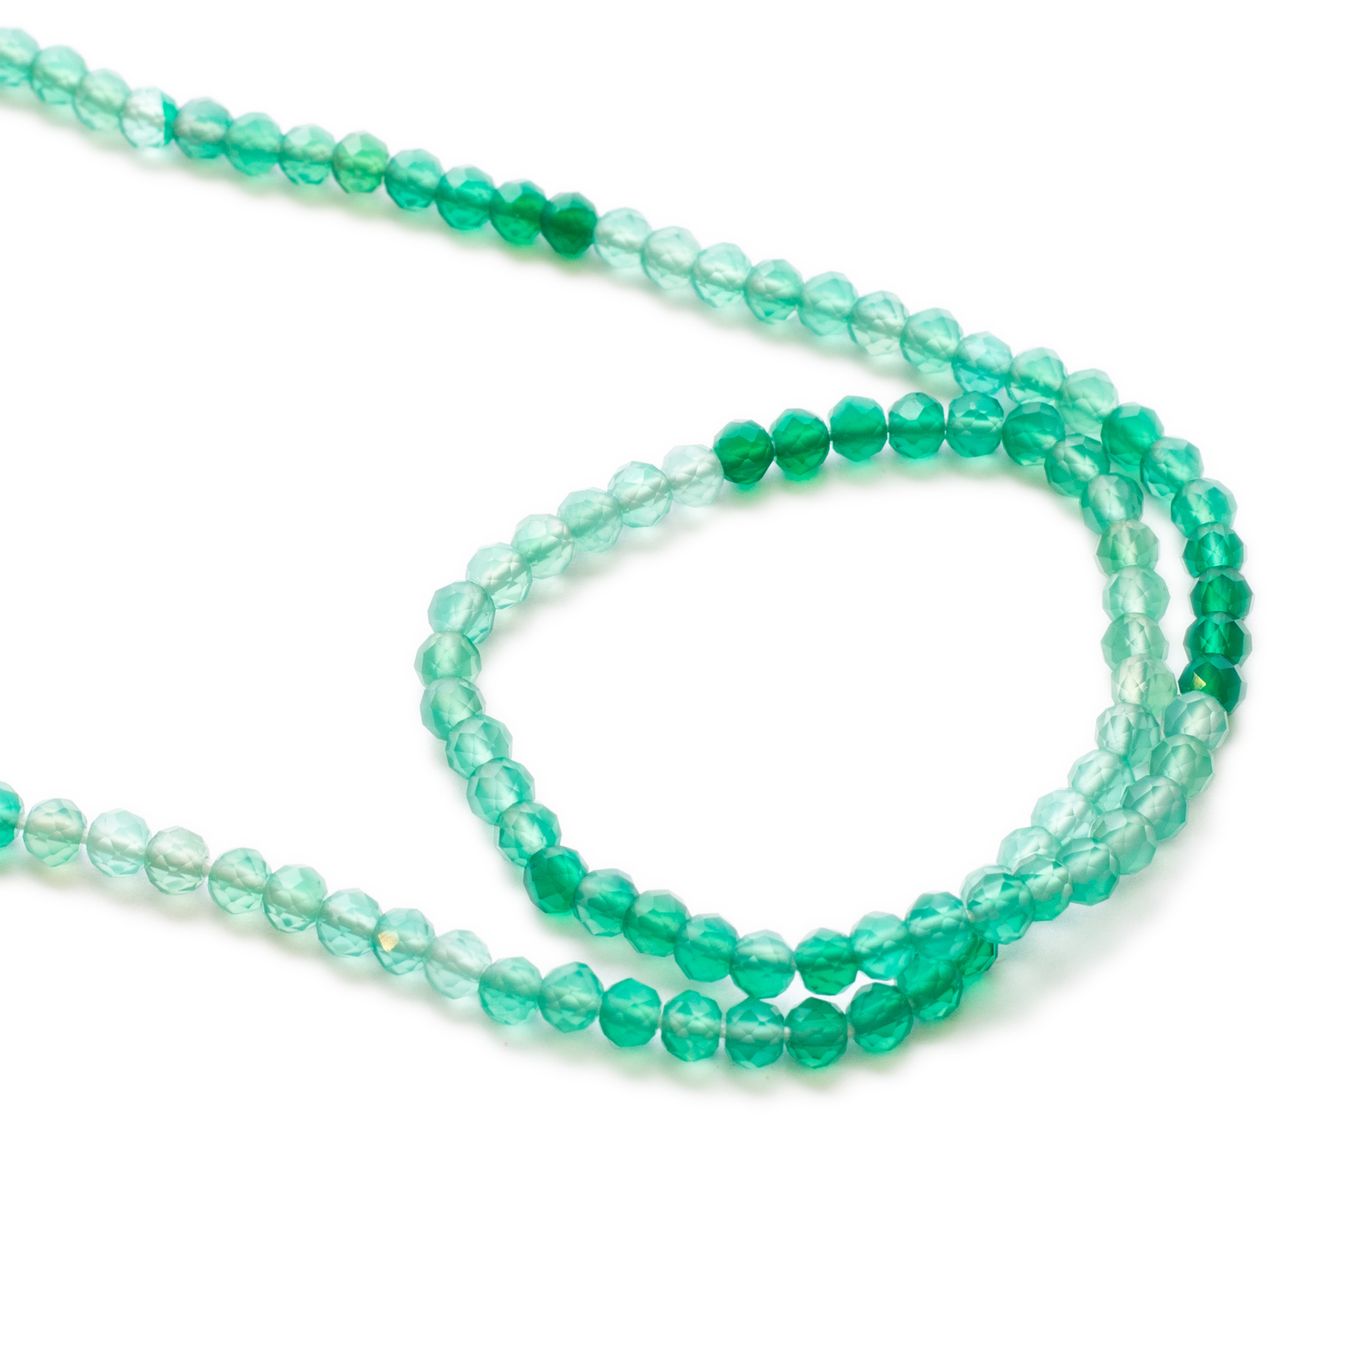
2. Simply thread the green onyx beads onto the wire roughly onto the middle, approx 3cm length.
3. Bend both ends of the wire to the top and thread approximately 3cm of green onyx beads onto each side.
4. Bend both sides together to meet at the top and create a triangle. Use snipe nose pliers to squeeze the 2 wires together and point upwards.
5. Thread on the silver stardust bead.
6. Leave a space of approximately 0.5cm and use round nose pliers to create a loop on one side of the wire.
7. Use side cutters to trim the 2nd piece of wire at the height just below the base of the loop.
8. Wrap the wire at the base of the loop around the stem catching in the shorter end.
9. Use snipe nose pliers to gently squeeze the coil together. Once you're happy with the wrap, use side cutters to trim excess wire.
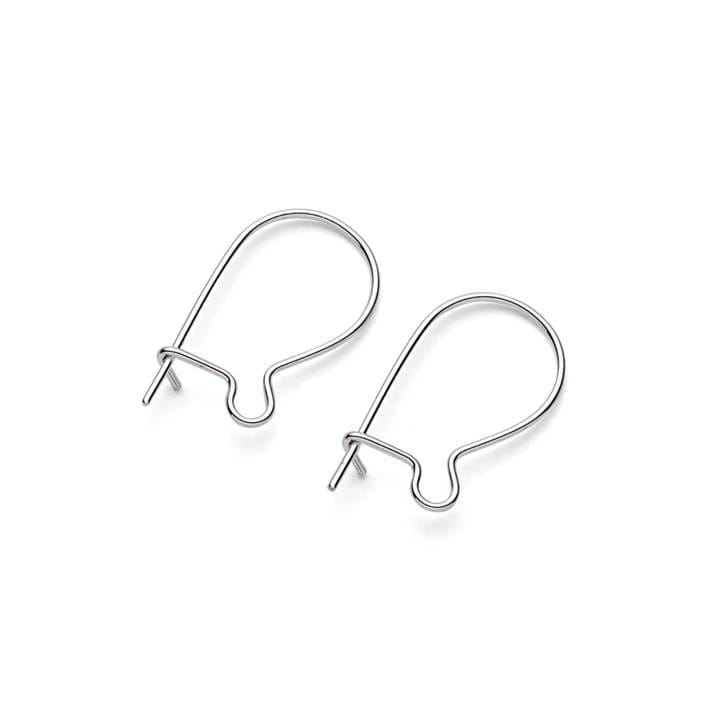
10. Thread the loop onto the earwire and gentle squeeze the small loop of the earwire together with snipe nose pliers to ensure the tree is secure.
11. Next, use side cutters to cut approximately 10cm of 0.3mm wire.
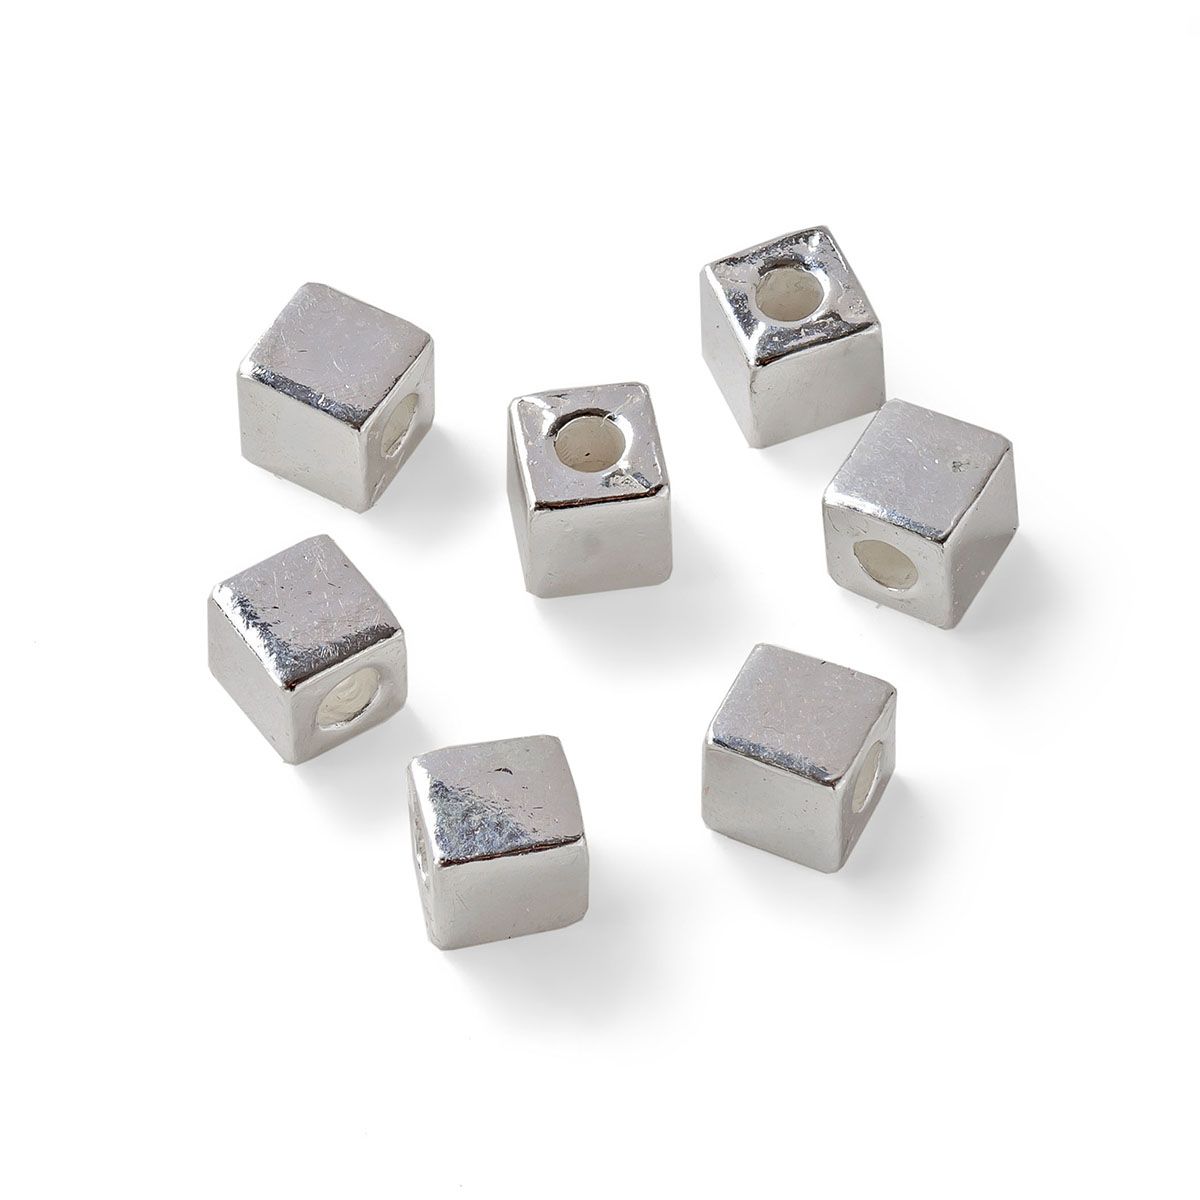
12. Thread through the silver cube bead and pinch the wires together above the bead. Leave a space of approximately 0.5cm and use round nose pliers to create a loop on one side of the wire.
13. Use side cutters to trim the 2nd piece of wire at the height just below the base of the loop. Attach the loop onto the bottom wire of the triangle and wrap the remaining wire down towards the bead.
14. Use snipe nose pliers to gently squeeze the coil together. Once you're happy with the wrap, use side cutters to trim any excess wire.
15. Repeat the process for the second earring. Your design is now complete!
SUGGESTED TOOLS FOR THIS PROJECT
Snipe nose pliers or flat nose pliers
CUSTOMISE YOUR KIT
Make the design your own by using your favourite jewellery supplies
HELPFUL PAGES
Read our wire wrapping advice pages with tutorials
JEWELLERY MAKING BOOKS
The Basics of Bead Stringing by Debbie Kanan
Beading Design by Kim Glover
Kernowcraft's jewellery making kits are aimed to inspire you - therefore the step by step instructions are available online only with a shopping list, where you can easily customise the design to suit you. We recommend printing or bookmarking this page ready to follow.
The suggested products used in this project are suggestions to inspire you. Products used were compatible at the time of making but do be aware that gemstones are natural and hand cut stocks can vary, so do use your own common sense as to the compatibility of each item when making.
Your Shopping List
You can buy all the products in this collection at once by clicking the button below or add individual products by clicking the button beside each one.