Emerald Leaf Chandelier Earrings
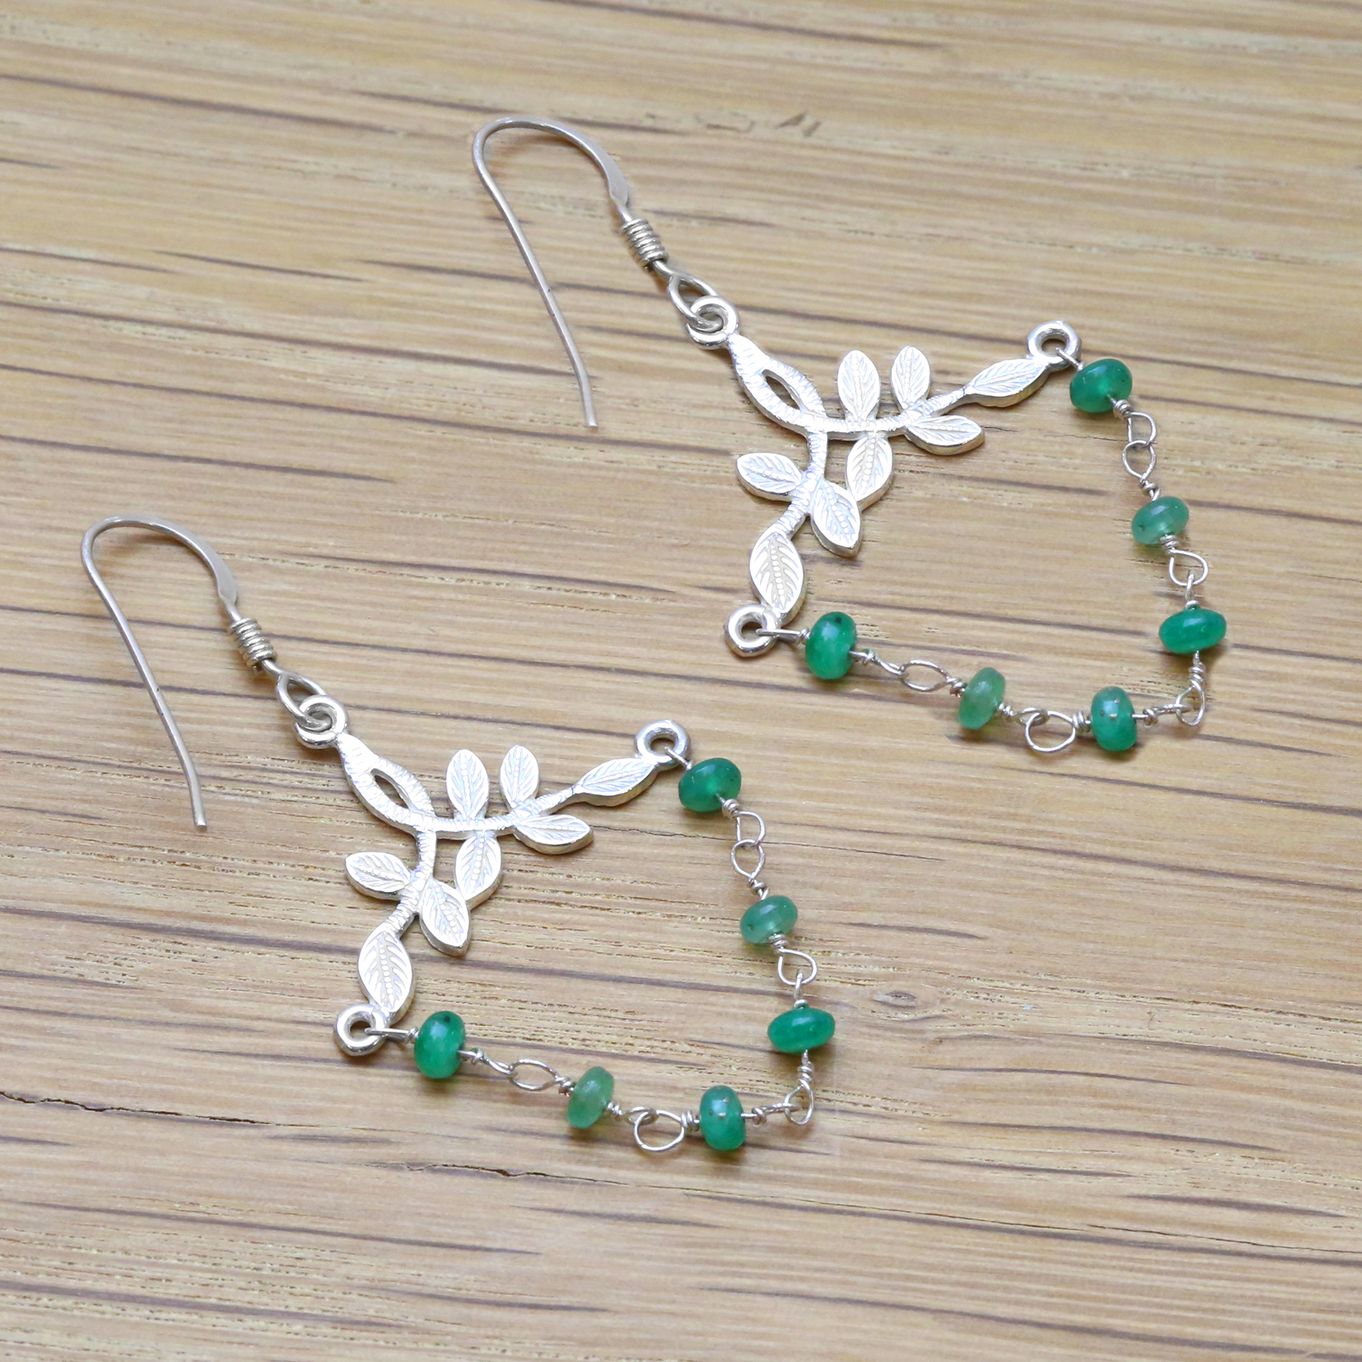
These delicate emerald chandelier style earrings are a beautiful way to showcase the gemstone beads and to practice your wire wrapping technique.
Emerald is the birthstone of May and is said to be the stone of infinite patience.
These earrings would make a beautiful gift for anyone born in the month of May.
Step by step instructions
To start with, line up your beads (6 for each earring) in the order you want them to be, this gives you a good idea of how they will look when strung.
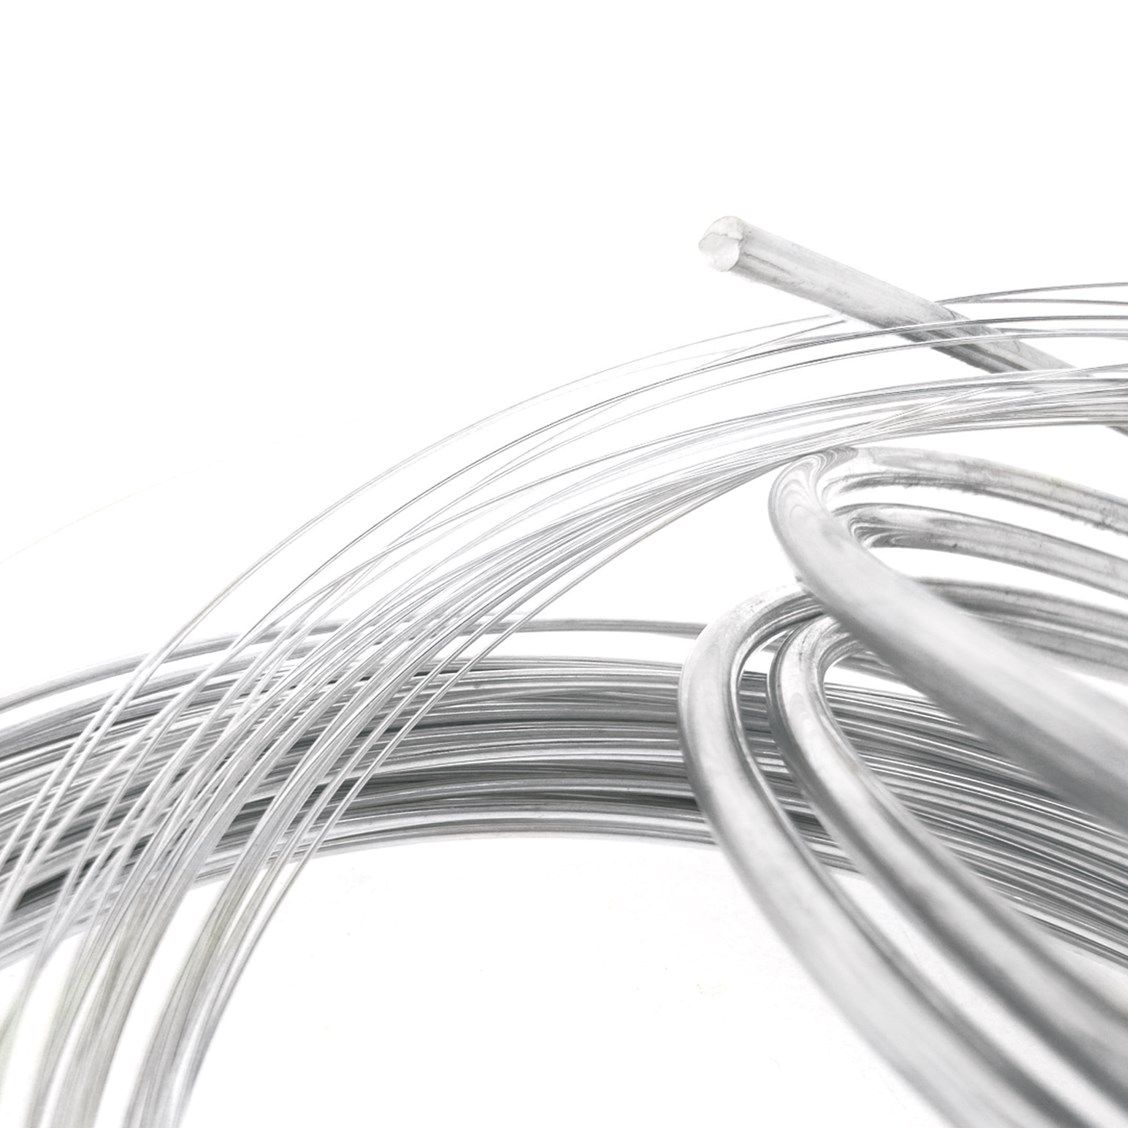
Then with side cutters cut the 0.3mm sterling silver wire into 12 x 3cm lengths (if you're using larger beads you may need to allow a longer length wire to wrap these).
Take the first piece of wire and form a loop one end using the round nose pliers, leaving a short length one side of the loop.
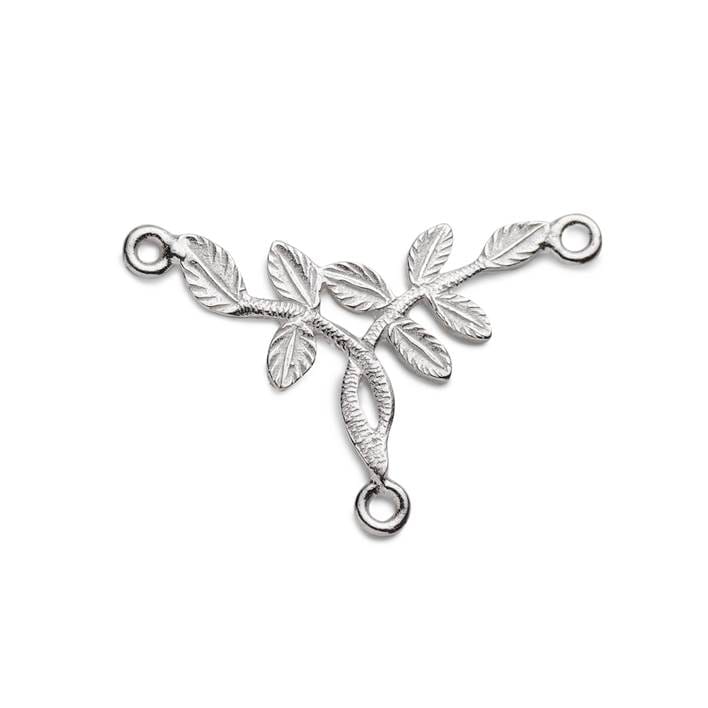
Thread the left-hand ring of the three loop connector onto the wire so it sits in the loop.
Take the shorter length of wire and wrap it around the longer length to create a tight neat coil, 2 or three twists should be fine
TIP: you can use your pliers to help hold the wire whist wrapping.
Cut off any excess wire as close to the coil as possible then use the snipe nose pliers to make sure it's tucked in and there are no sharp points.
You then use the free end of the wire as an eye pin, thread the first bead onto the wire, place your round nose pliers after the bead then bend the wire to a right angle.
Form another loop and repeat the process of tightly wrapping the wire back down the pin towards the bead. This should leave you with two loops either side of the bead and wire coils between the loop and the bead, this secures the bead on the wire.
Now you need to use this wrapping technique to form your chain.
Start again by using one of the lengths of wire and creating a loop one end as before - this time threading the end loop of the previous bead onto the loop before wrapping it closed.
Thread the next bead onto the open end of wire then create the loop the other end and wrap back down towards the bead, cutting off any excess and finishing with the snipe nose pliers.
You then need to repeat this with the remaining 4 beads - but before closing the end link of the last bead you need to thread it onto the right-hand ring of the three loop connector.
This completes attaching the chain to the three loop connector.
For a step by step photo breakdown of creating a wire wrapped chain, click here.
Now you just have to attach your ear wires...
Use your snipe or flat nose pliers to open the loop at the base of the earwire and thread the top ring of the 3 loop connector onto it, closing it after.
For more information on opening and closing jump rings successfully - click here.
Duplicate the same process to create the other earring to complete the pair.
Suggested tools for this project
Snipe nose pliers or flat nose pliers
You may like to get our pack of pliers & side cutters which is an economical way of buying all the pliers you will need for every project!
Customise Your Kit
Make the design your own by choosing your favourite jewellery supplies.
Helpful Pages
How to make a wire wrap bead chain
How to open and close jump rings
Jewellery Making Books
'The Encyclopedia of Wire Jewellery Techniques' by Sara Withers
Kernowcraft's jewellery making kits are aimed to inspire you - therefore the step by step instructions are available online only with a shopping list, where you can easily customise the design to suit you. We recommend printing or bookmarking this page ready to follow.
The suggested products used in this project are suggestions to inspire you. Products used were compatible at the time of making but do be aware that gemstones are natural and hand cut stocks can vary, so do use your own common sense as to the compatibility of each item when making.
Your Shopping List
You can buy all the products in this collection at once by clicking the button below or add individual products by clicking the button beside each one.