Copper Autumnal Leaf Earrings
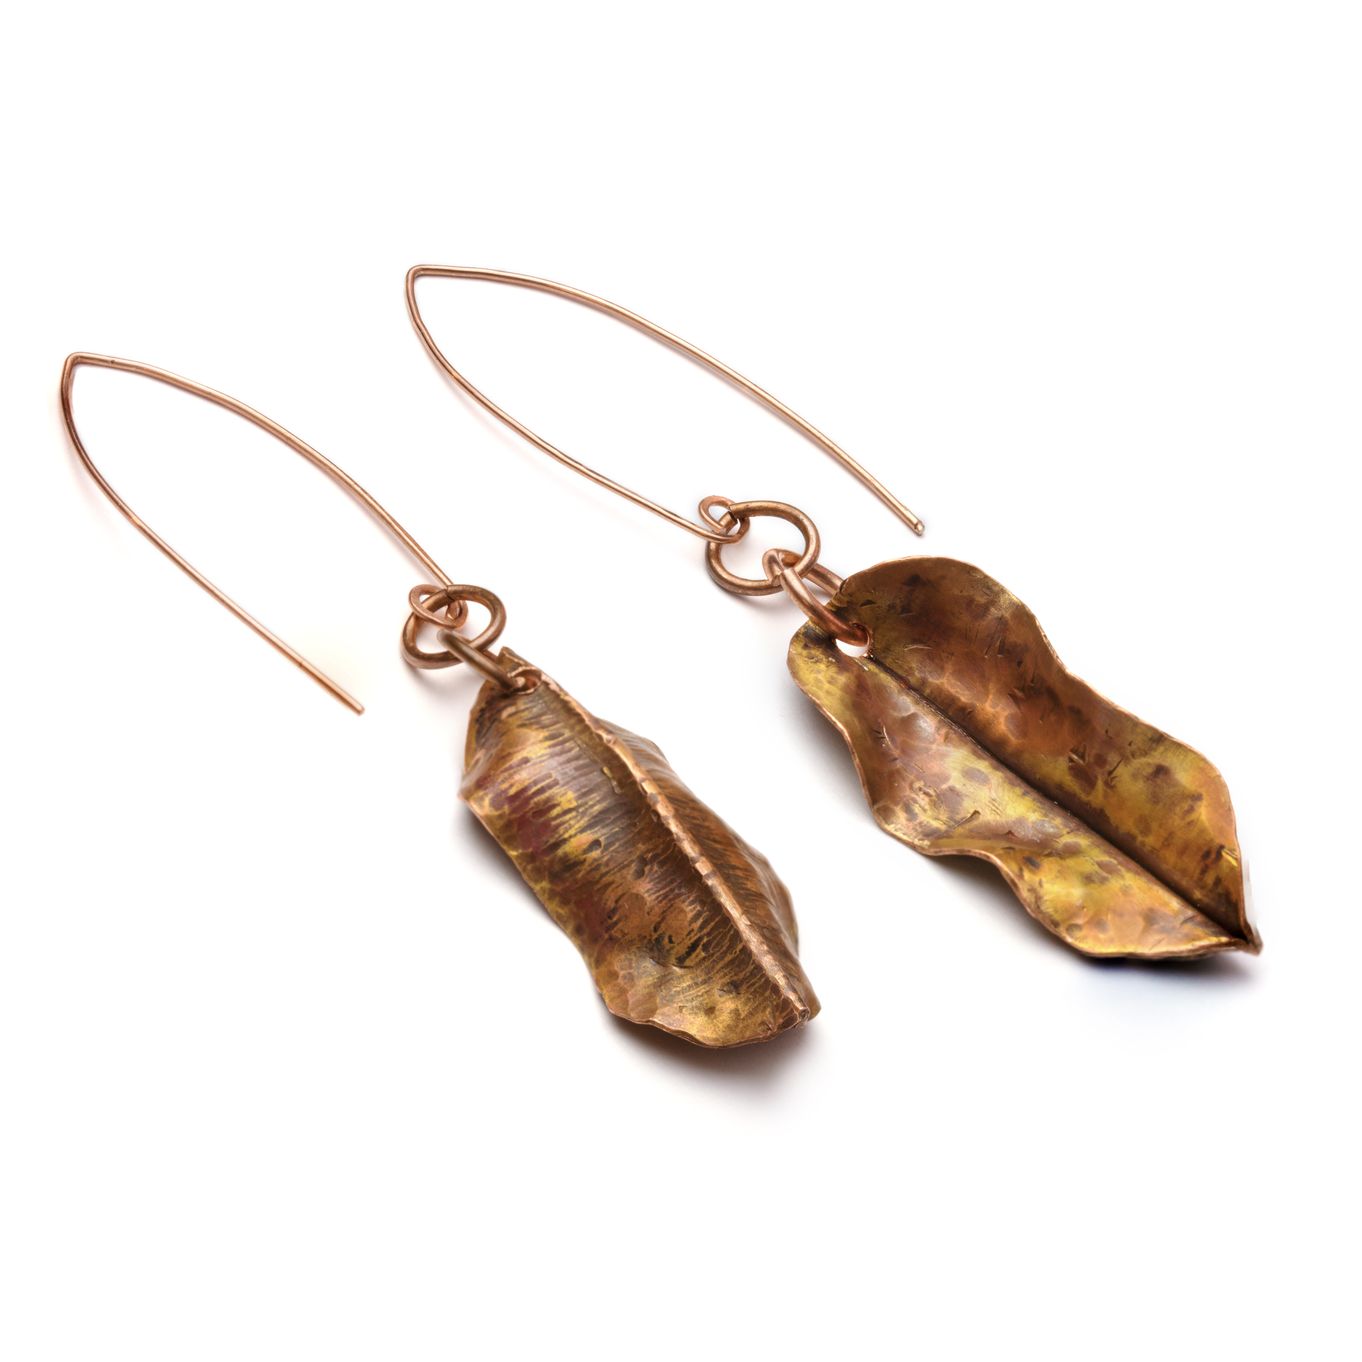
These autumnal leaves were created in copper and made into earrings but you could just as easily make one and use it as a pendant or charm.
This is a simple design to try out some basic cutting and metal work skills with dramatic results.
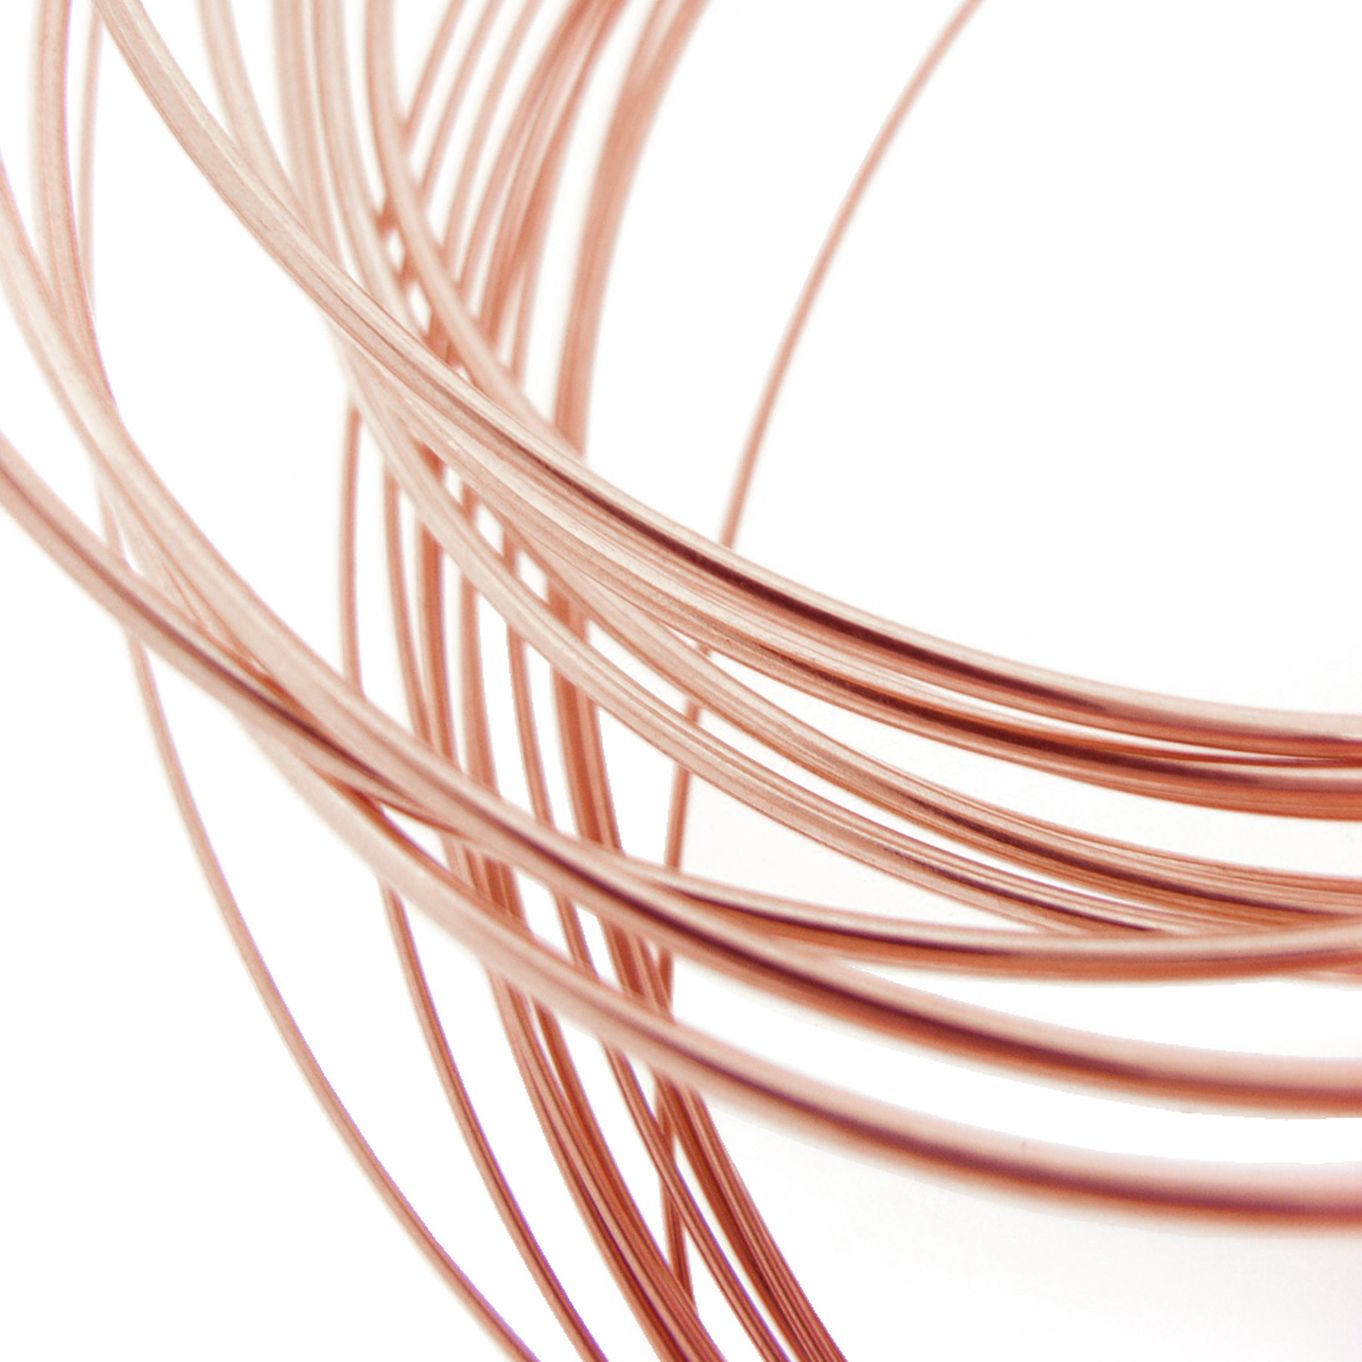
The simple earwires were created from 0.8mm copper wire but any metal wire could be used for a mixed metal look.
The gorgeous colour and patina was created by using heat from a gas torch.
These earrings can be made any size you like, however the measurements given below will create earrings 9cm in length (including earwires)
Step By Step Instructions
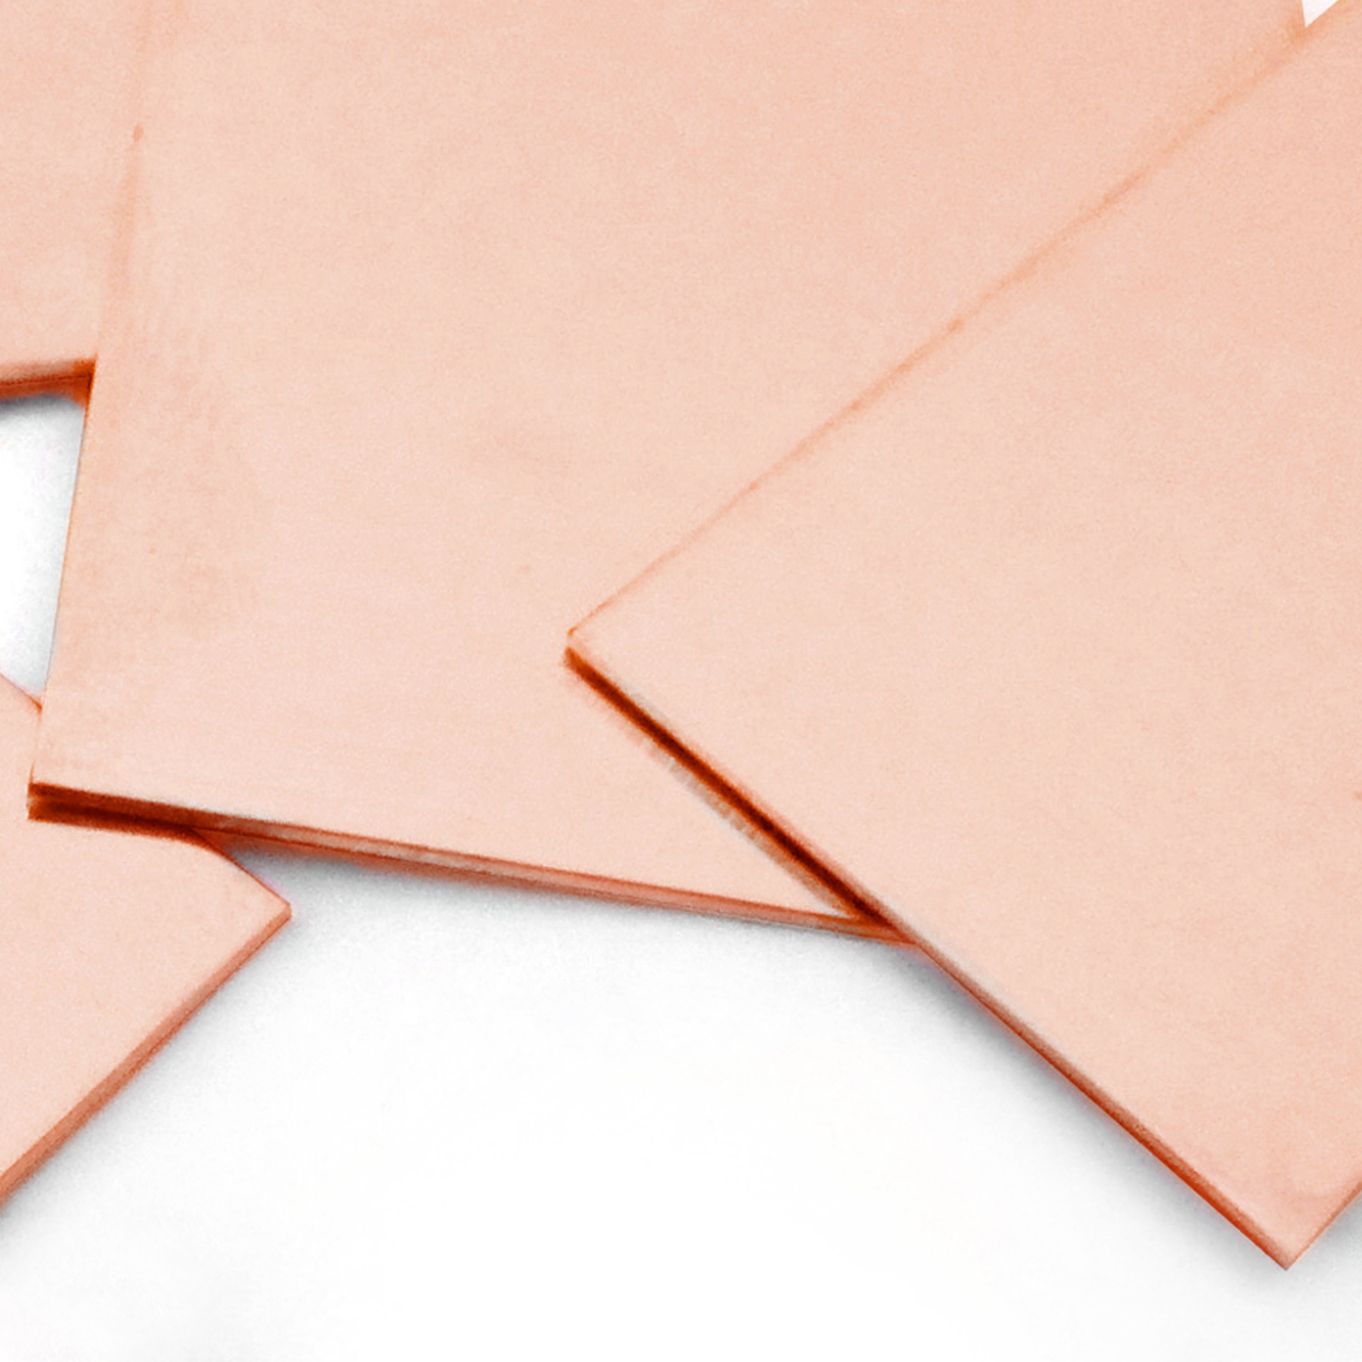
Start by cutting two 4cm x 2cm rectangles in copper using your piercing saw and smooth any sharp edges with a metal file.
Fold the rectangle in half along the length so it measures 4cm x 1cm.
Mark the centre line on your copper rectangle from top to bottom then hold in a vice along the line and hammer over until you have a right angle, you should now be able to hammer the piece flat on your steel bench block.
Don't worry about the dents that your hammering has created as this will add to the texture of the leaf.
Once you have flattened both pieces you can start to cut the shape of the leaf.
With the rectangle in front of you and the folded edge on the left, draw a curved line along the top and bottom corners of the right-hand side - going from left to right.
You can now remove the corners with your saw and use a file to remove sharp edges.
Now to start texturing your leaf. Hammer along the folded edge from top to bottom until you get a tree bark-like effect using the chisel end of a jewellers hammer or cross pein hammer, this will create the spine of the leaf.
The jewellers hammer is lightweight and will leave fine lines. The cross pein hammer is heavier and will give deeper lines and a heavier bark effect.
You may need to anneal (soften) your copper at this point - if you find the copper harder to hammer and texture, this is because you have work hardened it.
Using your gas torch and solder block, heat the copper until it softly glows red and then quench in water to cool.
Continue to add texture to your leaves, on both the front and reverse of each leaf. We used various size doming punches to create dips and raises in the copper.
Next, you need to open the folded metal, (we used a small screwdriver wrapped in cloth) and then we continued to texture on the inside with doming punches and the ball end of a repousse hammer.
We then hammered along the edges of the opened leaf so it created a wave effect - using ring bending pliers to curve the edges of the leaf to resemble a more natural, rustic leaf shape.
Do remember if you feel the metal getting harder to work with, anneal it again.
Drill a hole in the top of the leaves. This can be done with either a Dremel Multi Tool or a hand drillstock and 1mm twist drill bit- file and smooth hole as needed.
To create colour on the leaves, use a gas torch and apply heat - use a small flame and keep moving it over the metal - this will result in some fantastic colours. Moving the flame nearer and further away will create deeper colours in the middle and lighter colours towards to outside.
Once you have created a colour you are happy with douse the piece with a wet cloth to halt the colour change.
If you then change your mind and want to alter the colour, use some polishing cloths to remove most of the colour and start again.
For the earwires cut two 9cm lengths of 0.8mm copper wire and create a loop on the bottom of the wire for attaching the jump rings onto.
Next gently bend a 45-degree angle approximately 3cm from the loop that you have just made with snipe nose pliers.
Using a cup burr, burr the end of the longest length to make it smooth for pushing through the ear. You can also twist or hammer the earwires as this will work harden them which will help them to maintain their shape.
Once you have created your leaves, jump rings and earwires all that’s left to do is put it all together.
Open one jump ring by twisting the end of the joins away from each other with pliers, add the leaf and close the jump ring.
Next open the second jump ring, attach the earwire and the first jump ring which is attached to the leaf and then close the jump ring to finish your earrings.
The suggested products used in this project are suggestions to inspire you. Products used were compatible at the time of making but do be aware that gemstones are natural and hand cut stocks can vary, so do use your own common sense as to the compatibility of each item when making.
Your Shopping List
You can buy all the products in this collection at once by clicking the button below or add individual products by clicking the button beside each one.