

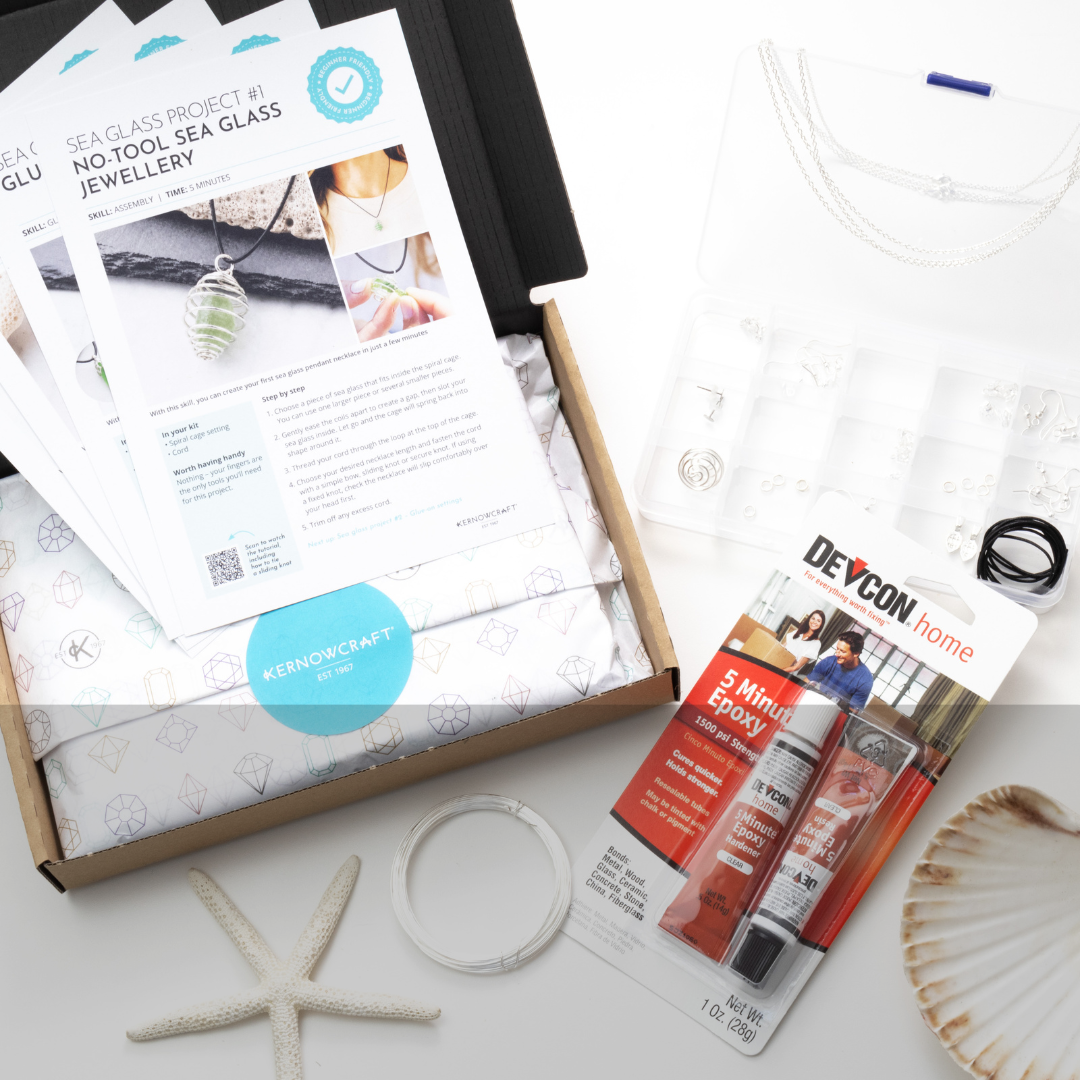
Sea Glass Level 1 Tutorials
Projects 1-4
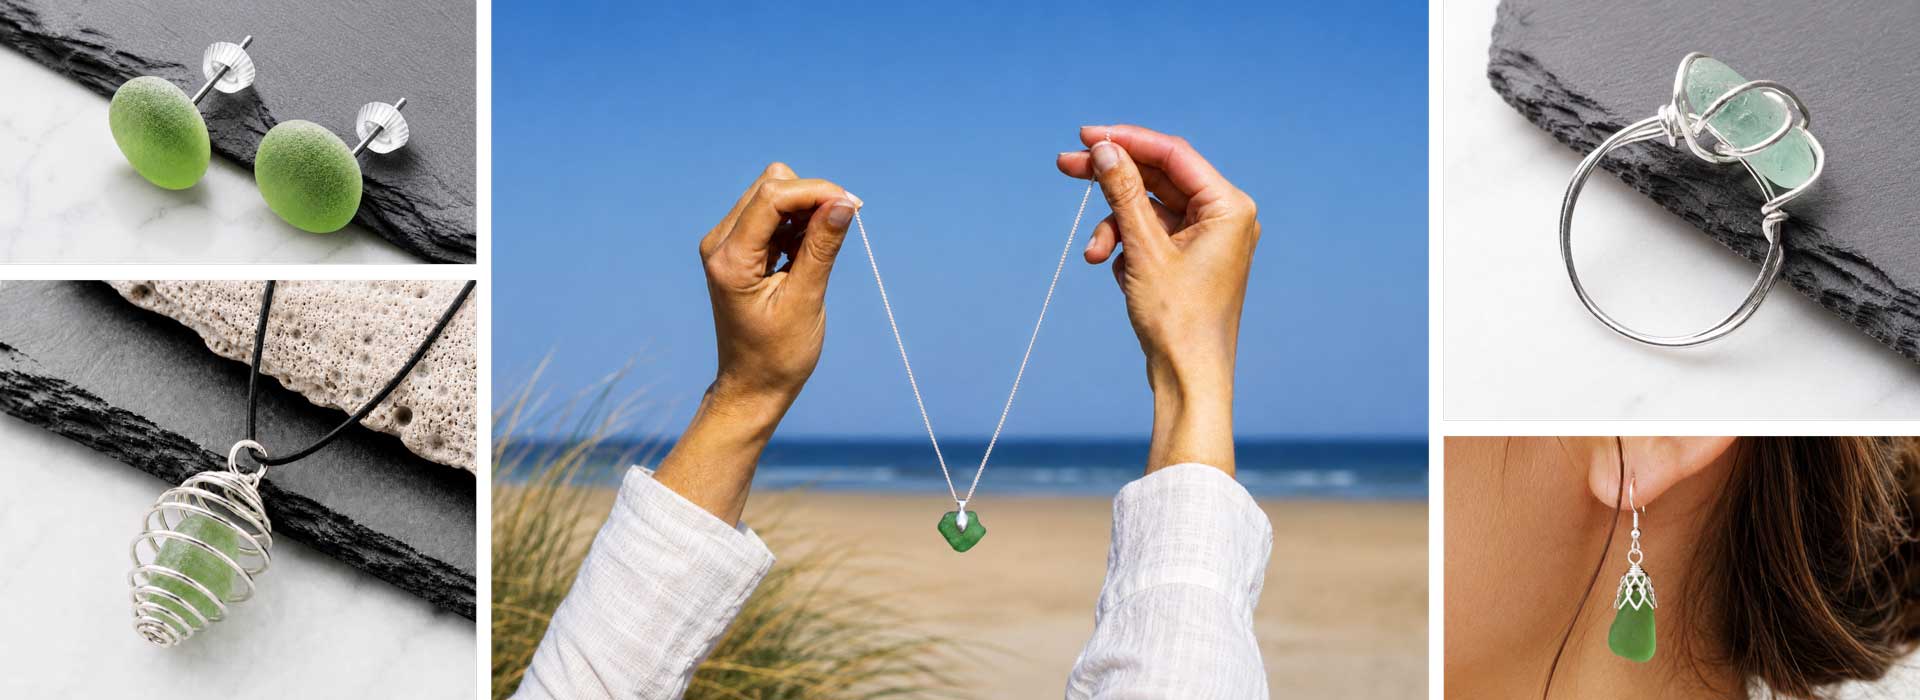
Supporting the Beginner's Sea Glass Jewellery Making Kit
Whether you're looking to learn a new technique or create your next project, these tutorials will guide you step-by-step through the projects included in your kit. Along the way, you'll develop your skills and create beautiful jewellery from sea glass you'll be proud to wear, gift or treasure.
Before you begin
Tools you’ll need
Some of the projects in this kit can be completed without tools, while others require a few basic jewellery-making tools. If you're just getting started, here's what we recommend.
• 3 Piece Plier Set: Recommended for beginners
• 8 Piece Tool Set: Ideal if you're planning to make more jewellery
• Jump Ring Opener: Optional but makes opening and closing jump rings much easier
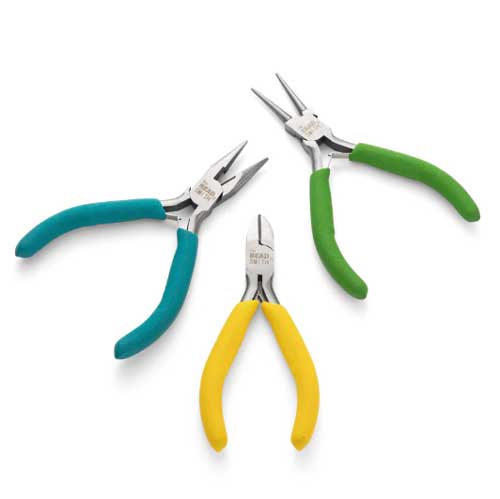
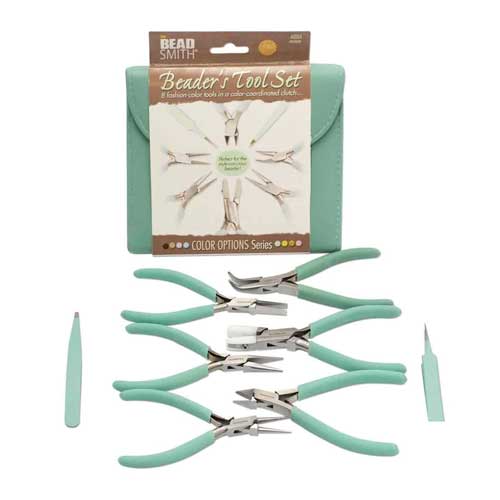
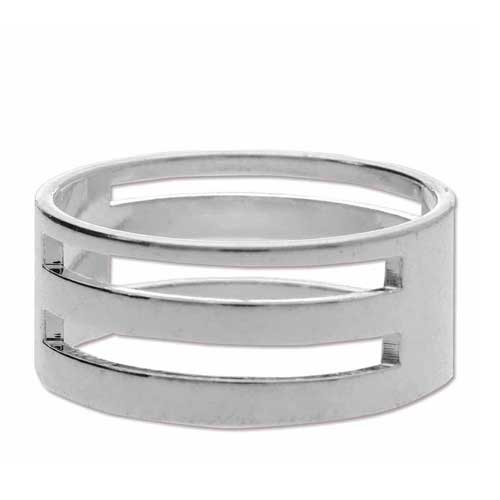
Choose a project and let's get started...
__________
SEA GLASS PROJECT #1
NO-TOOL SEA GLASS JEWELLERY
SKILL: ASSEMBLY | TIME: 5 MINUTES
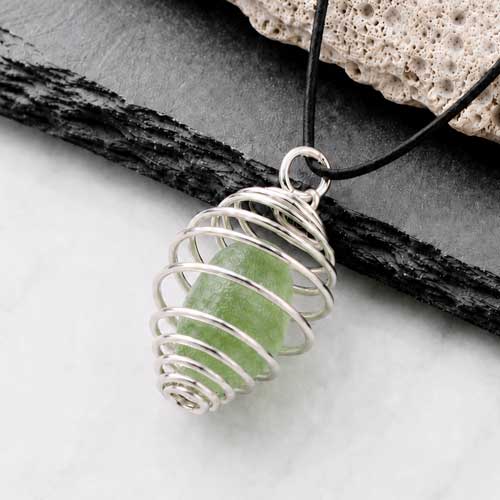
With this skill, you can create your first sea glass pendant necklace in just a few minutes

Step by step
Step 1
Choose a piece of sea glass that fits inside the spiral cage. You can use one larger piece or several smaller pieces.
Step 2
Gently ease the coils apart to create a gap, then slot your sea glass inside. Let go and the cage will spring back into shape around it.
Step 3
Thread your cord through the loop at the top of the cage.
Step 4
Choose your desired necklace length and fasten the cord with a simple bow, sliding knot or secure knot. If using a fixed knot, check the necklace will slip comfortably over your head first.
Step 5
Trim off any excess cord.
__________
SEA GLASS PROJECT #2
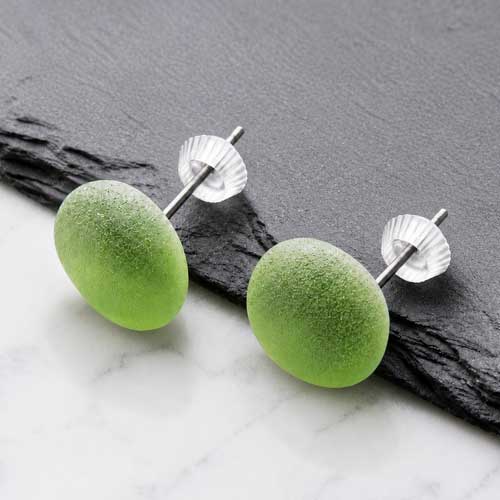
GLUE-ON SETTINGS
SKILL: GLUE-ON SETTINGS | TIME: 15 MINUTES + CURING TIME
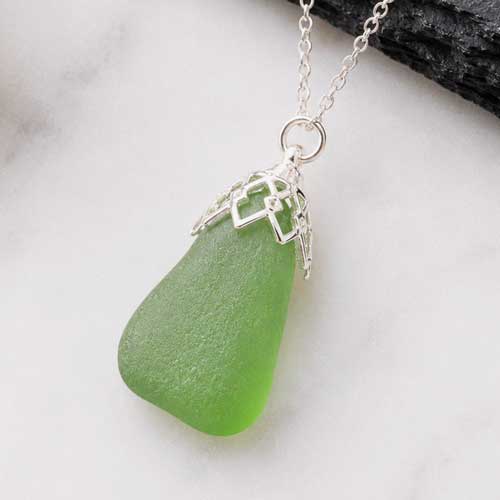
With this skill, you can create simple stud earrings or a beautiful sea glass pendant

Step by step
What’s a setting?
A setting is the metal fitting that attaches to your sea glass, such as a bail, bell cap or stud fitting.
Step 1
Choose a piece of sea glass that makes good contact with your chosen setting. Flat pieces work well with stud settings, while slightly pointed or triangular pieces work well with bell caps.
Step 2
Lightly roughen the back of the sea glass and the inside of the setting with sandpaper, then wipe away any dust.
Step 3
Mix a small amount of Devcon 5-minute epoxy glue on a disposable surface, such as a piece of cardboard.
It dries quickly, so only mix a little at a time.
Step 4
Apply a thin layer of glue to the setting using a cocktail stick or pin, then press it onto the sea glass.
Step 5
Use a small ball of reusable adhesive putty, such as Blu Tack, to support your piece while it cures.
__________
SEA GLASS PROJECT #3
JUMP RINGS AND EAR WIRES
SKILL: OPENING AND CLOSING JUMP RINGS | TIME: 10 MINUTES
With this skill, you can attach a sea glass pendant or create a pair of drop earrings

Step by step
Step 1
Hold the jump ring with a pair of pliers in your non-dominant hand, gripping one side of the join.
Step 2
Using another pair of pliers in your dominant hand, twist open the jump ring to create a small gap. Don’t pull the ends straight apart, as this will distort the ring.
Step 3
Slip the bell cap, glued setting or ear wire onto the jump ring.
Step 4
Twist the ends back together until they meet cleanly with no gap.
__________
SEA GLASS PROJECT #4
WIRE WRAPPING A STONE
SKILL: WIRE WRAPPING A STONE | TIME: 30-60 MINUTES
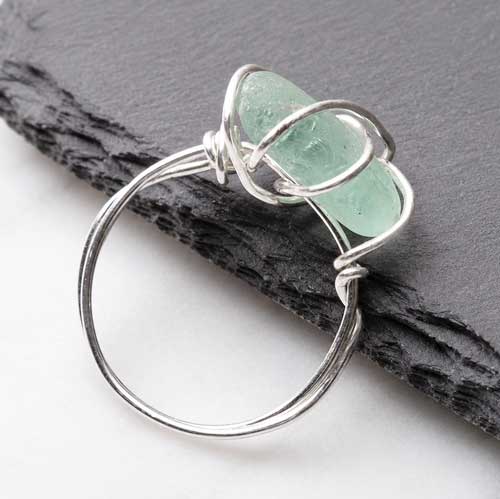
With this skill, you can create a beautiful wire-wrapped sea glass ring (skip to 2:05 in video tutorial). This project is a little trickier, so we also recommend reading this extra tutorial on how to make a wire wrapped ring.

Step by step
Step 1
Cut roughly 40cm of wire using wire cutters.
Step 2
Find the middle of the wire. Wrap it twice around your ring mandrel or ring-sized object to form a double ring band, leaving two equal wire ends.
Step 3
Carefully remove the ring while holding the wire in place to keep its shape. Using your pliers, tightly wrap each loose wire end around the ring band twice, leaving a gap for your sea glass.
Step 4
Hold the sea glass in place on top of the ring band, and wrap each wire end around it to secure in place.
Step 5
Wrap each loose end tightly around the ring band at the base of the sea glass. Trim the excess wire, then use pliers to squeeze and tuck the ends in neatly.