

Step-by-step kit guides
Bangle, Charm & Comb Kit Instructions
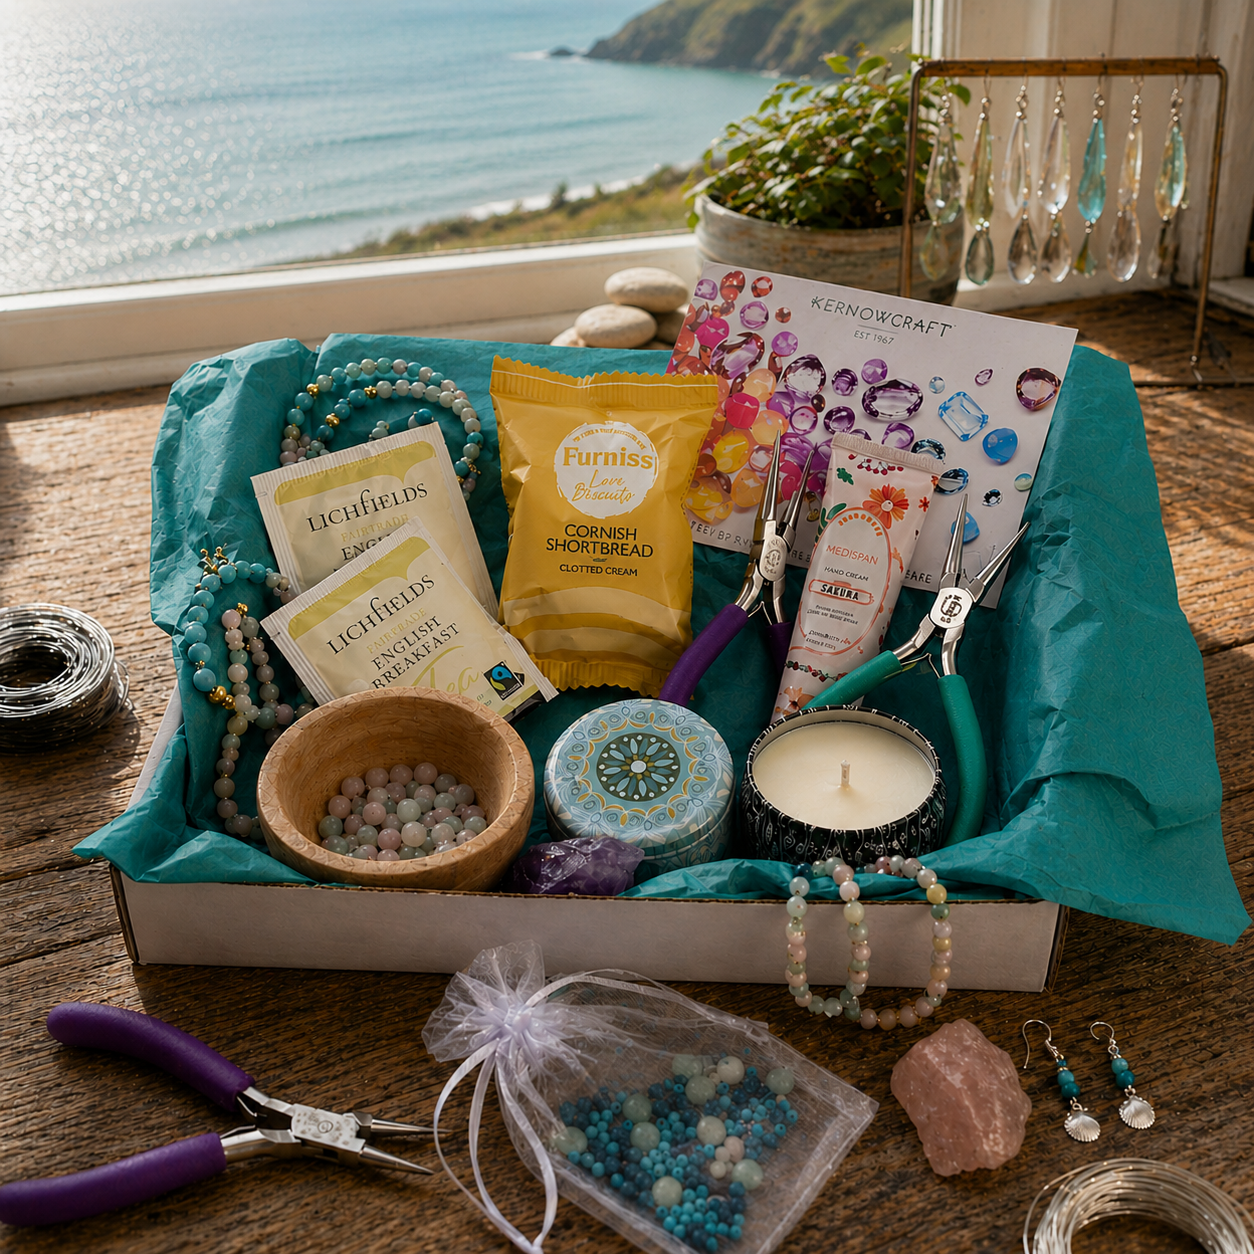
Everything you need to make the pieces in your kit – a charm necklace, a cabochon bangle & ring, and a celebration hair comb. Pick a kit below to jump straight to its step-by-step guide.
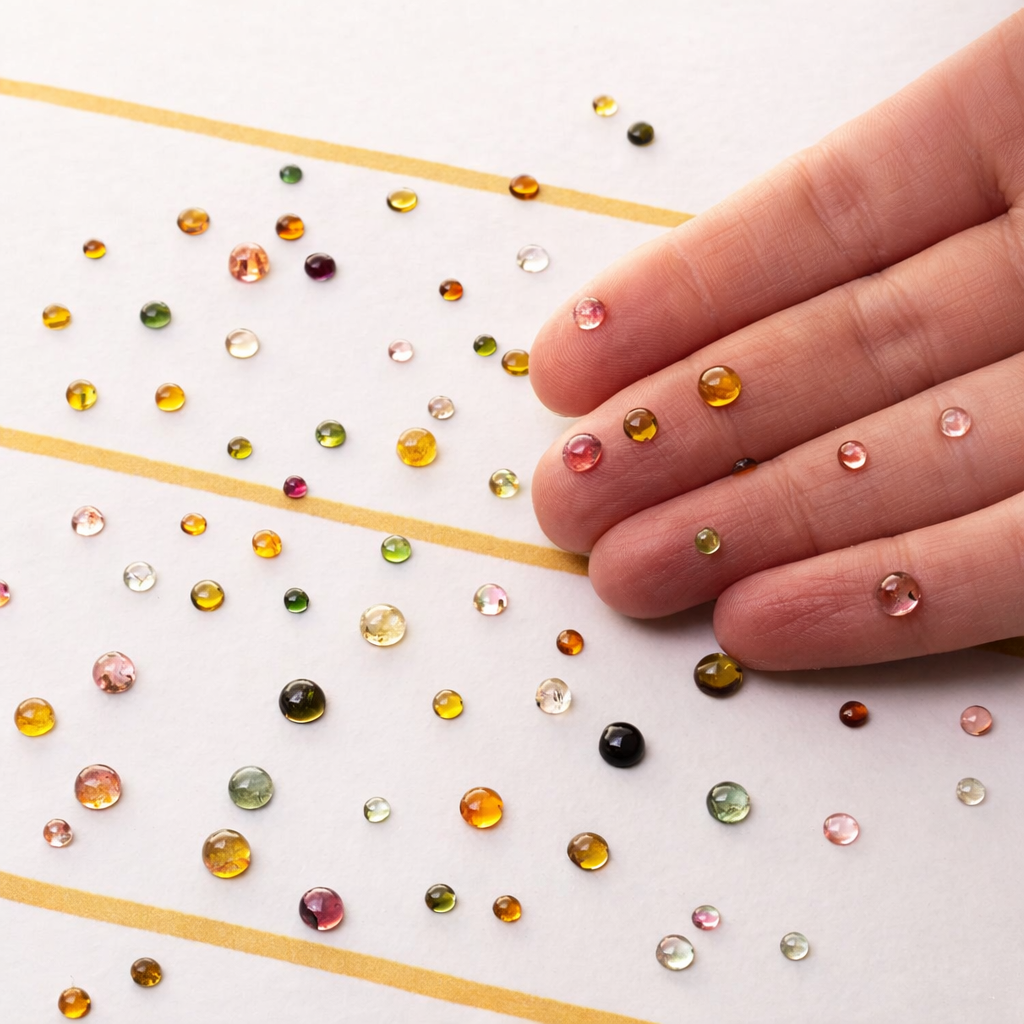
Embrace the unique: the gemstones in your kit may vary in colour from the photographs. We’ve curated a vibrant, rainbow-inspired mix so your finished pieces are entirely unique to you.
Before you begin
Tools you’ll need
Your kit contains all the components. To finish your pieces you’ll also need:
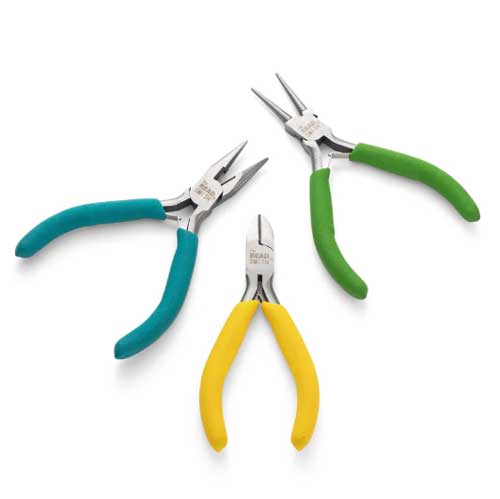
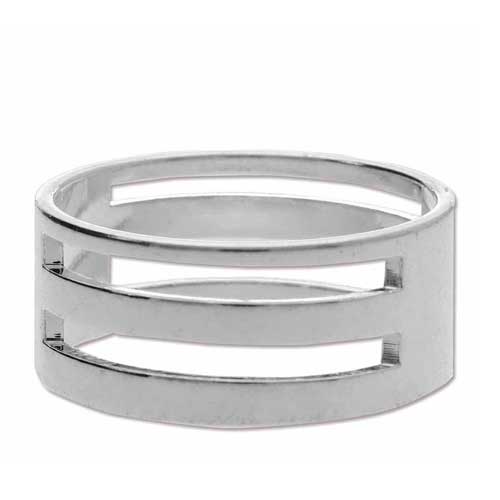
• Snipe or flat nose pliers: for opening jump rings and tucking in wire ends
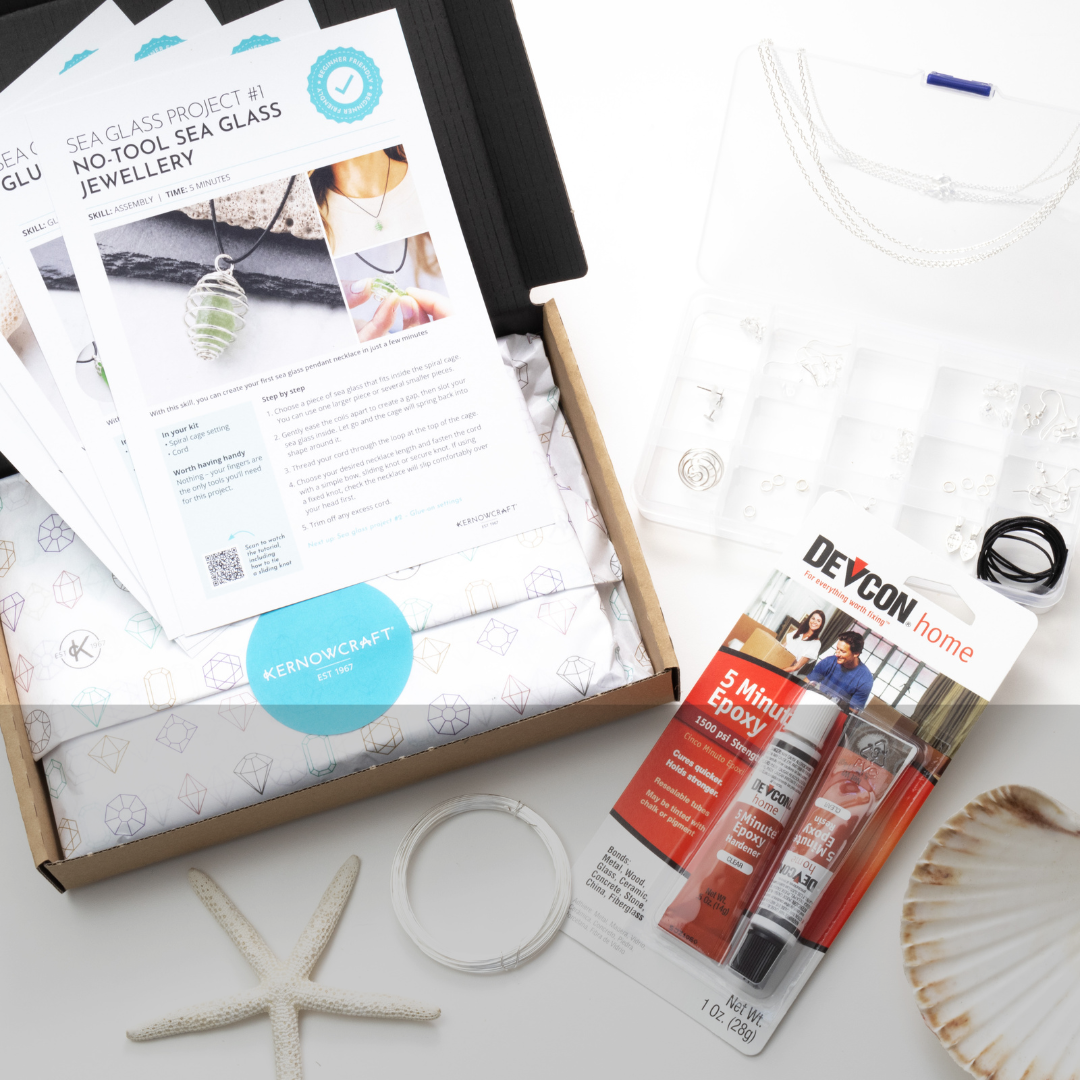
• Devcon 5 Minute Epoxy: our most recommended glue for setting cabochons – it dries clear with a high-strength bond
• Wire cutters: for trimming the 0.4mm wire on the hair comb
• Handy extras: cocktail sticks, scrap card, fine sandpaper and a little Blu Tack

__________
TECHNIQUE USED IN KITS #1 & #2
Glue in settings
SKILL: GLUE-IN SETTINGS | TIME: 5 MINUTES + CURING
Master this once and you can set any cabochon – it’s the key step for your charm necklace, bangle and ring.
Step by step
Step 1
Check the fit. Drop each cabochon into its setting (domed side up) to make sure it sits flat and centred before you glue anything.
Step 2
Lightly roughen the inside of the setting cup and the flat back of the cabochon with fine sandpaper, then wipe away any dust. This gives the glue more to grip.
Step 3
Mix a small amount of glue on a piece of scrap card. It starts to set quickly, so only mix enough for one or two settings at a time.
Step 4
Use a cocktail stick to spread a thin layer of glue into the setting cup. Less is more – too much will squeeze out around the stone.
Step 5
Press the cabochon gently into place and wipe away any excess glue straight away.
Step 6
Rest your piece level on a little Blu Tack while it cures. Leave it overnight before wearing so the bond reaches full strength.
__________
KIT #1
Charm necklace
SKILL: GLUE-IN SETTINGS + JUMP RINGS | TIME: 20 MINUTES + CURING
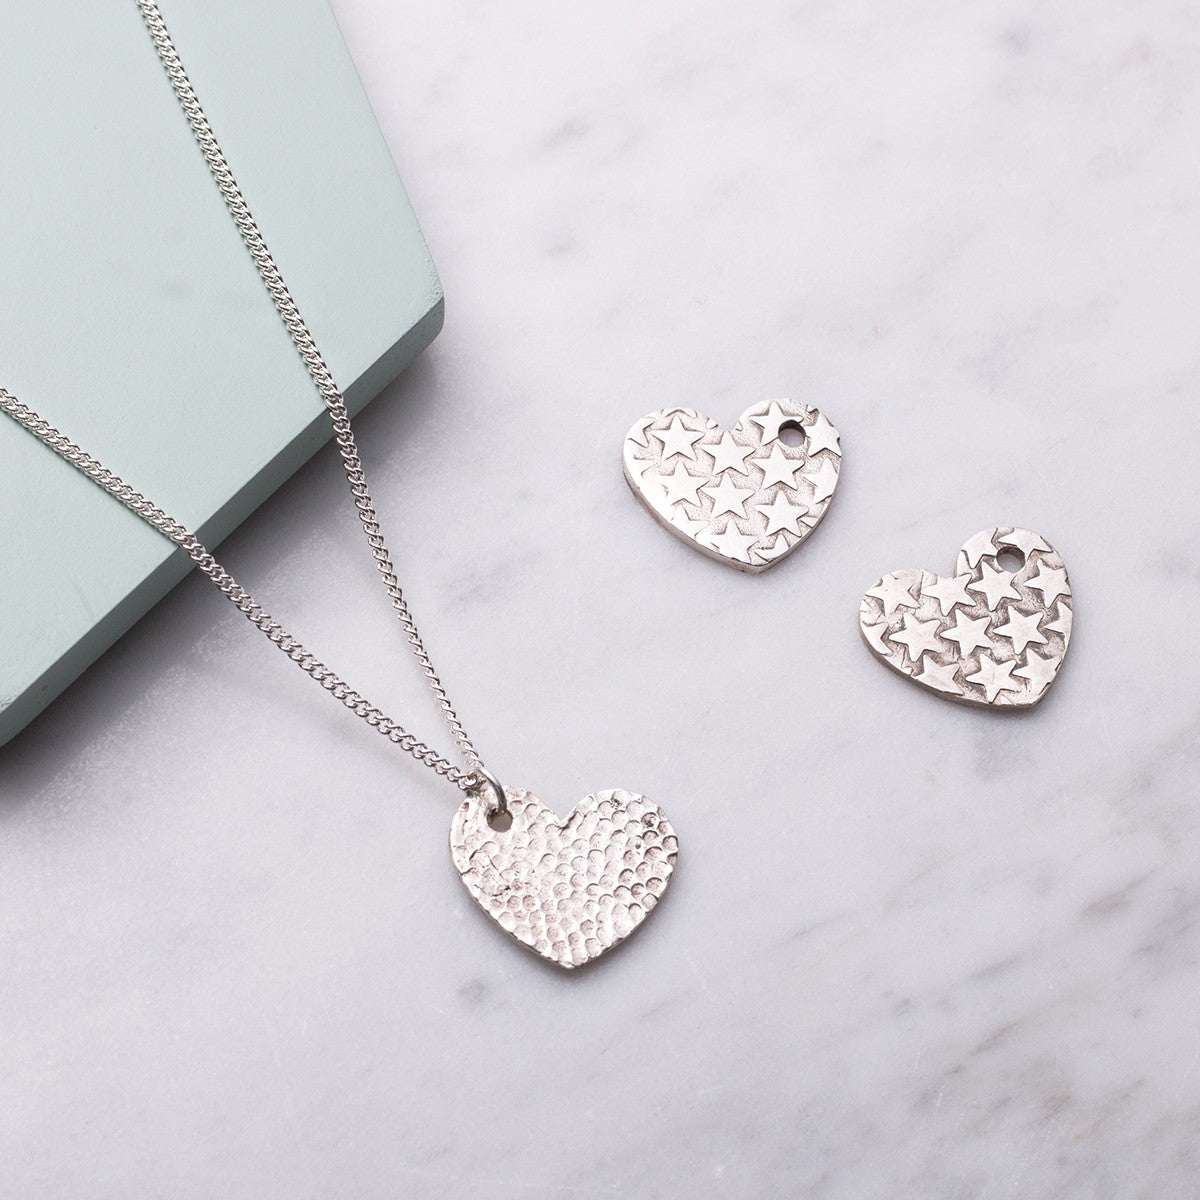
Milled-edge pendant settings with vibrant coloured jade and cherry quartz 8mm round cabochons
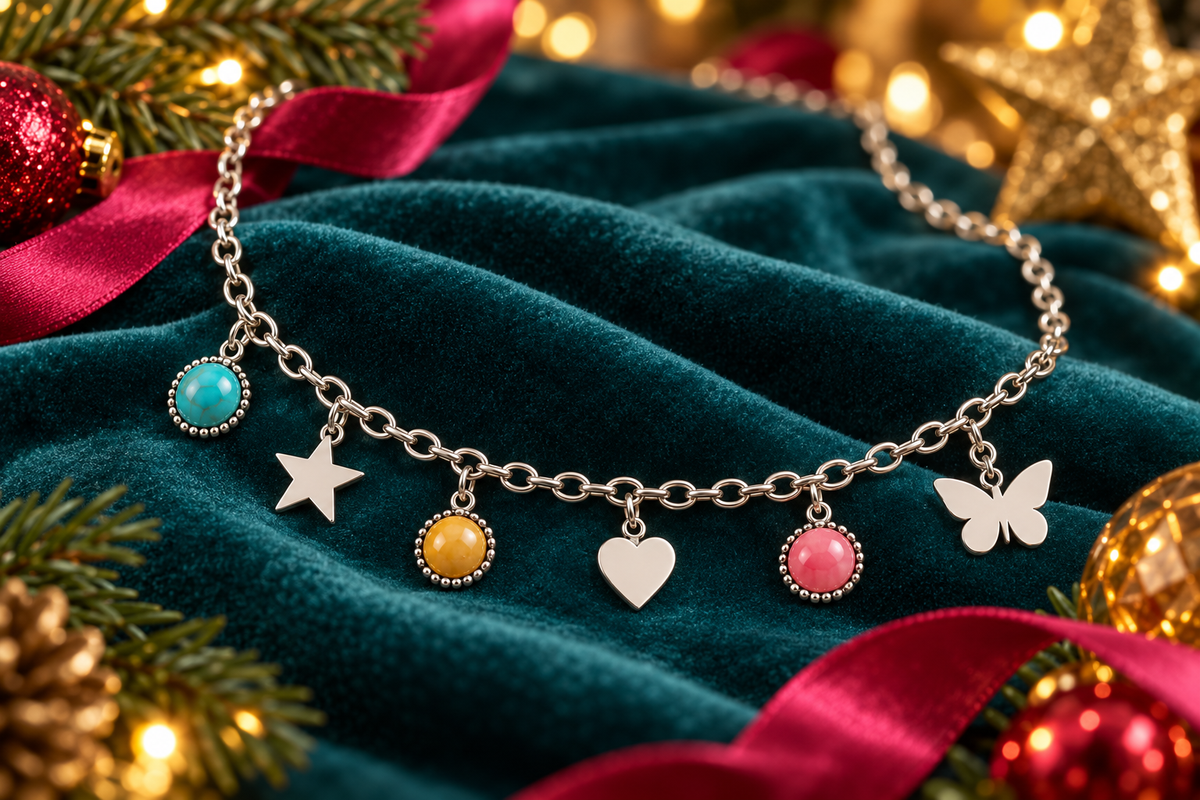
Incredibly simple, endlessly personal
Make it 100% you
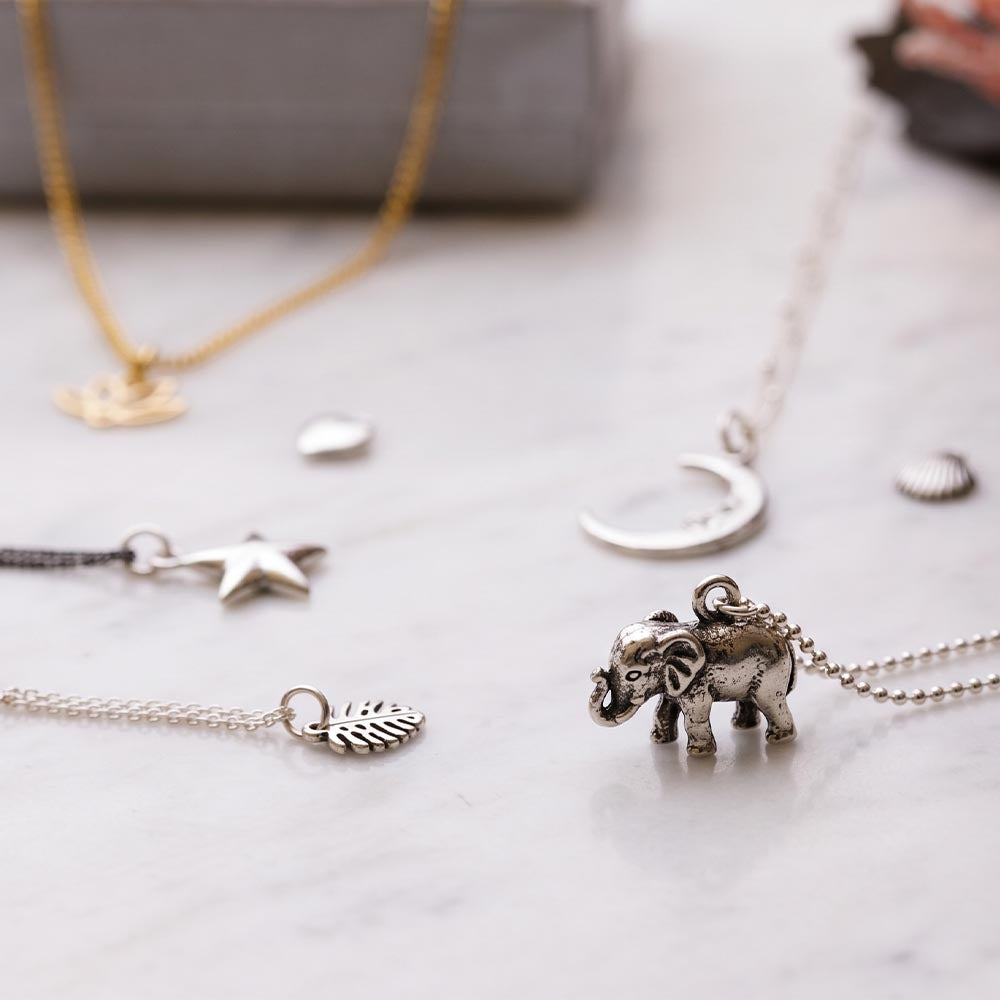
Whether you prefer a curated look or a maximal vibe, you can arrange your charms however you like. Add gemstone beads on head pins for extra colour.
Step by step
Step 1
Glue the cabochons into the milled-edge settings (see Glue in settings) and leave them to cure.
Step 2
Lay your chain out flat and place the charms and gemstone settings in the order you like. You could also add some gemstone beads on head pins.
Step 3
Twist open a jump ring using snipe or flat nose pliers – twist the ends sideways, don’t pull them apart.
Step 4
Slip on a charm and a link of the chain, then twist the jump ring closed. Make sure the two ends meet securely. Repeat with all your charms.
Step 5
Pay attention to the direction of the chain links as you work. Always attach the charms to links that face the same way – if you use alternating links, some stones may twist and face the wrong way when worn. It’s easy to fix: simply open the jump ring and rehang.
__________
KIT #2
Cabochon bangle & ring
SKILL: GLUE-IN SETTINGS | TIME: 10 MINUTES + CURING
A cabochon bangle with a stunning 18x13mm oval cabochon, and a cabochon ring with a colourful 10mm cabochon
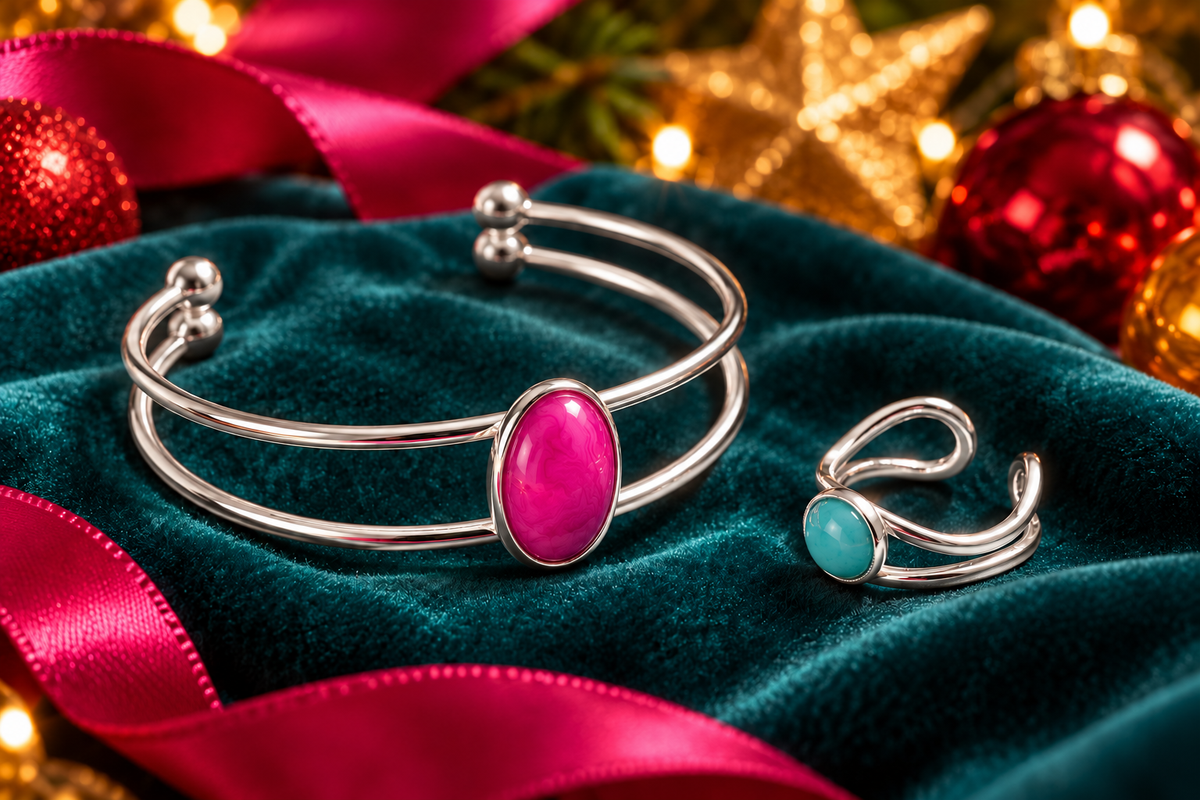
Simply glue the cabochons into the settings
Two pieces, one technique
Both pieces use the same glue-in setting technique, so once you’ve made one, the other is even quicker.
Step by step
Step 1
Match each stone to its setting: the 18x13mm oval cabochon goes in the bangle, the 10mm round cabochon in the ring. Check each sits flat.
Step 2
Follow the Glue in settings steps to fix each cabochon in place.
Step 3
Keep the settings level while the glue cures – stand the ring upright in a ball of Blu Tack, and rest the bangle so the setting faces straight up.
Step 4
Leave both pieces overnight before wearing or adjusting them.
__________
KIT #3
Celebration hair comb
SKILL: WIRE WRAPPING | TIME: 20–30 MINUTES
Celebration accessories wouldn’t be complete without a bit of hair magic
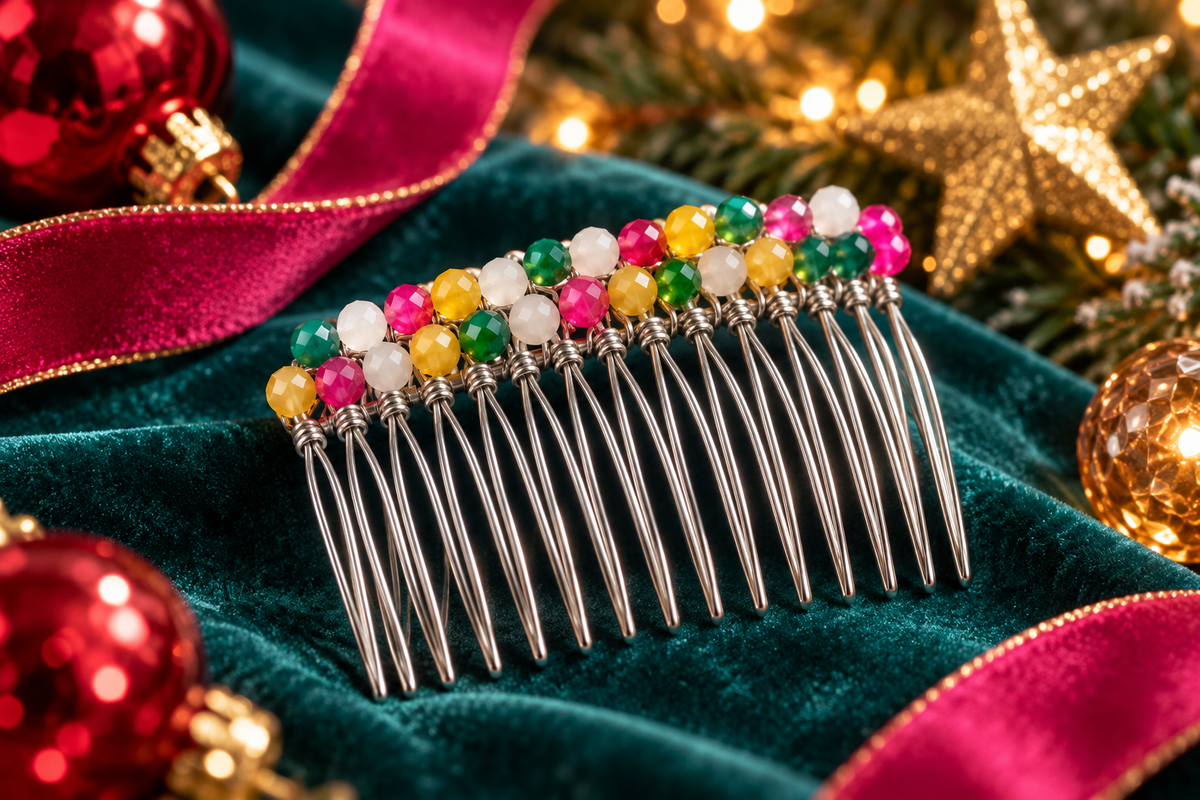
Get creative
Add a bit of hair magic
Incorporating fresh or dried flowers is the perfect way to create a bohemian style – or embrace the festive season with small decorations.
Step by step
Step 1
Lay your beads out in the order you’d like them along the top of the comb.
Step 2
Cut a length of the 0.4mm silver plated wire. Wrap one end tightly 3–4 times around the top bar of the comb, between the first two teeth, to anchor it.
Step 3
Thread on a bead, sit it on top of the bar, then wrap the wire once or twice around the bar between the next teeth to lock it in place.
Step 4
Repeat bead by bead along the comb, keeping the wire snug so the beads don’t wobble.
Step 5
Finish with 3–4 tight wraps, trim the excess wire and use your pliers to press the end flat so it won’t catch on your hair.
Step 6
Get creative: tuck the stems of fresh or dried flowers, or small festive decorations, under the wraps.
Gluing troubleshooting & tips
My stone has come loose
Usually the surfaces weren’t roughened or there wasn’t enough glue contact. Scrape out the old glue, lightly sand both surfaces, and re-glue with fresh epoxy.
Glue has squeezed out around the stone
Wipe it away while it’s still wet. If it’s already set, carefully trim it with a craft knife. Next time use a thinner layer – a little goes a long way.
The glue went tacky before I finished
Devcon 5 Minute Epoxy starts setting fast. Mix smaller batches and have your stones ready before you mix.
My charms are facing the wrong way
They’re probably on alternating chain links. Open the jump ring, move the charm to a link facing the same way as the others, and close it again.
There’s a gap in my jump ring
Twist it back so the ends meet flush. A small gap can let the chain slip out.