Art Clay Silver Clay
Recycled Sterling Silver Sheet
New arrivals
Monthly Jewellery Subscription Box
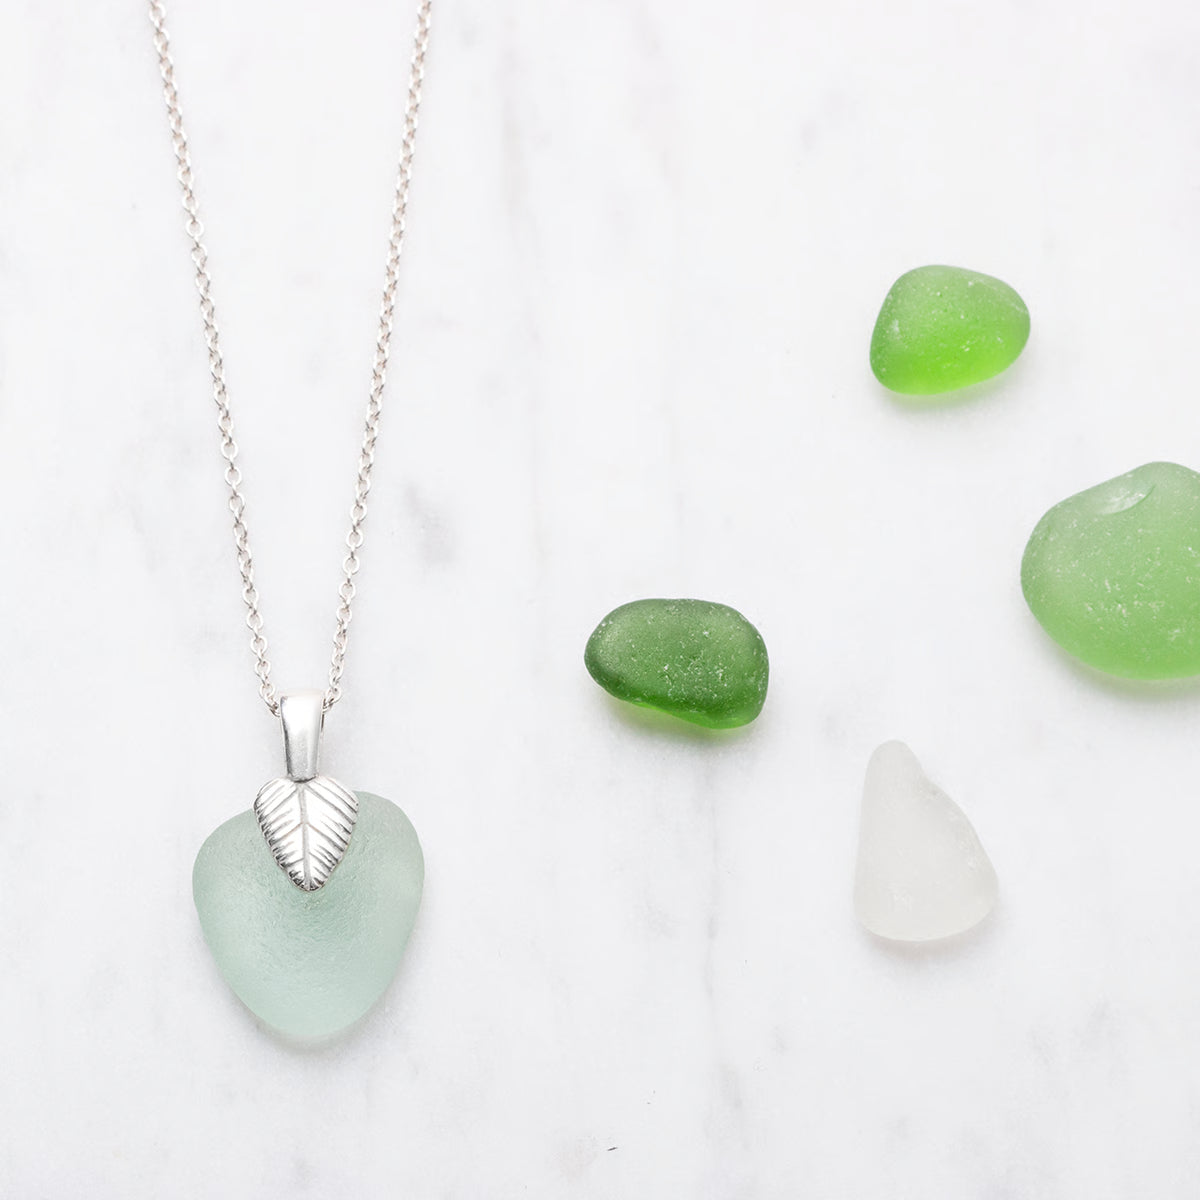
New Beginners Sea Glass kit
Jewellery Making Glossary
12 Good Luck Charms to add to your jewellery
Your basket is empty
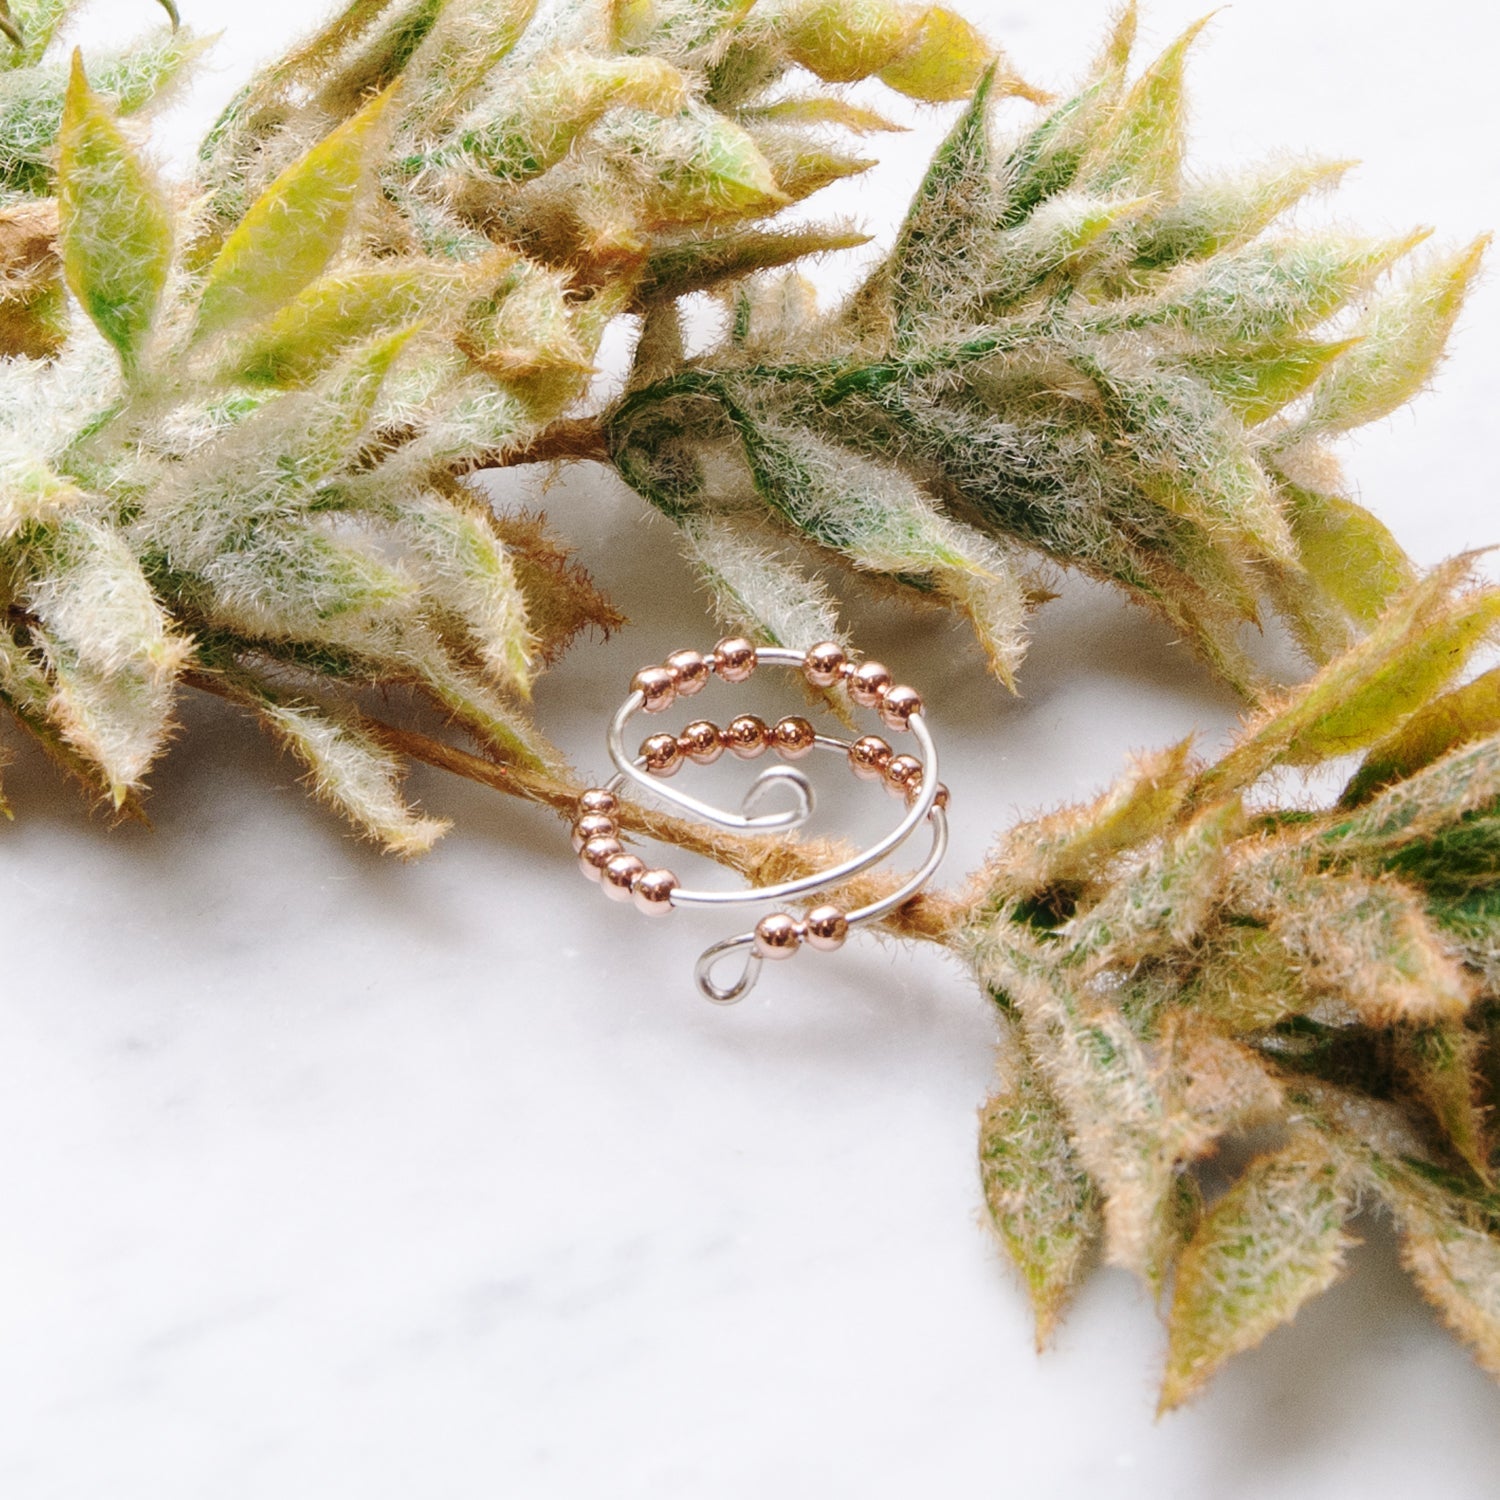
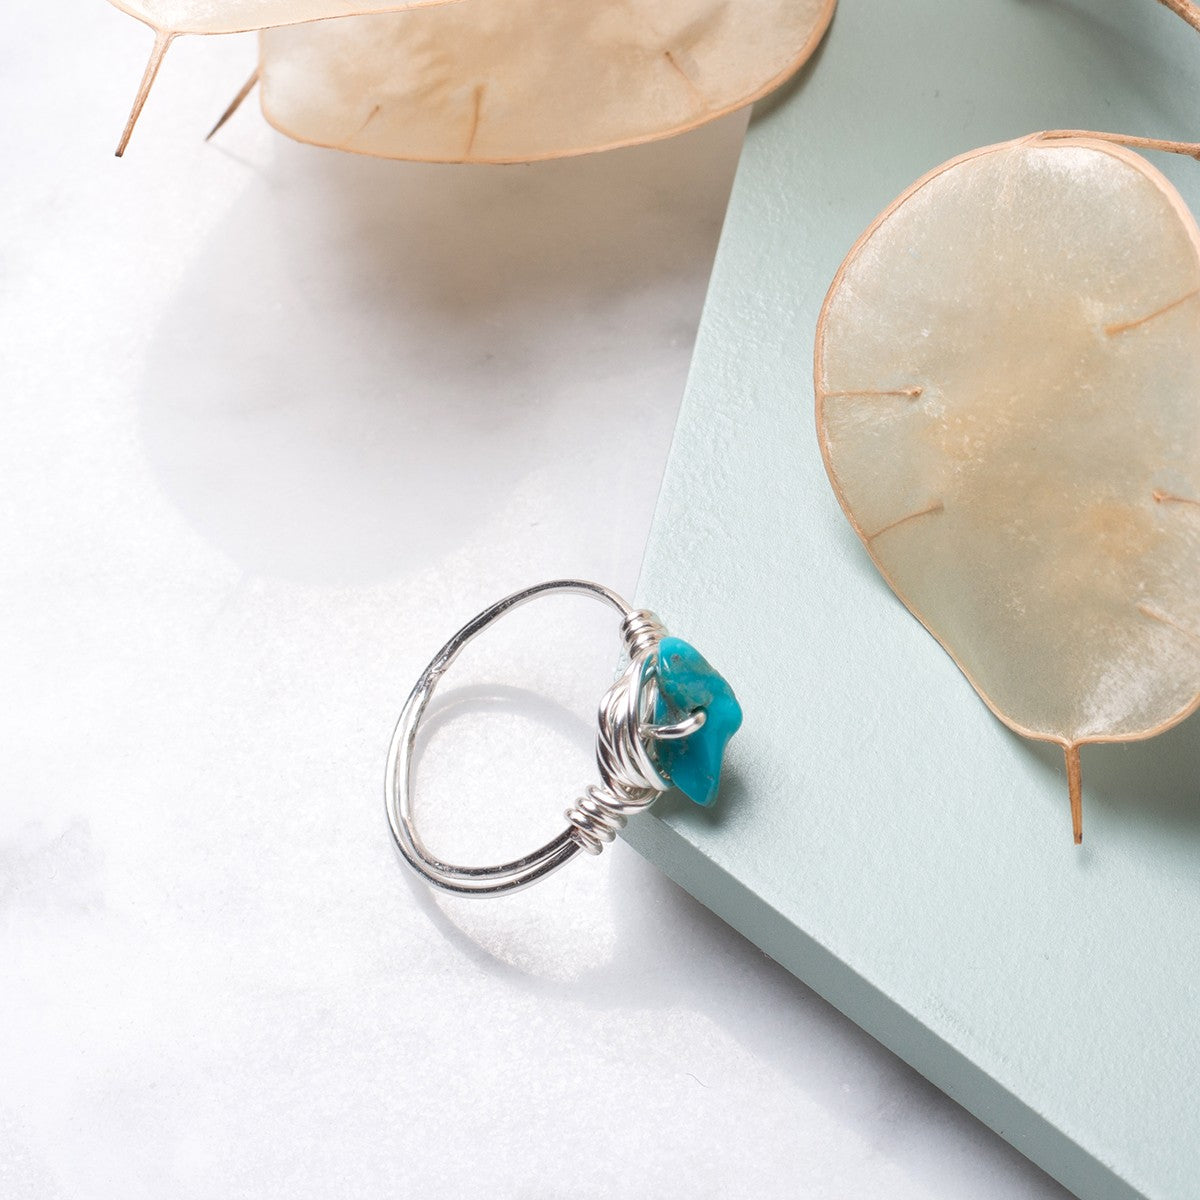
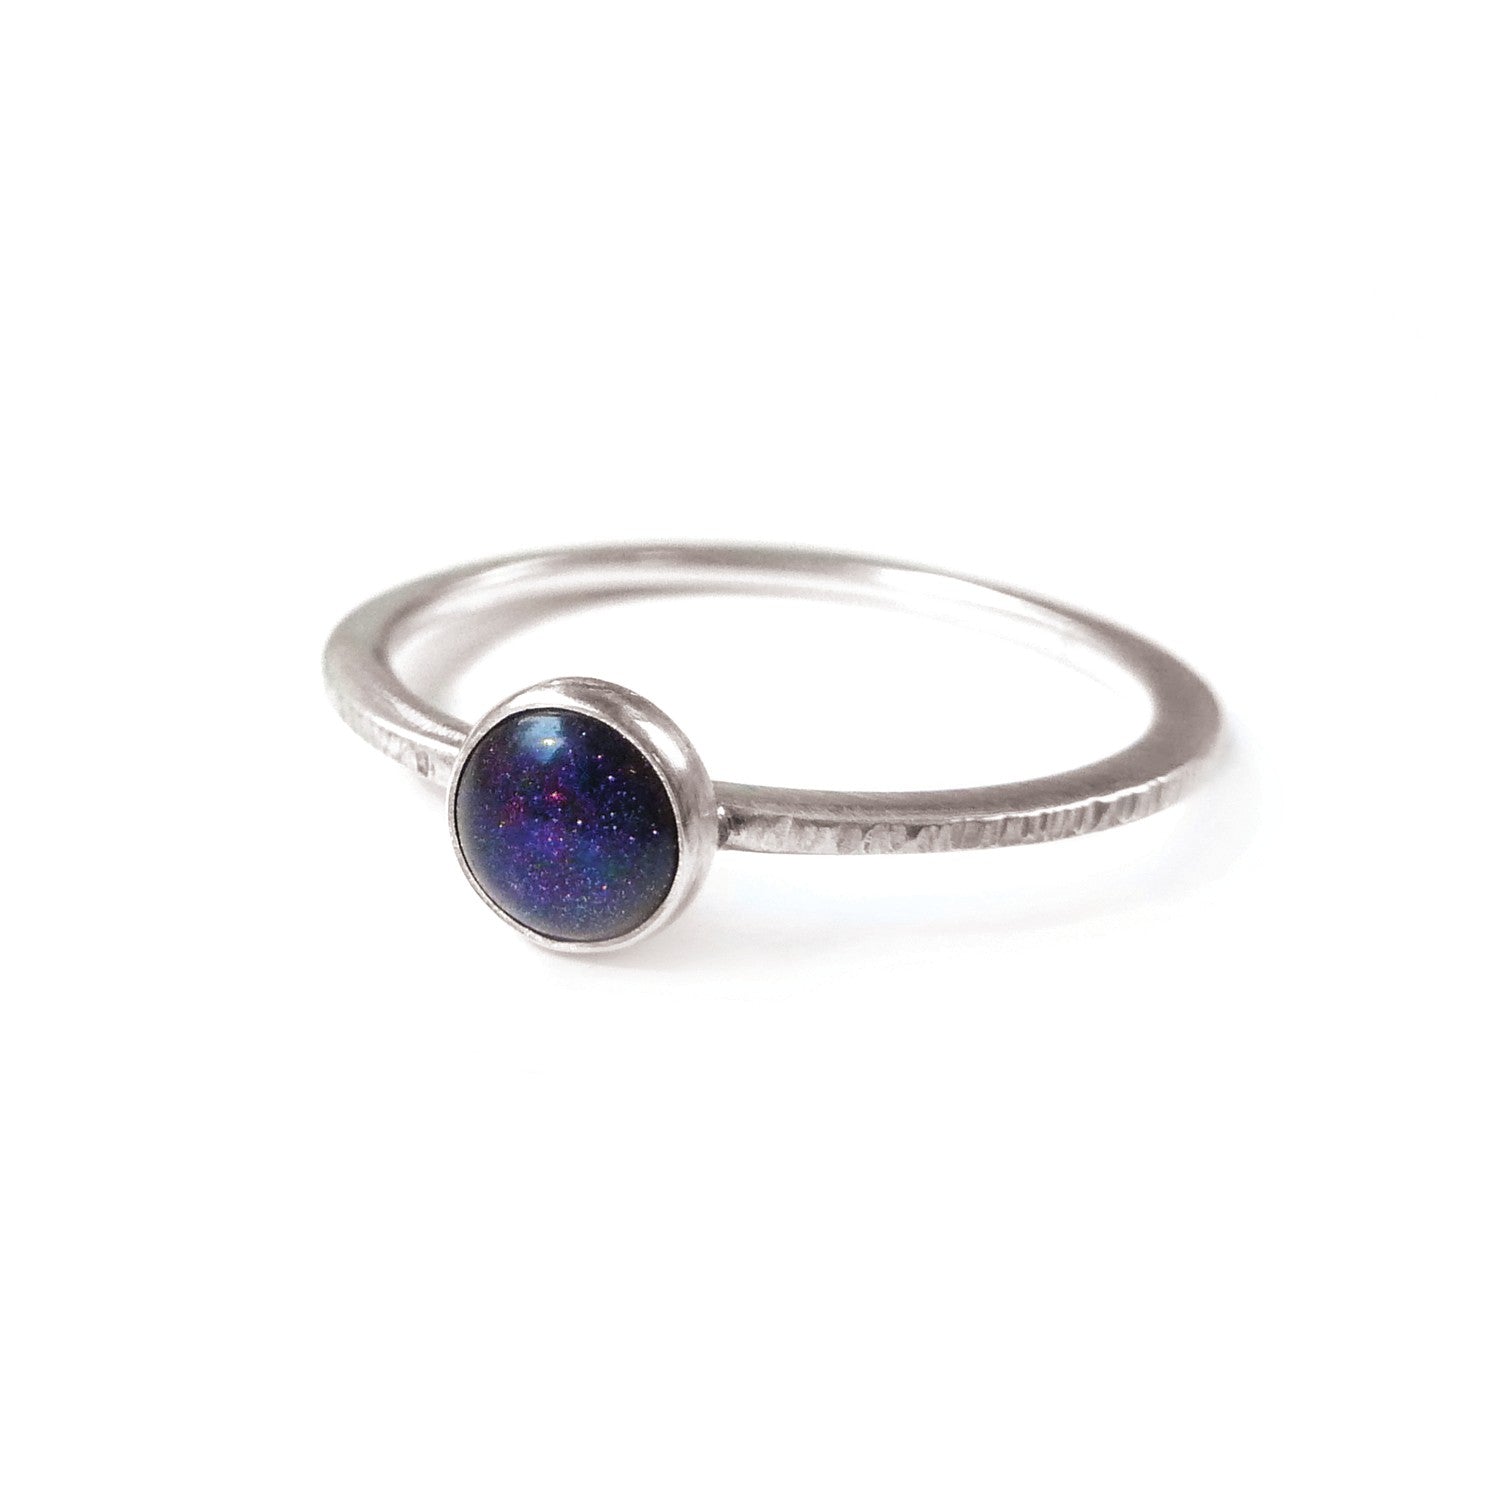
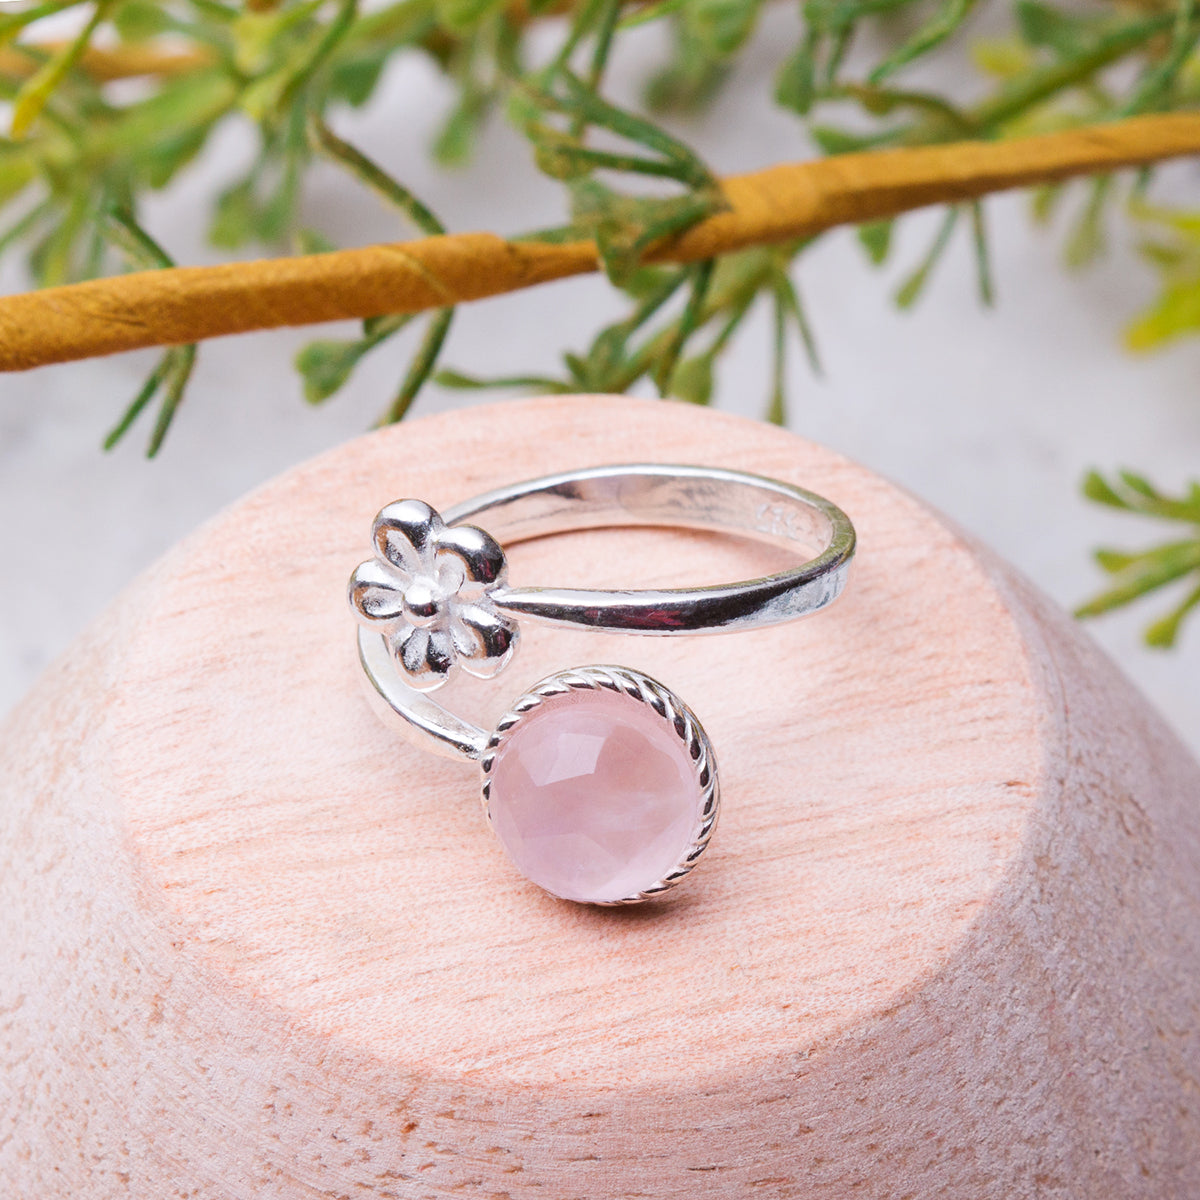
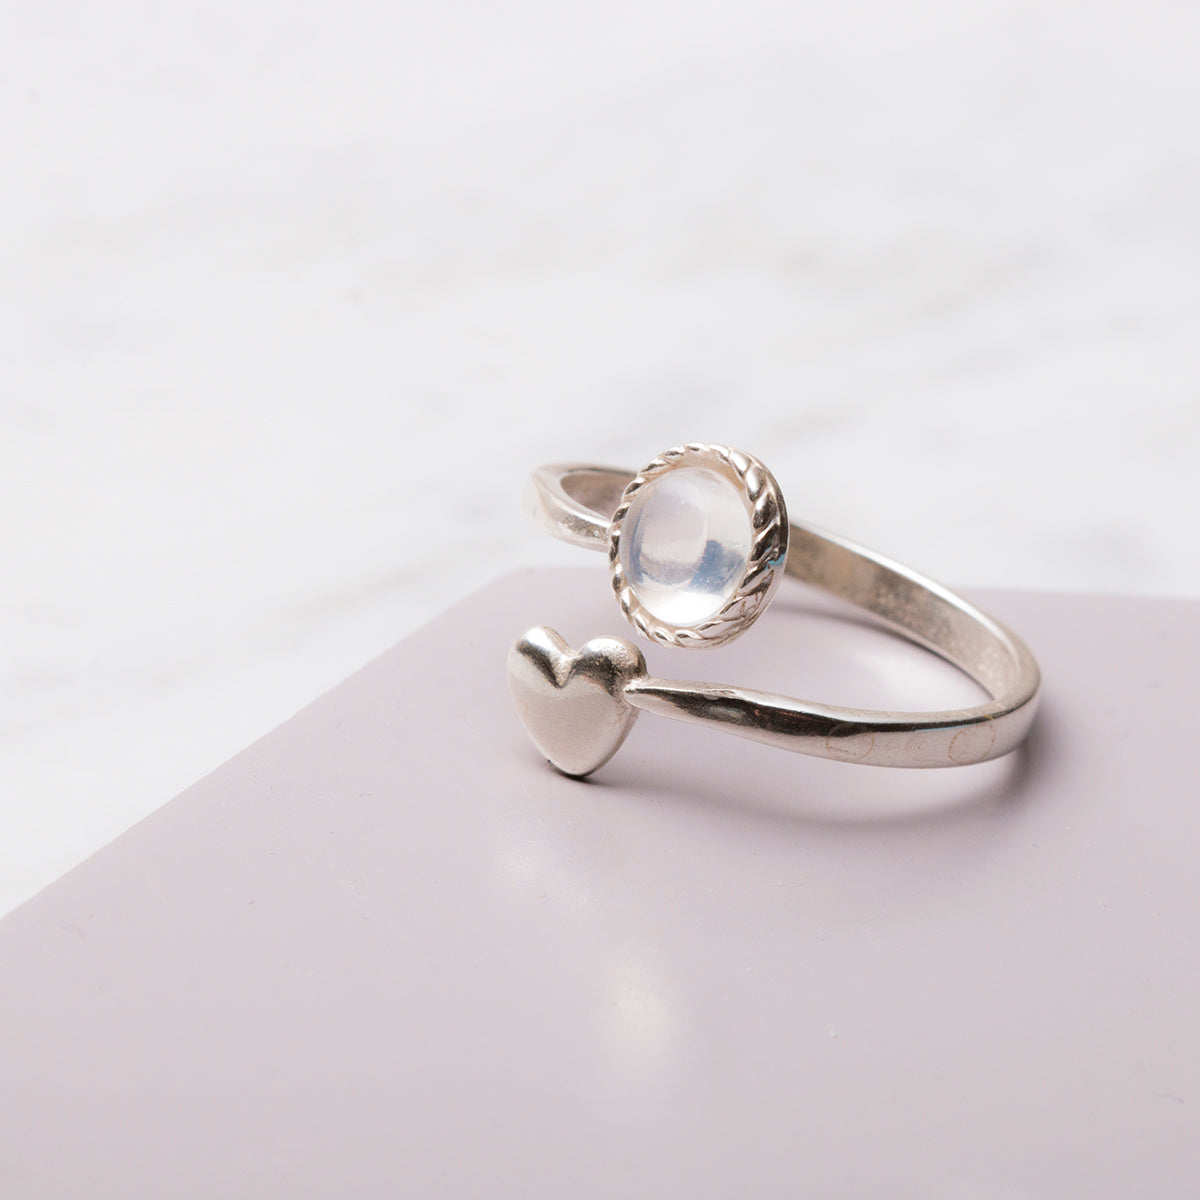
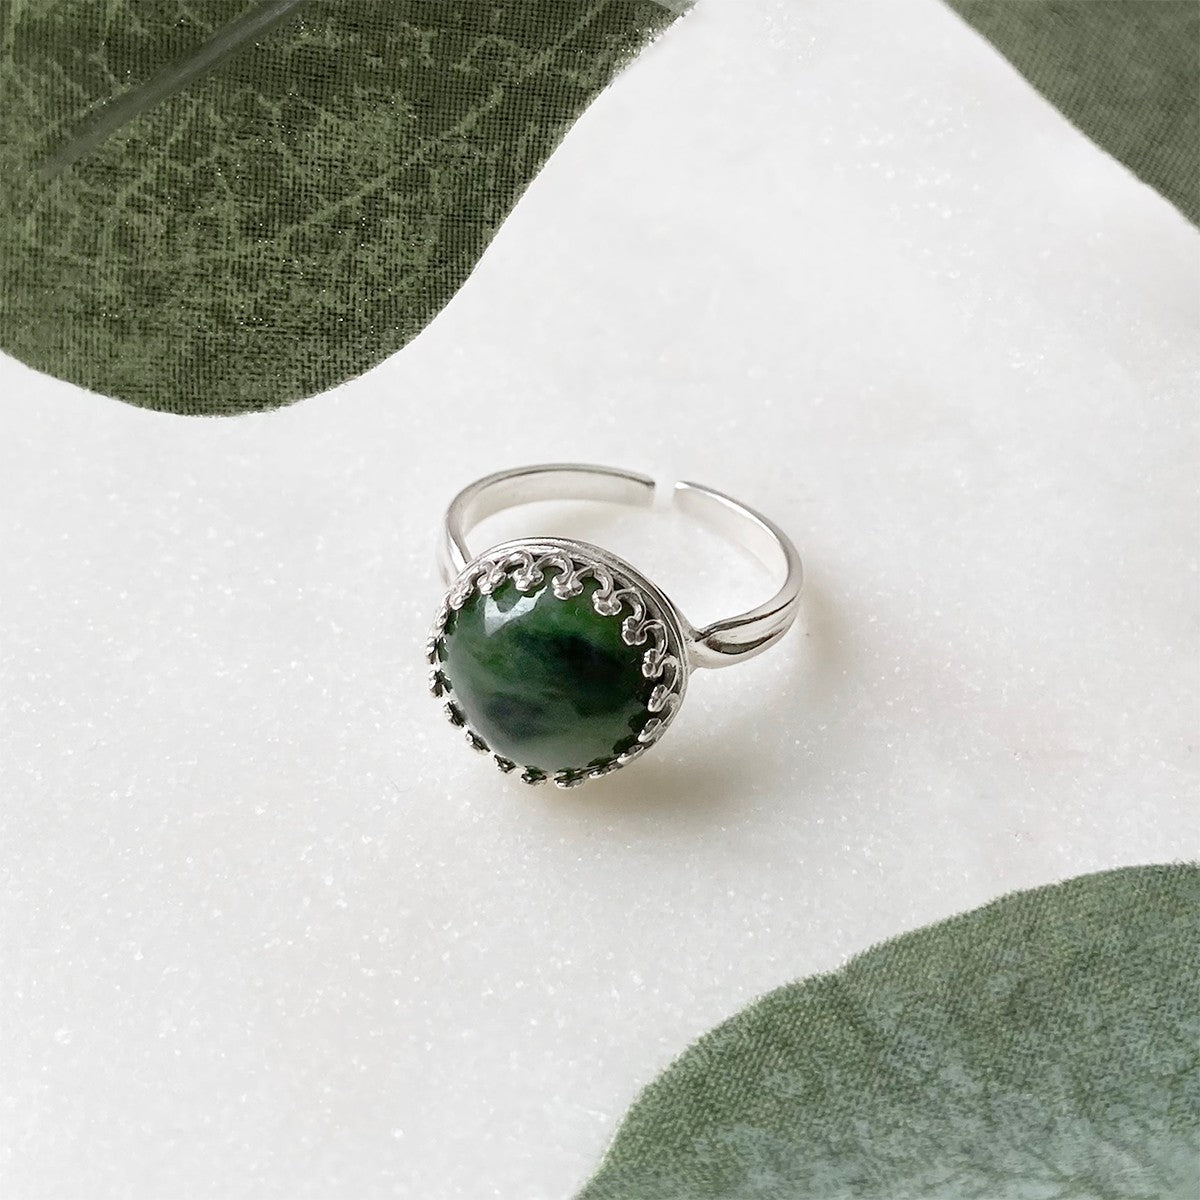
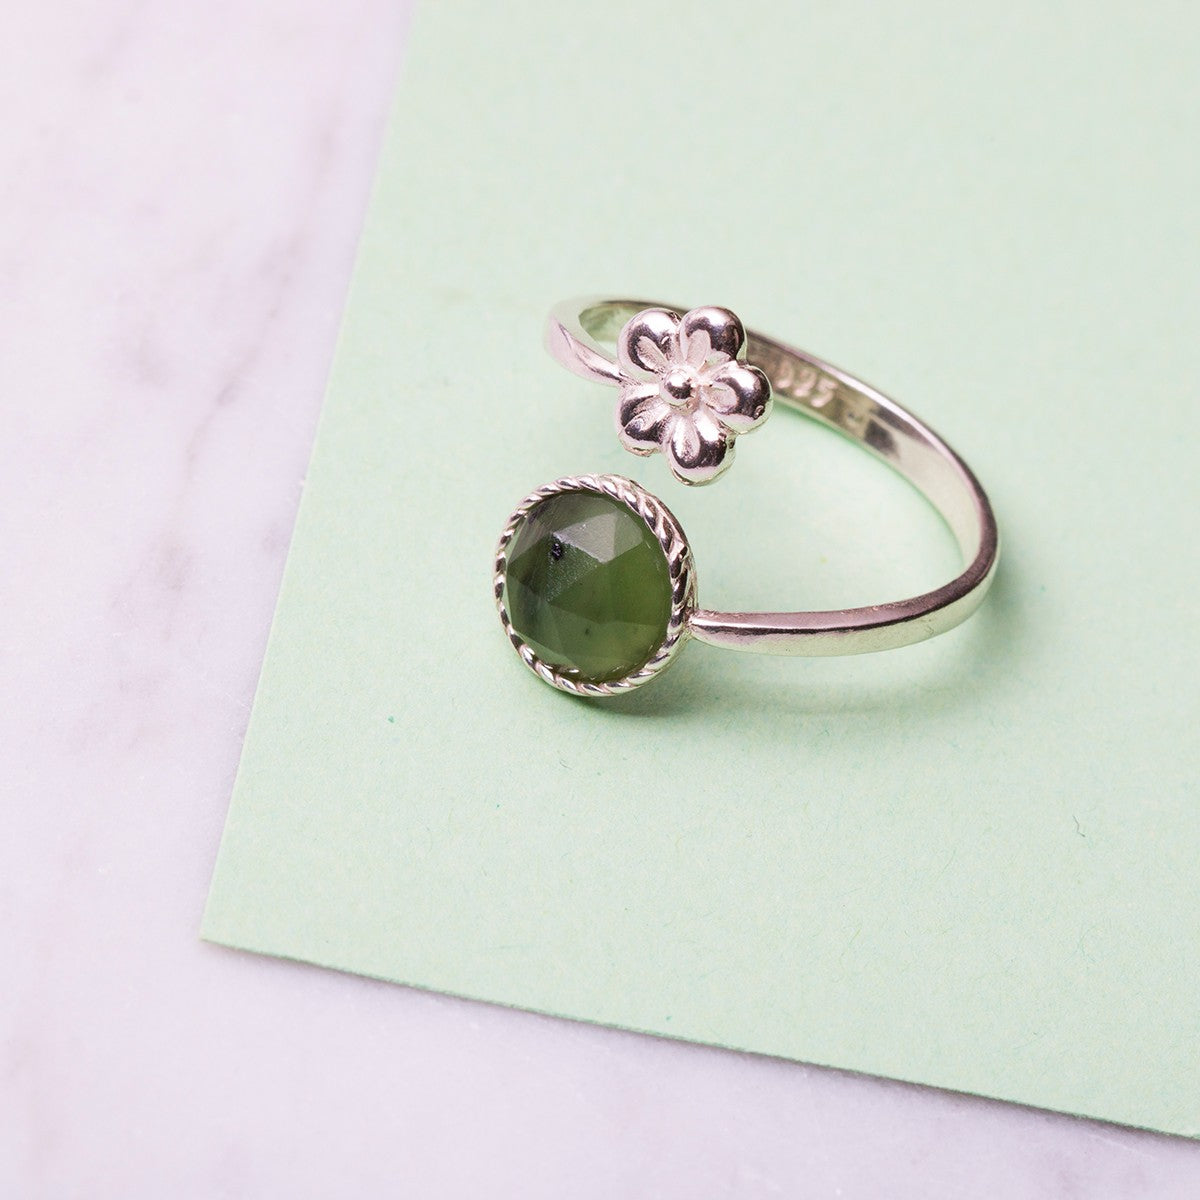
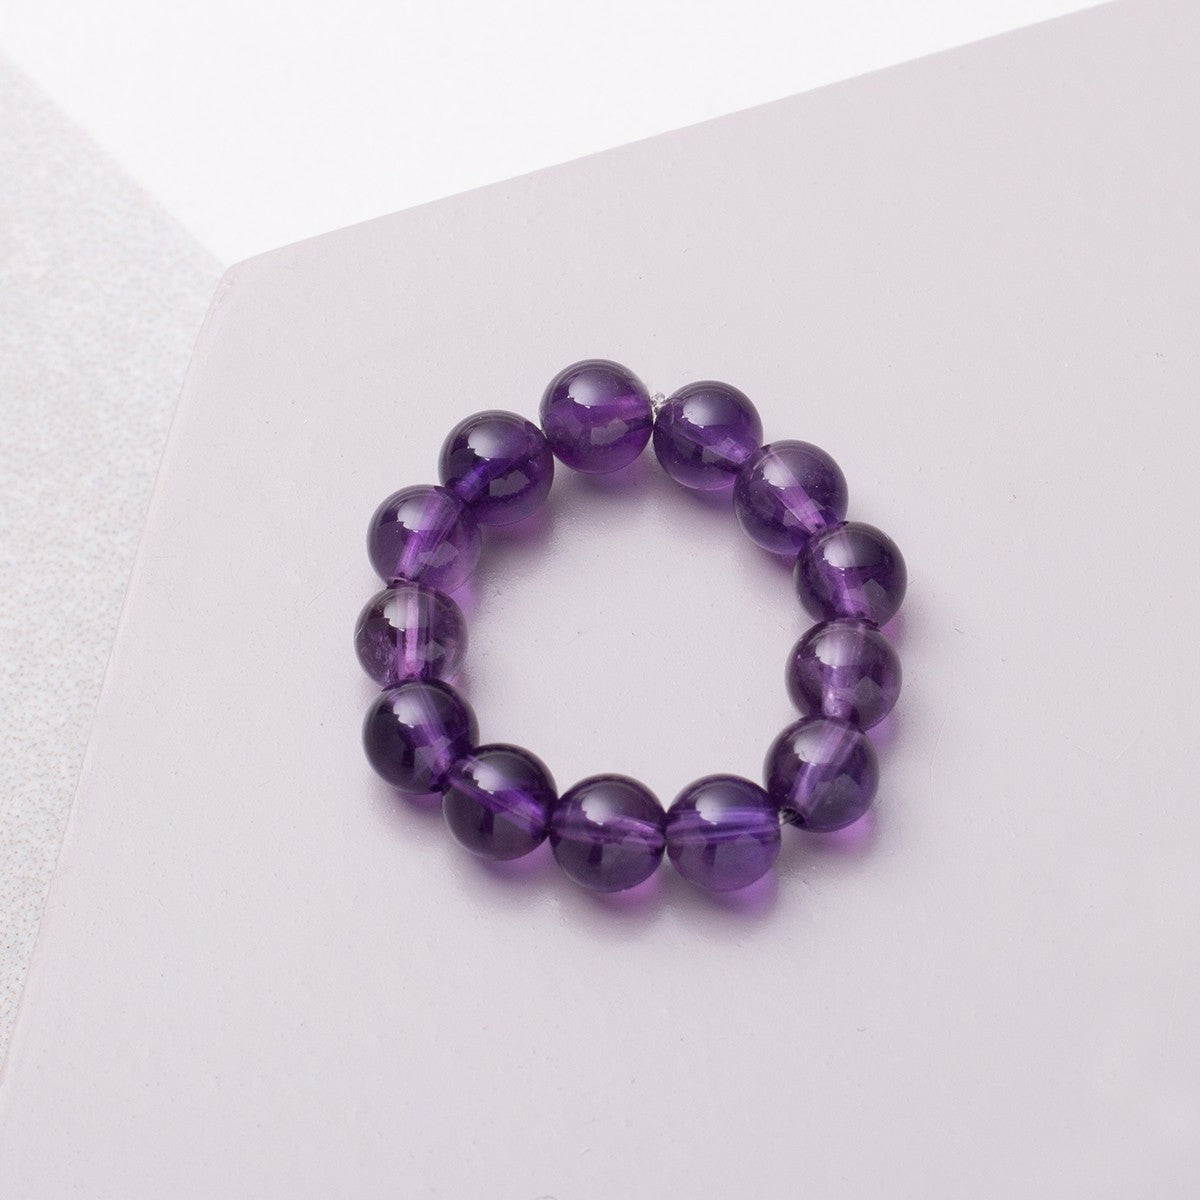
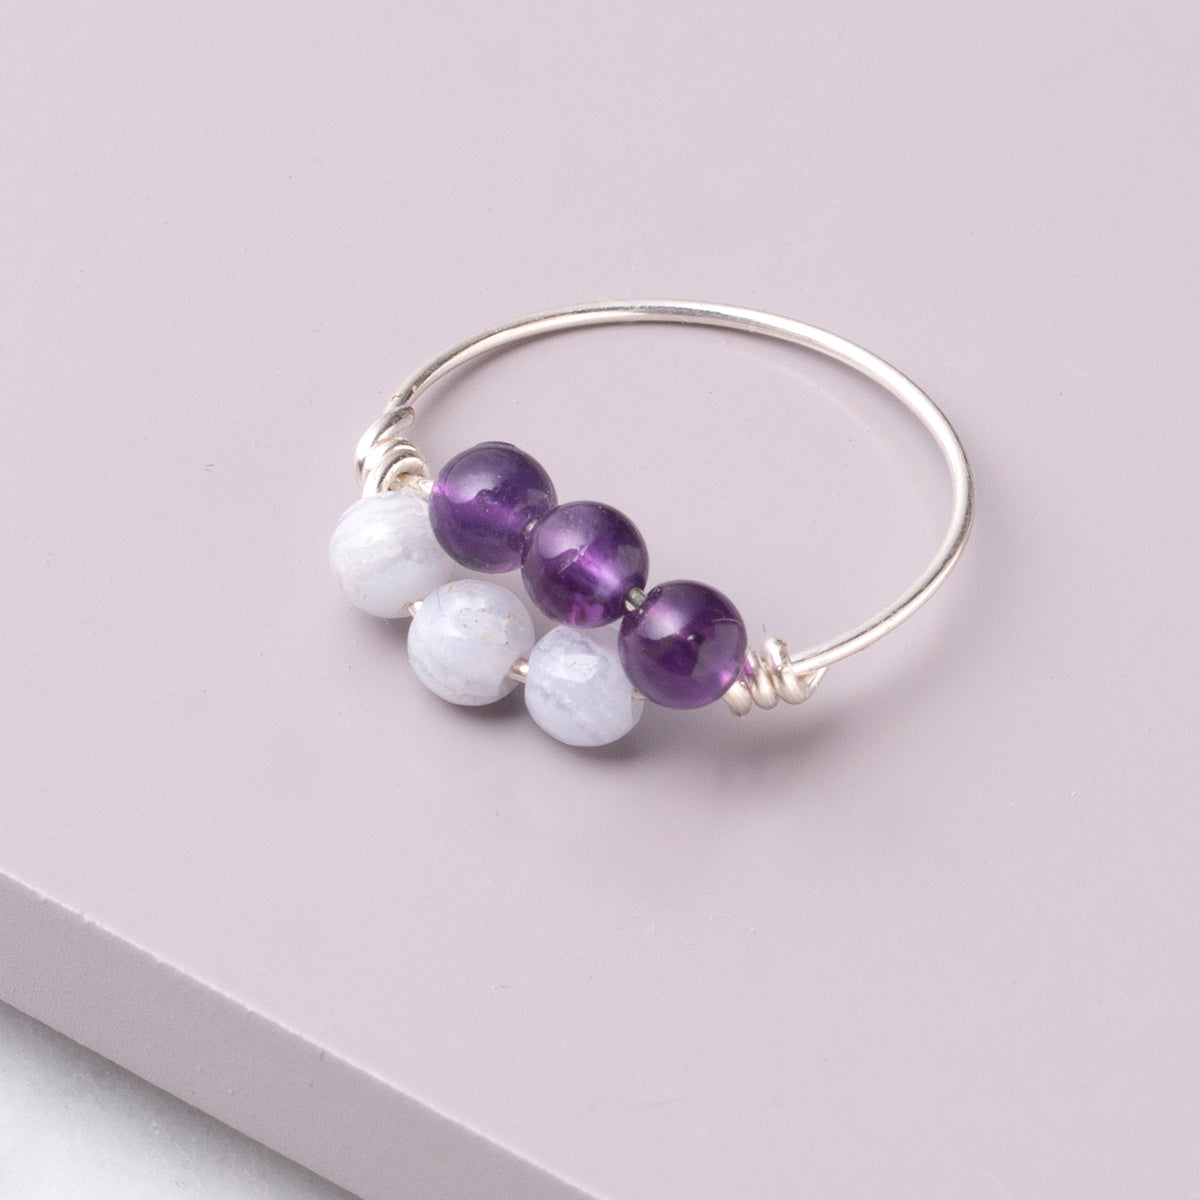
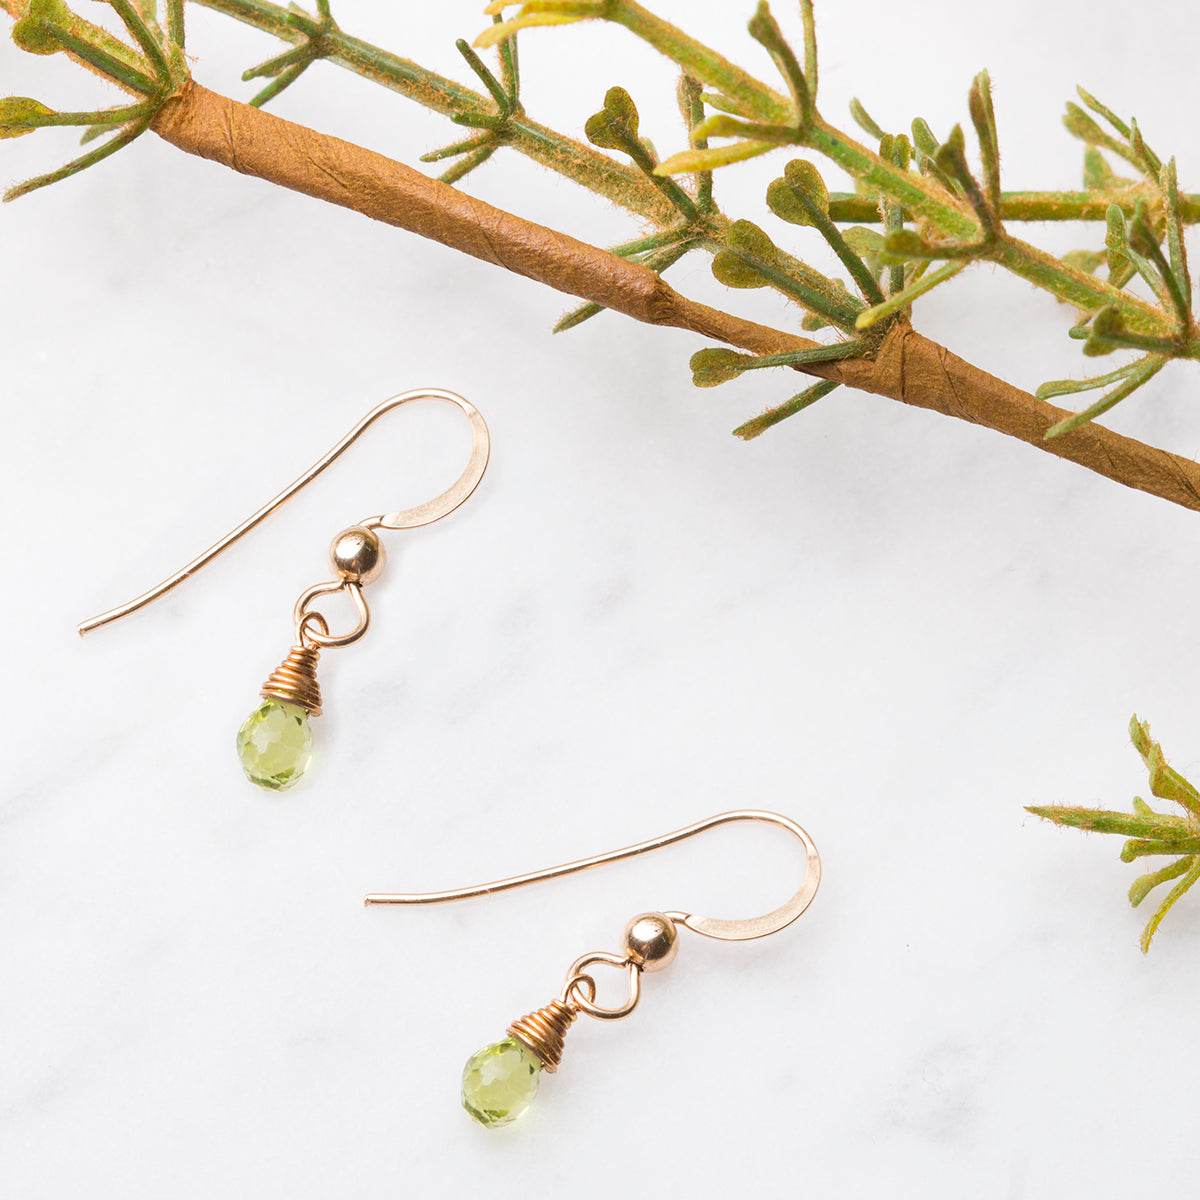
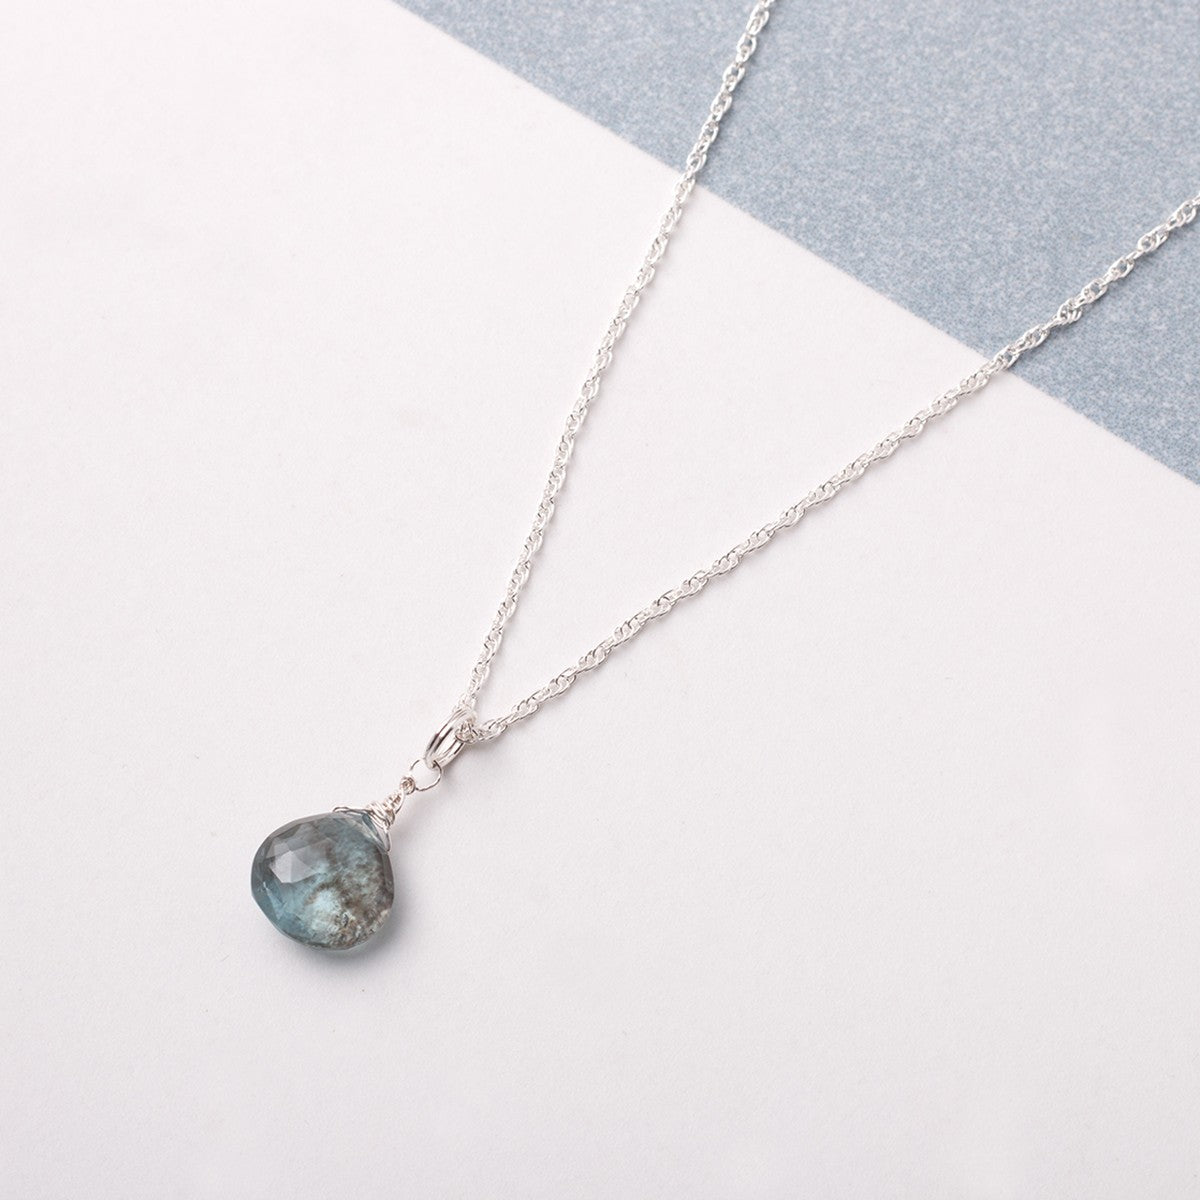
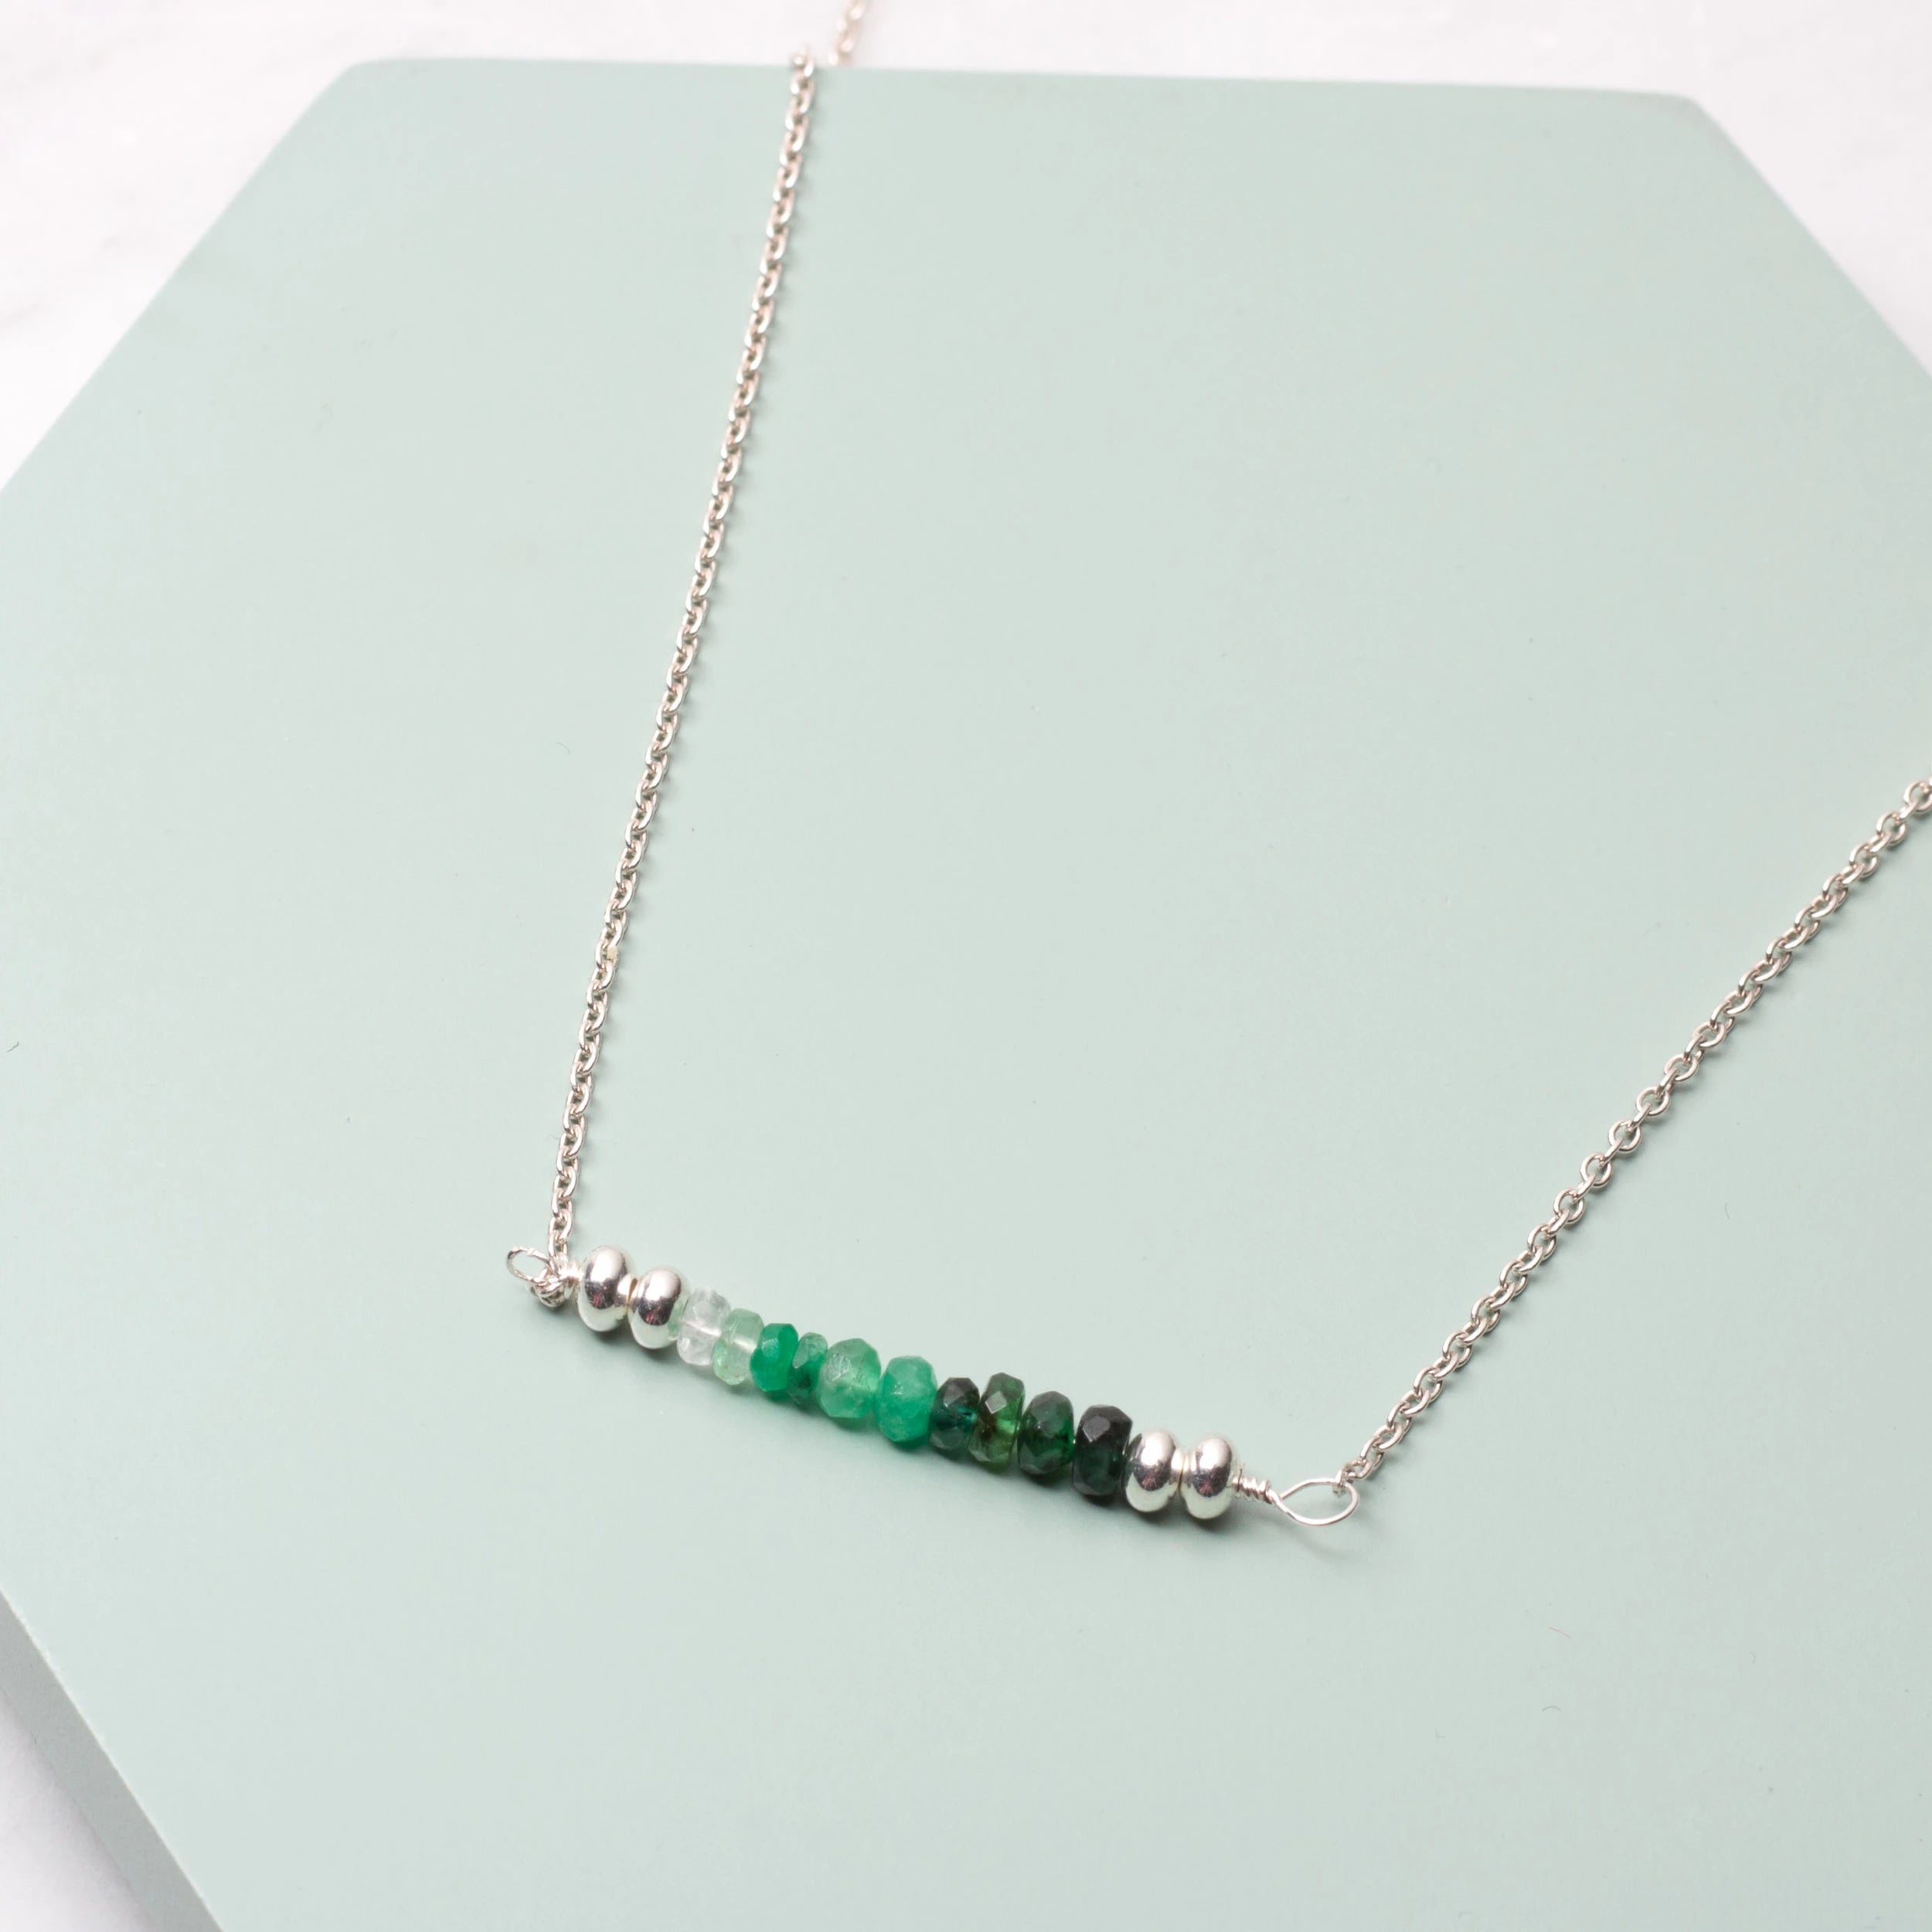
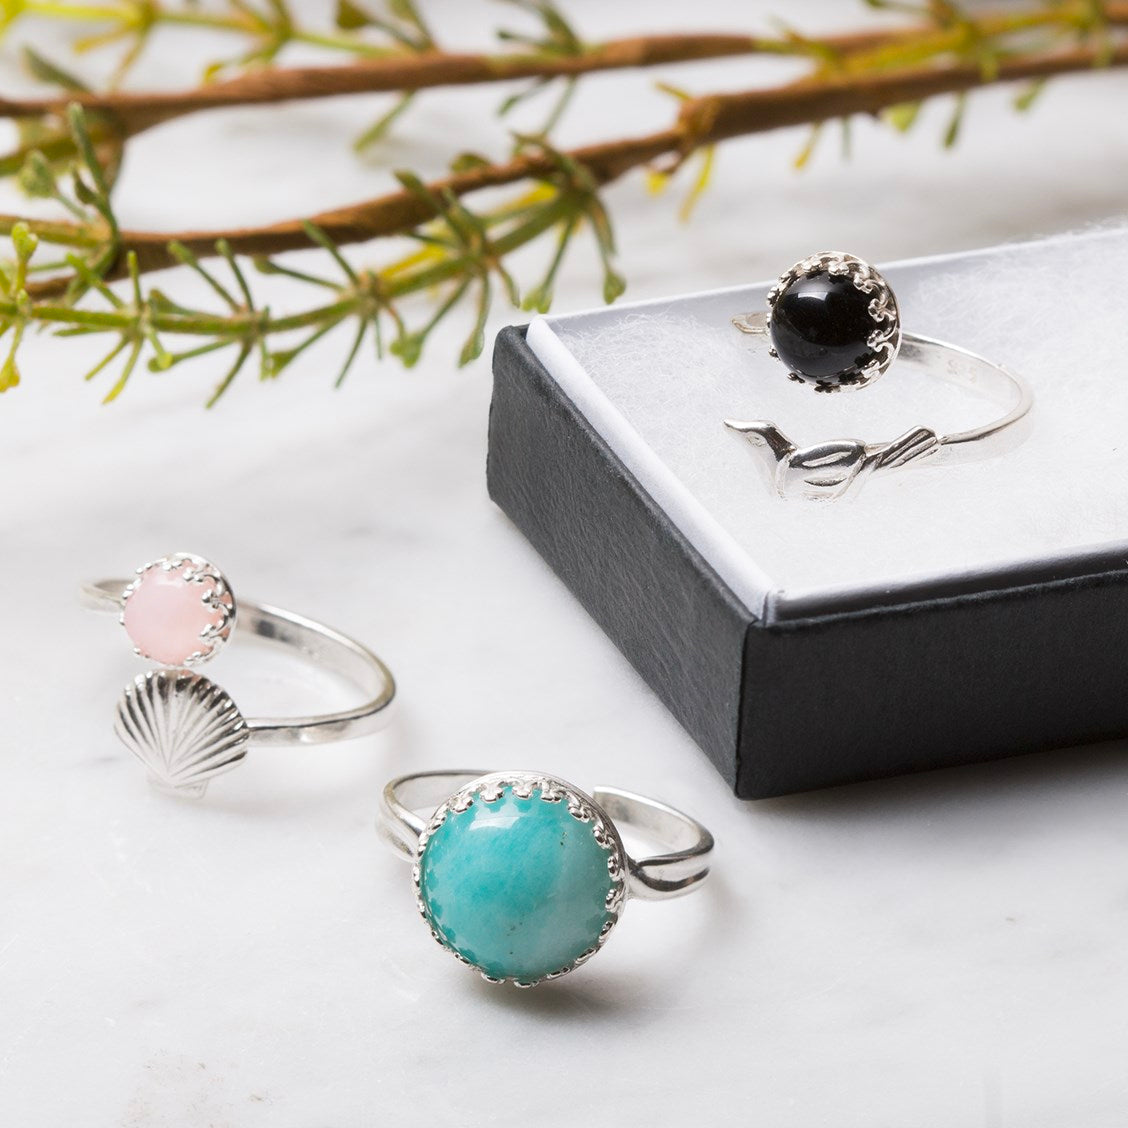
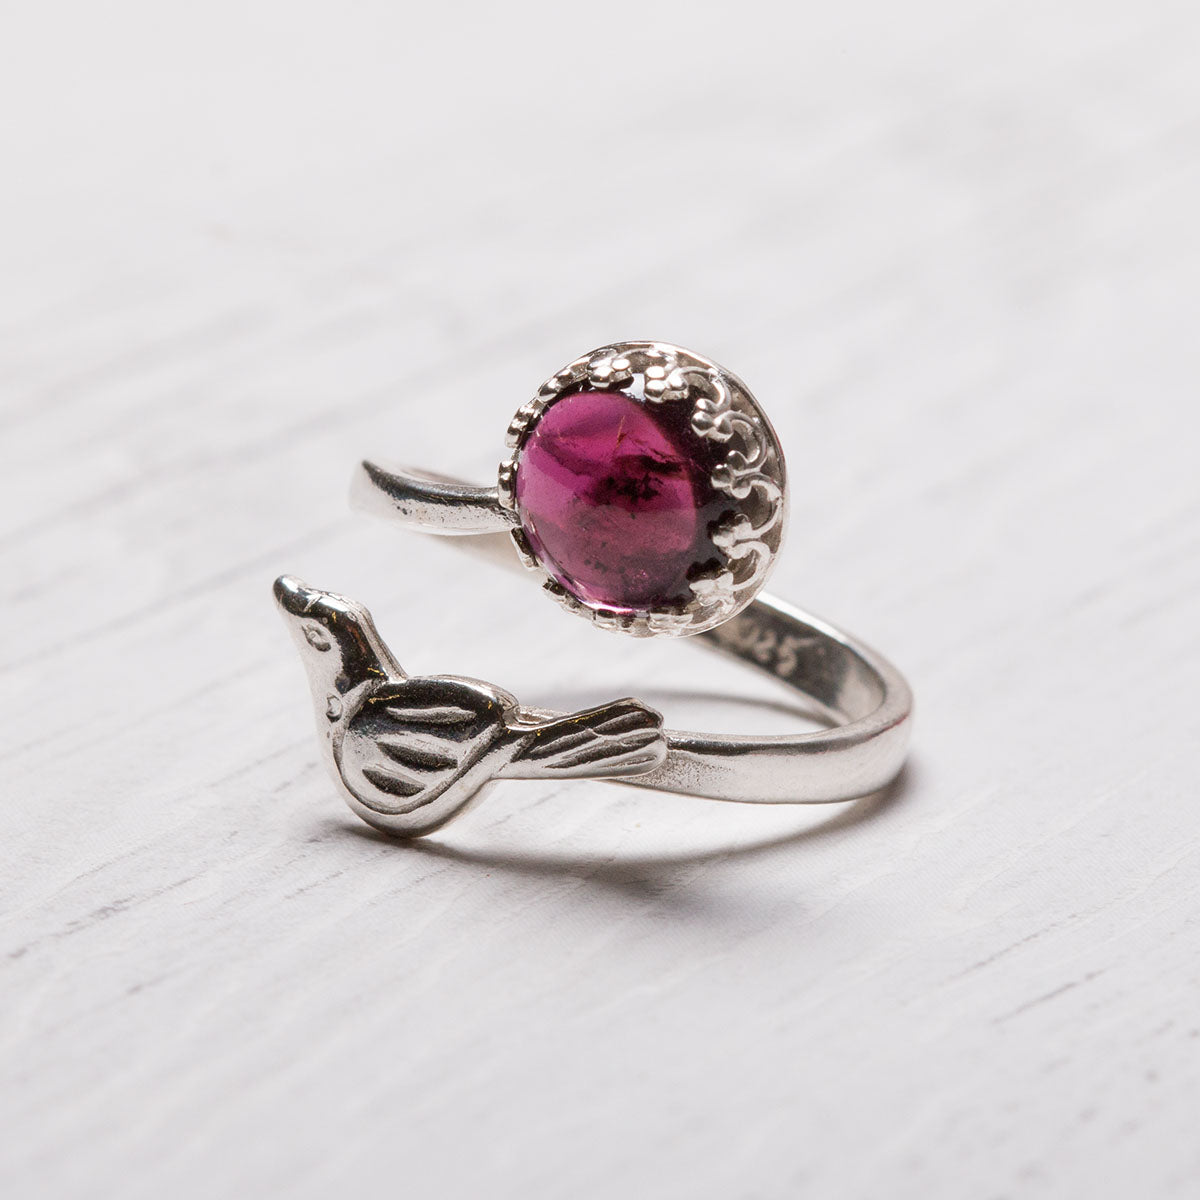
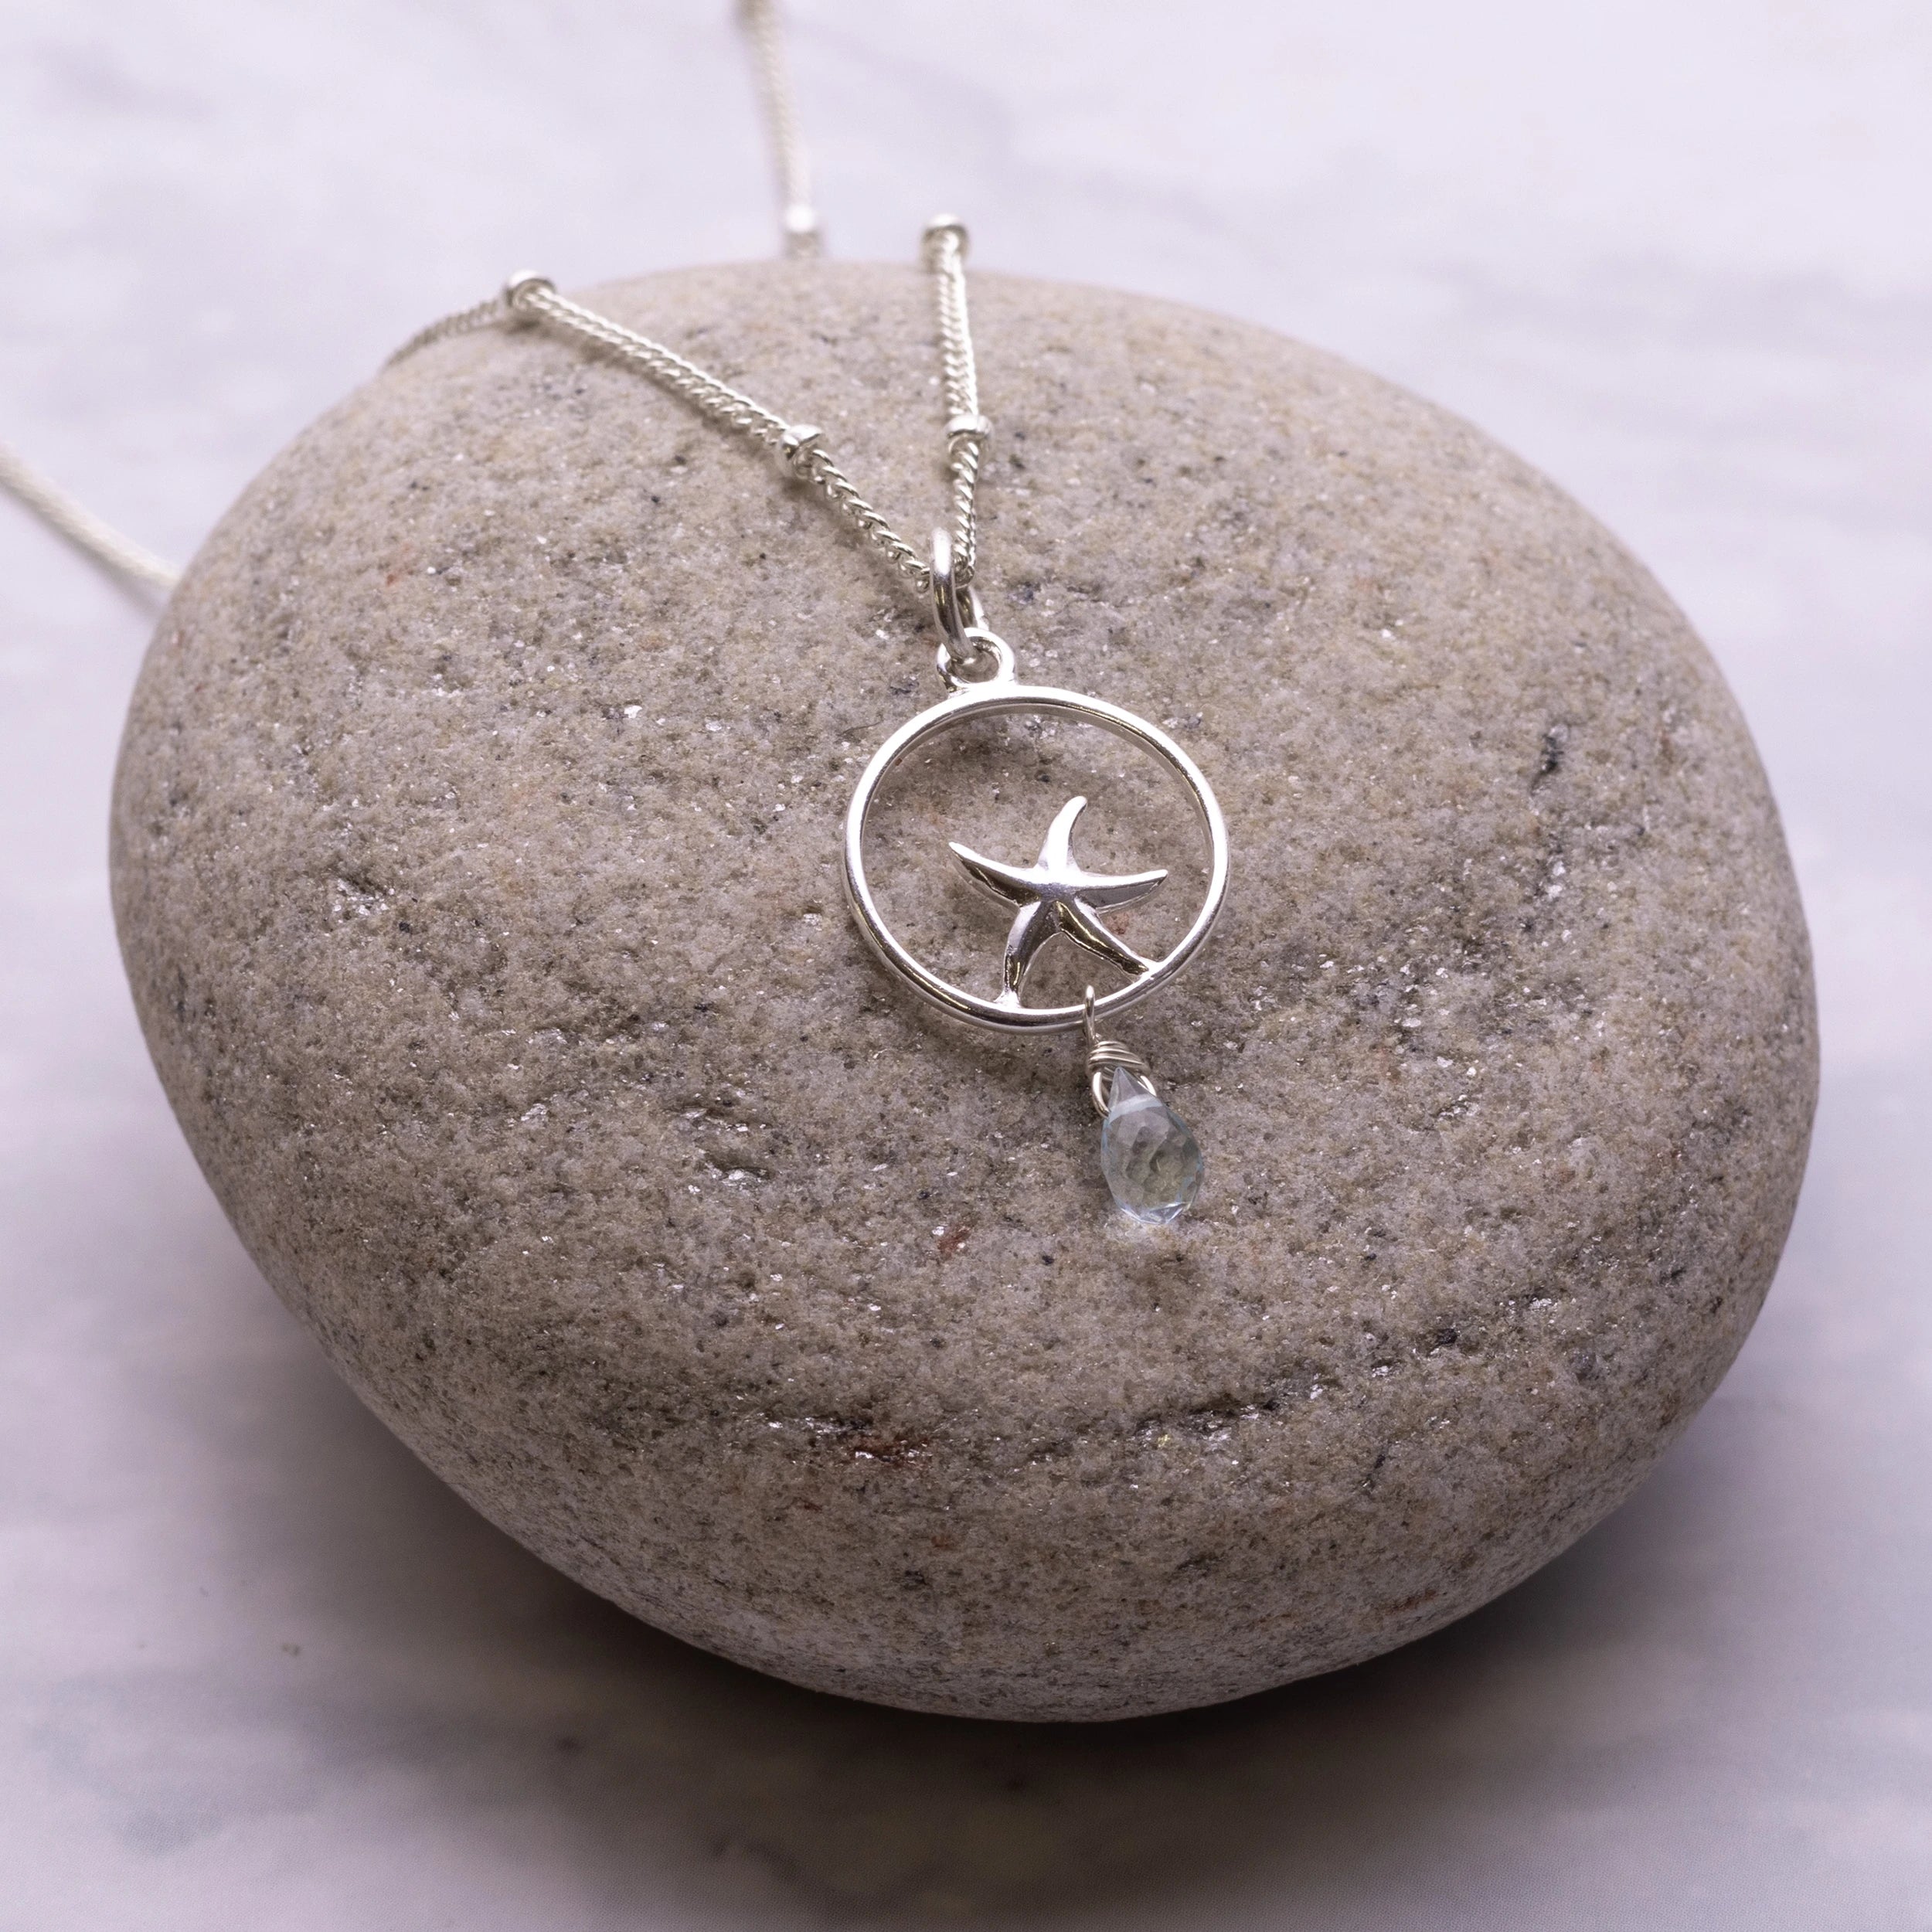
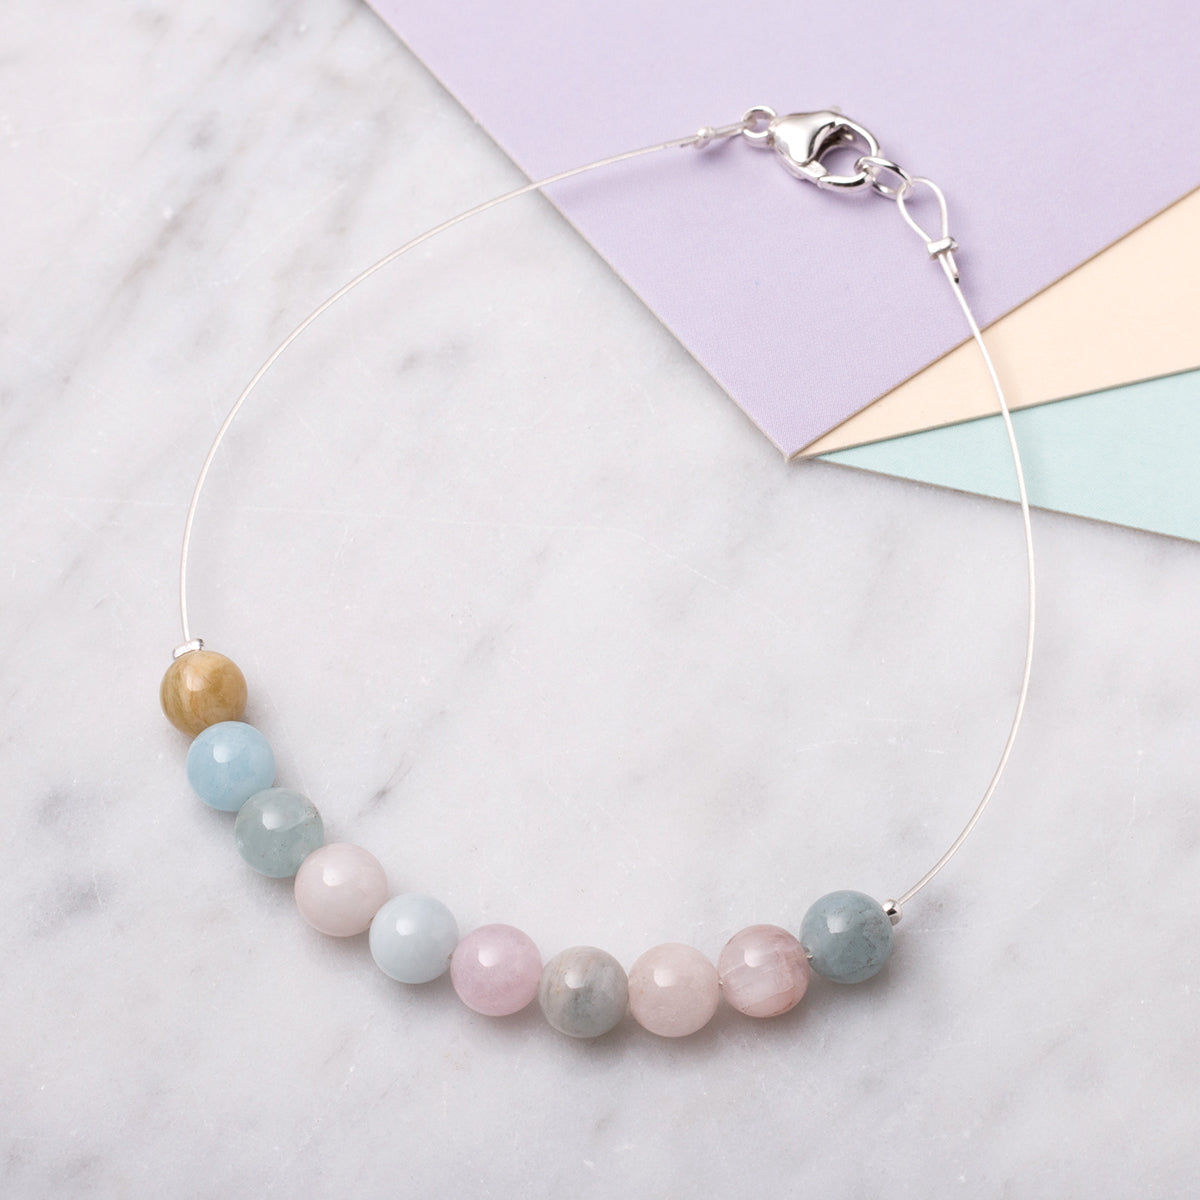
Make The Look Jewellery Ideas gives jewellery makers a useful range of products for creative projects and everyday making.
These ideas and kits are useful for beginners, gifts and makers looking for a simple way to create something new. Browse more projects and kits.
Pair with jewellery making tools or explore our jewellery making supplies for extra materials.
Filters
31 products