


This guest article on wax carving and granulation is brought to you by Jo from Rockpool Jewellery. Jo shares with you her process of creating rings combining both of these ancient techniques so you can learn more about creating truly eye-catching designs.
What is wax carving?
Wax carving is an ancient technique that is almost like miniature sculpture making but for jewellery! With most jewellery being made out of sheet, wire and tube you will find that wax carving gives you even more opportunity to push your designs to the next level and get experimenting.
The lost wax carving technique
"Carvings are mostly transmuted into metal by lost wax casting technique, also known as investment casting or circe perdue. In this process, wax models have a sprue attached and are encased in plaster. The sprue is the avenue through which metal flows to form the casting. Once the plaster is solid, the wax is burnt out and molten metal is poured into the cavity formed by the vacated wax. Different metals require different investment plasters.
After casting, the plaster is broken off the metal and the piece is cut off the sprue. Waxes are usually cast on a 'tree' - a thick rod of wax with many sprues attached to it, each with a wax model. The majority of casting is done commercially by vacuum casting, which has replaced centrifugal.
There are other types of casting, such as ceramic shell casting, sand casting, Delft clay and cuttlefish casting. These techniques are for the DIY enthusiast. For consistently good results a professional casting company is the best route."
Extract from 'Wax Carving For Jewellers' book available to buy with Kernowcraft.

Featured tools & supplies
- Saw frame and blades
- Wax heat tool
- Wax mandrel with single or multiple blades
- Wax tube
- Wax file
- Wax carvers (depending on design)
- Stone setting burr

Jewellers Piercing Saw Frame

Piercing Saw Blades (Pack of 12)

Stone Setting Burr
Types of waxes
If you're new to wax carving there are a few different waxes to choose from. There are ring waxes which are in a tube shape that you can use to create rings, essential for sizing these waxes is a wax mandrel which has a blade or blades to smoothly carve the wax to the right size.
I have pictured some of the waxes I usually use above. The purple is half bangle wax, then we have different ring waxes. Green is firmer which is better for carving of finer details. The ring waxes also come in various forms – with the hole centred, off centre of with a square top. I use the blue wax most often. Other waxes you may find are builder wax and injection wax, the injection wax is what is used to create multiples of a design when you have had a mould created and melts at lower temperatures.
Making a ring
To create a ring, cut a piece slightly larger than the desired width from the wax tube. I always use a slightly larger piece so there is room to remove any bad saw marks and I can file to the exact shape I want. To create a ring of the right size, use the wax mandrel to remove material from the inside of the band. Waxes do shrink slightly (by around 3% - 5%) when they are cast into metal, I find that sizing up by half a size usually allows for the right size after casting and clean up. Then shape the outside of the wax into the desired shape and thickness using wax files and carving tools.


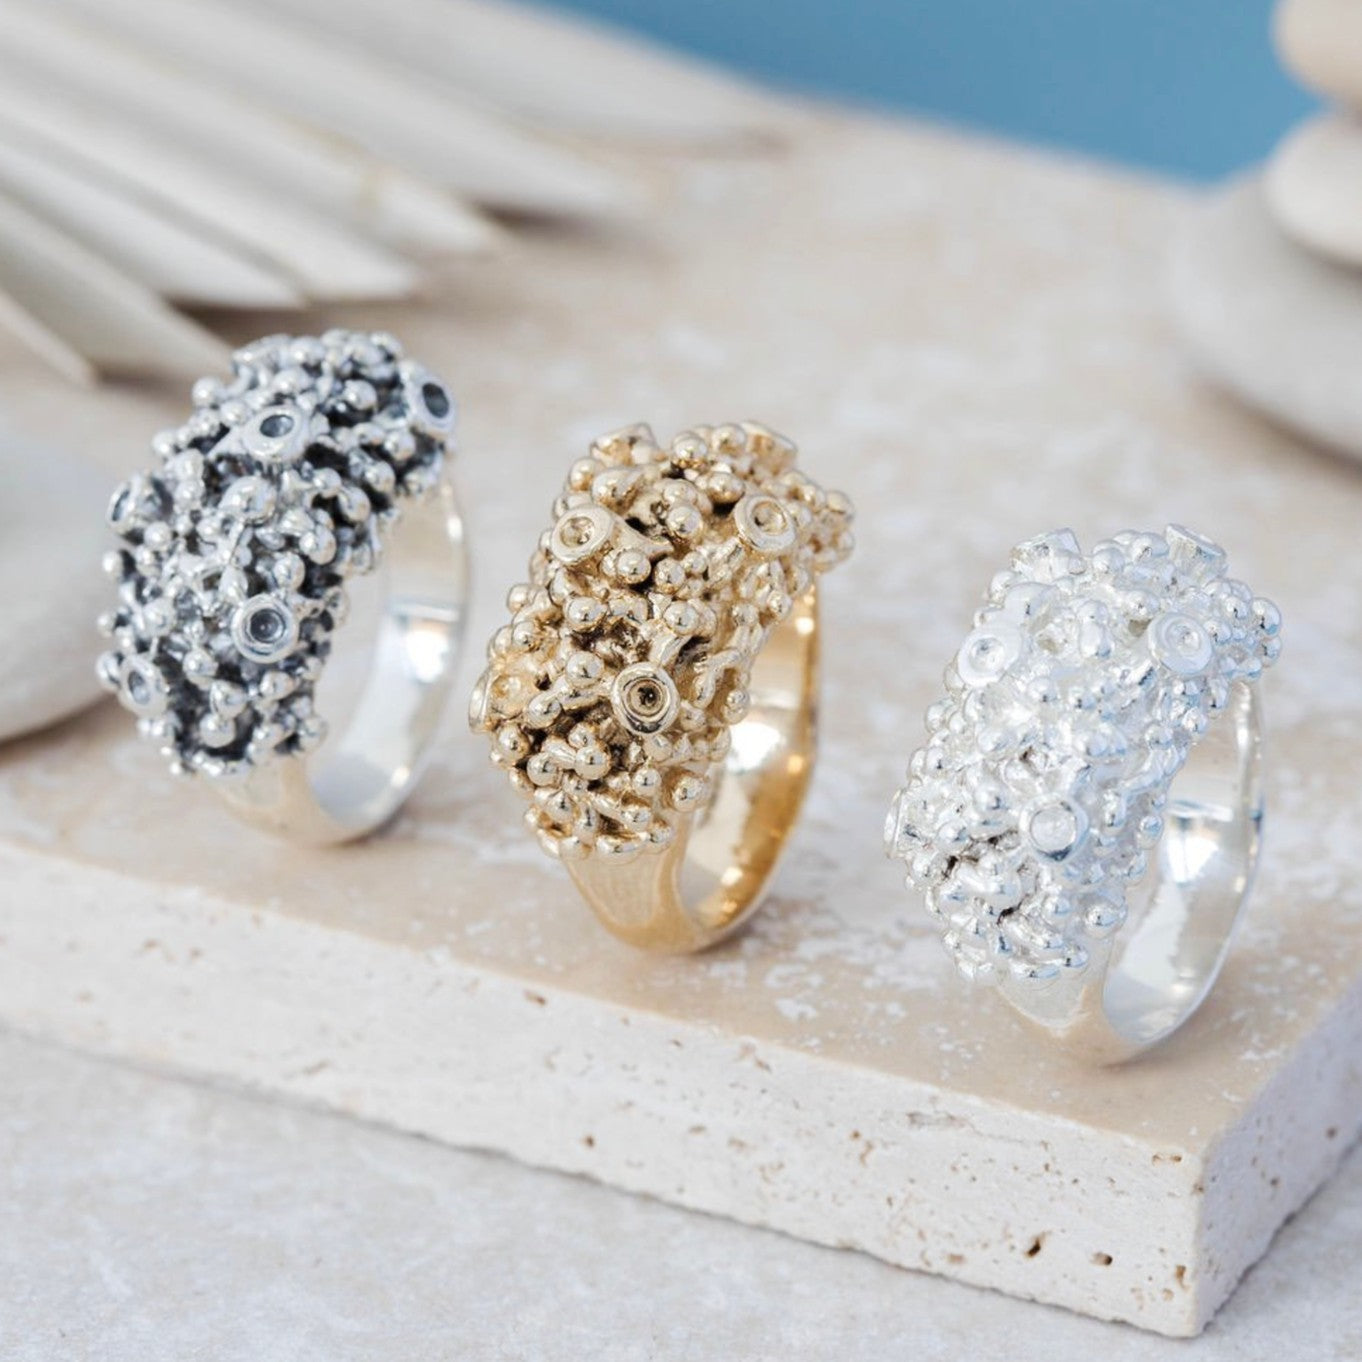
Adding granules
In order to create granulation in wax, you will need either a wax pen or heated wax carving tool - I use both depending on what I am working on. To create a ‘granule’ you need to pick up a small bit of wax with the heat tool you have chosen. Do this by touching the heat tool to some wax and allowing it to attach to the tool. You need to then use the heat to allow the wax to fall to the point of the heat tool and form a droplet. The wax pens come with fine points to do this but for an electronic wax carver tool, you will need to select a tool with a finer point or one that is tapered.
Once the droplet has formed, you then need to attach this to the other piece of wax. To do this, touch the droplet to the wax piece, you need to make sure the granule is connected and not just sitting on top. To do this, ensure that the heat tool connects with the other piece of wax forming a bond between the wax ring and the granule. You can then repeat this multiple times and with varying amounts of wax to build up your design and to create different sized granules.
In the pictures, the electronic wax carving tool I am using is the Foredom Wax Carver, I find that the temperature controls on this one are very good for adjusting to different wax types. The wax pen can be useful as they are battery operated, I have two and have one with a full battery and one that is half full to allow for different power outputs and creation of different size granules. Some of my other favorite tools are the Kate Woolf wax carving tools but these are fairly pricey so if you are just giving it a try I would start out with some more basic dental tools for carving until you decide to make the commitment to wax!


Adding gemstones
If you want to add some extra sparkle to your wax designs, it is possible to create settings in the wax for gemstones to be set after casting but it is also possible to cast some stones in the wax. The stones that you can use for cast in place are limited to those that can withstand the high temperature of the molten metal. Sapphires are a good choice as they can take the high temperature generally without the colour or clarity distorting – this is just based on my experience. I have tried a couple of times with diamonds but they can go cloudy depending on the clarity of the stone and how the casting is done.
I have never cast stones larger than 3mm but I have seen designs by others with larger stones however I cannot advise on outcome or failure rates as this is not something I have tried. Other stones that can take heat are stones such as lab created sapphires, rubies, and cubic zirconias can also be used.
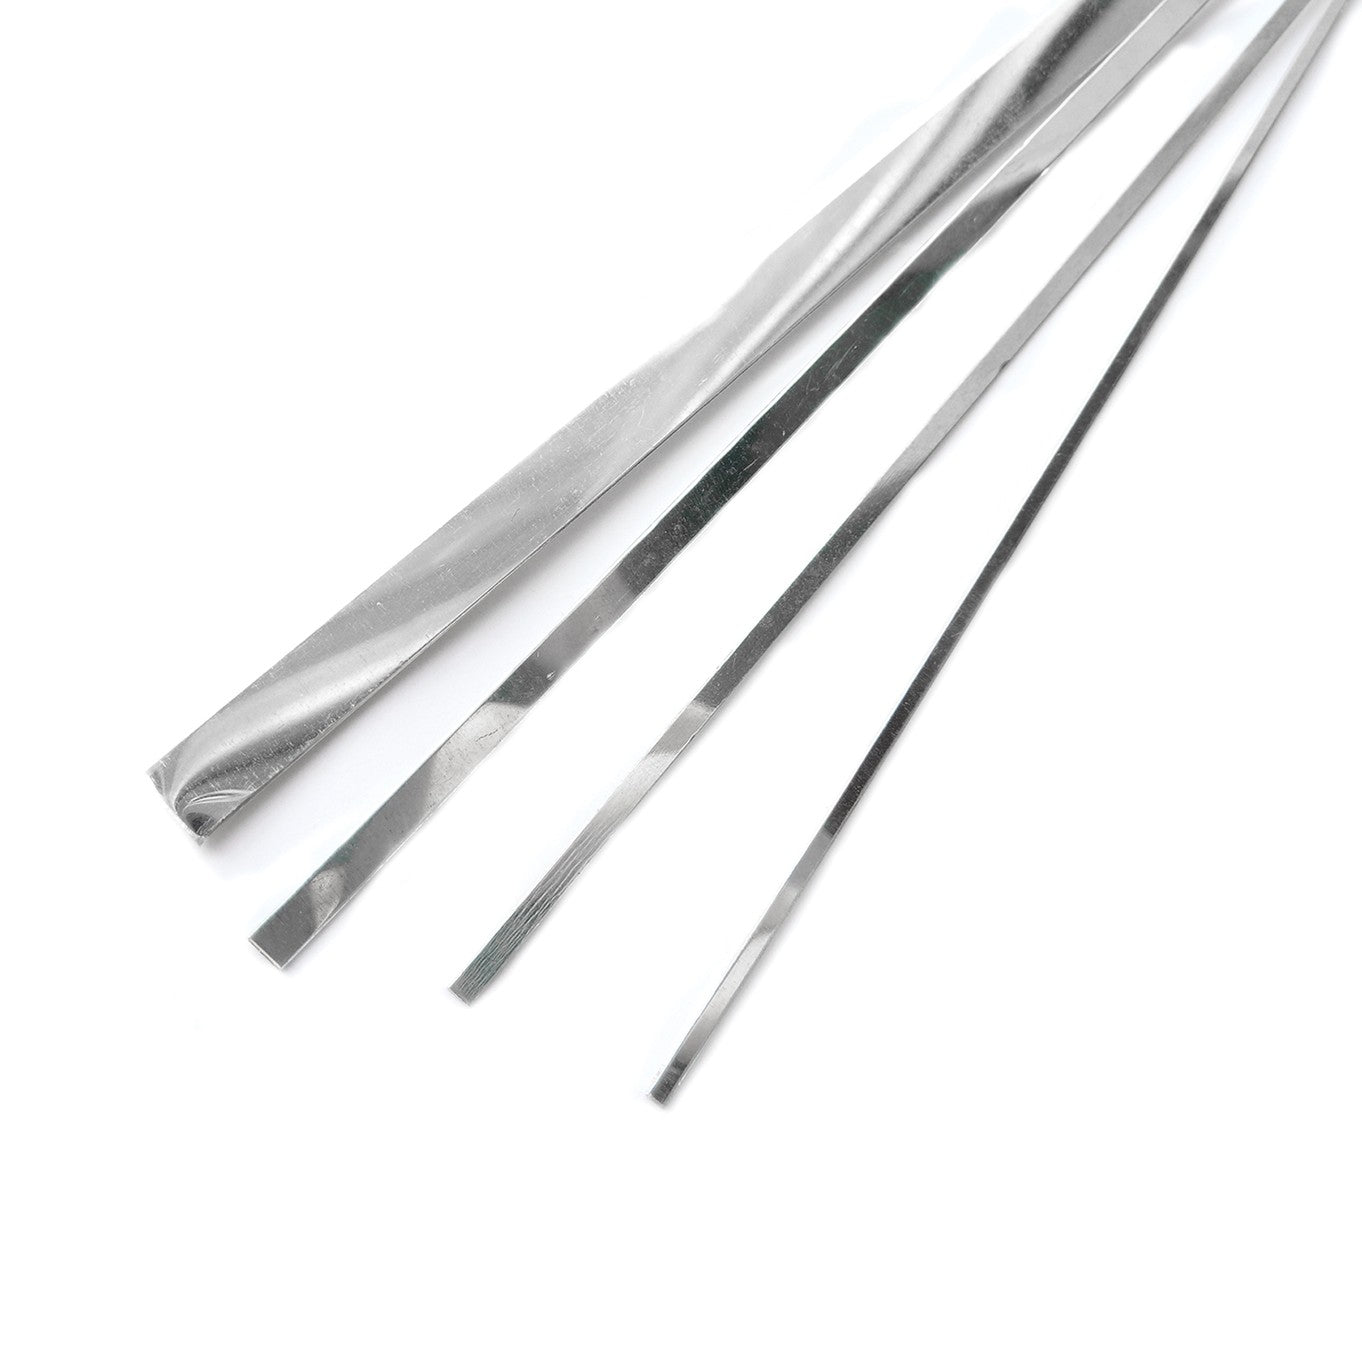
In my example ring below, I used a Sri Lankan sapphire stone which was cast in place. To do this, I created the ring band and used a bit of wax tube to elevate the stone. Using a stone setting burr I cut a slight seat for the stone in the wax tube but did not set the stone into it so the girdle was covered. The girdle was just above the top of the wax tube. I then built the granulation up around the stone. It is important to note that while wax wire is blue like the ring tube wax, it is a lot softer so more care may be needed when working with it. The wax wire can be bought in packs of round or rectangular and square and you can also purchase by the reel for some shapes.
To create the ‘claws’ that hold the stone in place, this is done essentially using the granulation technique but then dragging the granule across the surface of the edge of the stone to create what looks like a claw. It can be difficult to get them all looking the same or the right size so it can take a bit of practice. It is also possible to use wax wire to attach to your design and create claws in a more standard way like you would do with metal wire.
It is important to note that not all casters will do cast-in-place stones due to the complexity of the process. One caster that I have used that does cast in place is Black Arts Casting.


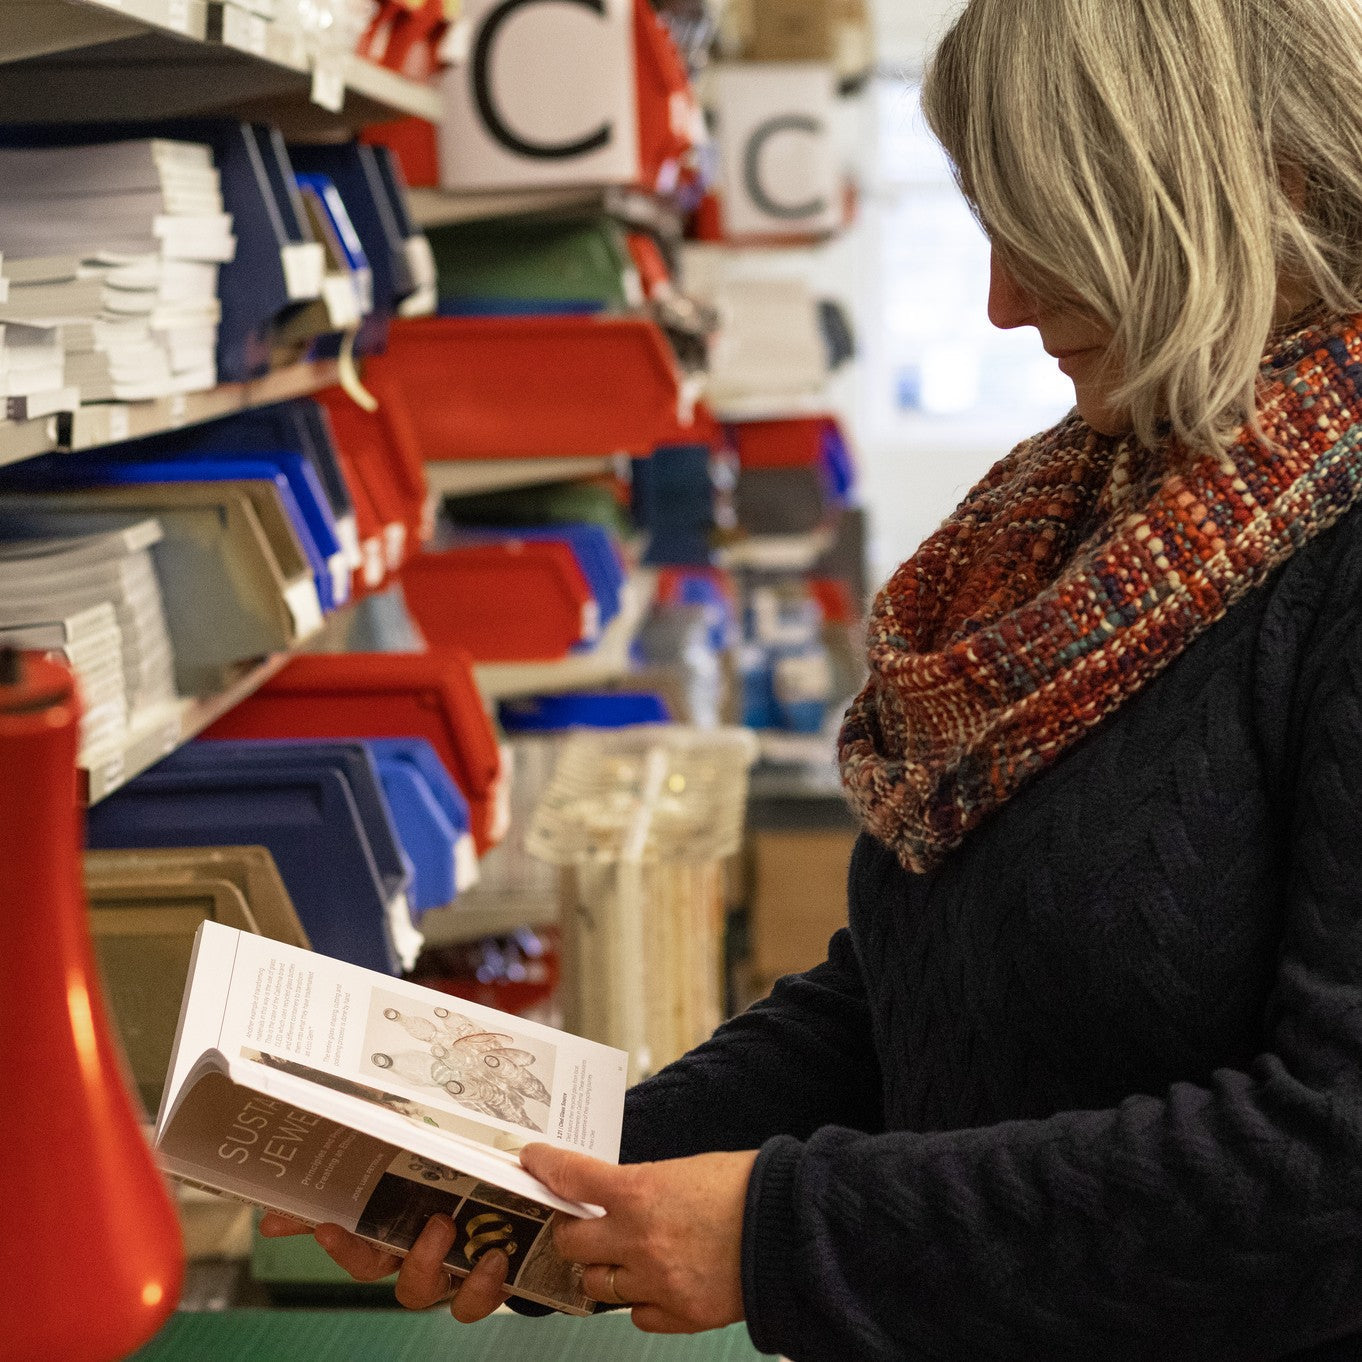
Our book recommendation
Wax Carving For Jewellers by Russell Lownsbrough and Danila Tarcinale
Has this project inspired you? Keep learning about the art of wax carving for jewellery making! This brilliant book will provide you with all the information you need to get started on this technique.
It has advice on setting up your workspace, including tools and material lists. An introduction to wax carving for beginners, with projects for those starting out as well as advanced methods.


Time to experiment!
Check out some more wax carving designs of mine including implementing a gemstone, using different metals and creating both rings and pendants. I hope you have enjoyed the tutorial and if you have any questions on wax carving feel free to reach out to me at rockpooljewellery@outlook.com.


Meet your tutor, Jo
A huge thank you to Jo for sharing her experience with wax carving and granulation! We hope this insight inspires you to give these techniques a go.
Learn more about Jo's jewellery making story in our interview, discover her coastal inspired designs and hear all about her love of learning new skills and techniques.
Follow Rockpool Jewellery
WEBSITE | INSTAGRAM | FACEBOOK
Watch casting tutorials
Also in this section:
- Metalsmithing and Soldering General Advice
- How To Make Granulated Hoop Earrings
- Wax Carving & Granulation Process With Rockpool Jewellery
- Common Soldering Problems & Solutions For Jewellers
- The Essential Jewellery Tools & Supplies For Soldering
- Types Of Tweezers For Jewellery Making & Their Uses
- 10 Jewellery Tools For Supporting Your Work
- Using A Third Hand For Jewellery Making
- Using A Charcoal Block For Jewellery Making
- How To Use A Jewellers Piercing Saw
- How To Use Needle Files For Jewellery Making
- Soldering Flux For Jewellery Making Explained
- How To Use Safety Pickle & The Importance Of Using Plastic Tweezers
- How To Prevent & Remove Fire Scale & Fire Stain
- What Is Thermo-Gel Heat Barrier?
- What Is A Multi Chuck & Essential Accessories For Your Dremel Multi Tool
- How To Use Your Scrap Silver For Jewellery Making
- How To Make Scrap Silver Earstuds
- What Is A Ring Mandrel & How To Use It
- How To Adjust Ring Sizes
- How To Make A Ring Band
- How To Make A Wishbone Ring
- How To Make A Spinner Ring
- How To Make A Spaghetti Ring With Kim Thomson
- How To Make A Textured Ear Cuff With Searose Jewellery (No Soldering!)
- How To Use A Bangle Forming Die Tool
- How To Make Bezel Set Heart Cabochon Earrings
- 10 Reasons You Need A Headband Magnifier For Jewellery Making
- What Is Alligator Tape & How To Use It For Jewellery Making