How To Make A Spaghetti Ring With Kim Thomson
On this page, guest tutor Kim Thomson shares with you two brilliant tutorials on how to make your own spaghetti rings featuring stone setting techniques.
What is a spaghetti ring?
A spaghetti ring is a wrapped ring band with lots of wraps that often cross over each other and look like a little nest of spaghetti or tagliatelli. It’s a popular way to make a ring that appears chunky but is actually made from fine wire. This technique can be done with most shapes and sizes of wire, so it's a great chance to get creative with your design. They are usually made with round wire but square, rectangular, d-shape and oval all work well too, Kim particularly likes to use 1.5 to 2mm for chunkier bands and 1mm for delicate bands.
Top tips to keep in mind...
People often say they struggle to get the sizing right. Remember, the wider a ring, the bigger it needs to be to fit your finger. You normally need to make these rings a size bigger compared to a thin band.
As always, it’s very important to have the ends of your wire snuggly fit together or tuck into the rest of the wraps to solder them together. And while soldering, be extremely careful to keep an eye on the flame and the colour of your metal as it’s very easy to accidentally melt the wires by accident.
This project is great for adding gemstones or decorative elements such as granulation. If you are adding stones to your design, make sure you don’t solder your wires to the very top of the setting or you won’t be able to push the setting over your stone.
Project 1: Chunky Spaghetti Ring With A Faceted Stone
Watch and follow along with Kim's tutorial below, this spaghetti ring uses 1.5mm sterling silver wire and features a faceted stone. Kim shares top tips on sizing, work hardening as well as texturing.
Recommend tools & supplies
- 1.5mm round sterling silver wire
- 5mm collet setting (claw setting would work just as well)
- 5mm faceted stone - project features cubic zirconia
- Ring mandrel
- Metal cutters/saw for cutting wire
- File
- Needle file
- Soldering supplies
- Snipe nose pliers
- Round nose pliers
- Rawhide mallet
- Your chosen metal hammers for texture
- Stone setting burr if using collet
- Pusher
- You can use polishing papers to give your ring a shiny finish
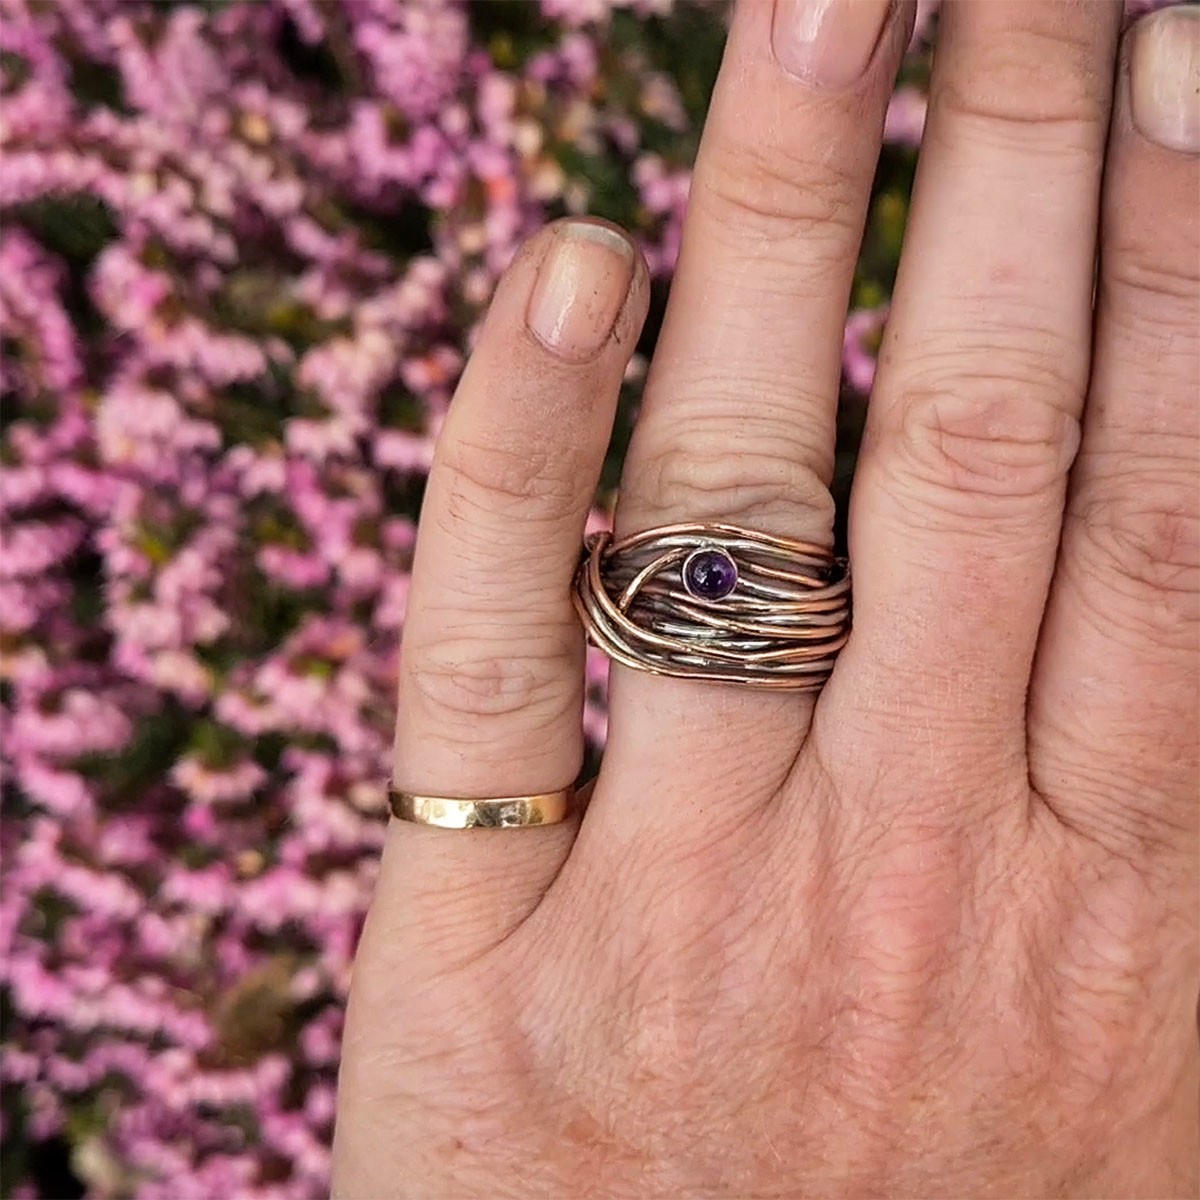
Project 2: Thinner spaghetti ring with cabochon stone
Watch and follow along with Kim's tutorial below. This second spaghetti ring uses thinner wire - 1mm sterling silver and bronze round wire and features a cabochon stone in a bezel setting.
Recommended tools & supplies:
- 1mm round sterling silver wire & 1mm bronze
- 5mm bezel cup
- 5mm cabochon - project features amethyst
- Ring mandrel
- Metal cutters/saw for cutting wire
- File
- Needle file
- Soldering supplies
- Snipe nose pliers
- Rawhide mallet
- Your chosen metal hammers for texture
- Pusher/bezel rocker
- Burnisher & you can also use polishing papers to give your ring a shiny finish
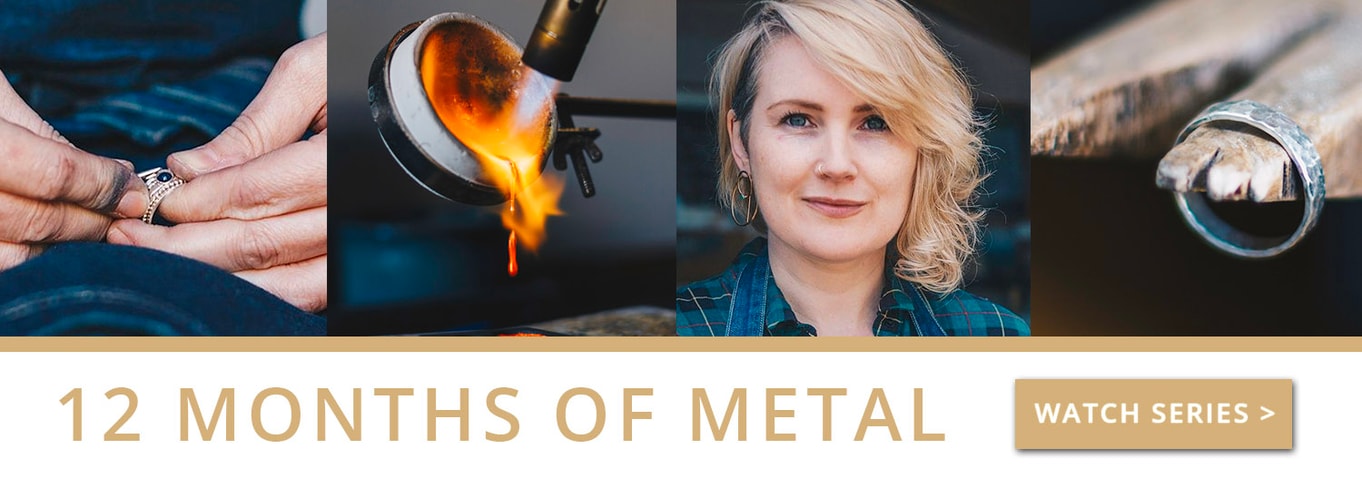
Want to see more of Kim's tutorials? Watch 12 Months of Metal
If you're a jewellery making beginner or want to refresh your metalsmithing knowledge, these tutorials are for you! During 2019, Kim shared brilliant video tutorials starting from the very basics, allowing you to build up your tools and skills throughout the series. Each month focuses on a different technique, showcasing a range of skills, tools and projects you can follow at home.
We teamed up with Kim, featuring all of the tutorials over on our blog and YouTube so you can find and re-visit them easily - plus you'll find our recommended tools and supplies for the projects featured.
Also in this section:
- Metalsmithing and Soldering General Advice
- How To Make Granulated Hoop Earrings
- Wax Carving & Granulation Process With Rockpool Jewellery
- Common Soldering Problems & Solutions For Jewellers
- The Essential Jewellery Tools & Supplies For Soldering
- Types Of Tweezers For Jewellery Making & Their Uses
- 10 Jewellery Tools For Supporting Your Work
- Using A Third Hand For Jewellery Making
- Using A Charcoal Block For Jewellery Making
- How To Use A Jewellers Piercing Saw
- How To Use Needle Files For Jewellery Making
- Soldering Flux For Jewellery Making Explained
- How To Use Safety Pickle & The Importance Of Using Plastic Tweezers
- How To Prevent & Remove Fire Scale & Fire Stain
- What Is Thermo-Gel Heat Barrier?
- What Is A Multi Chuck & Essential Accessories For Your Dremel Multi Tool
- How To Use Your Scrap Silver For Jewellery Making
- How To Make Scrap Silver Earstuds
- What Is A Ring Mandrel & How To Use It
- How To Adjust Ring Sizes
- How To Make A Ring Band
- How To Make A Wishbone Ring
- How To Make A Spinner Ring
- How To Make A Spaghetti Ring With Kim Thomson
- How To Make A Textured Ear Cuff With Searose Jewellery (No Soldering!)
- How To Use A Bangle Forming Die Tool
- How To Make Bezel Set Heart Cabochon Earrings
- 10 Reasons You Need A Headband Magnifier For Jewellery Making
- What Is Alligator Tape & How To Use It For Jewellery Making
HAVE A QUESTION?
If you have any questions, feel free to get in touch with our friendly team who will be more than happy to give you advice over email or on the phone.
You can learn more and find inspiration by visiting our Jewellery Making Tutorials, Jewellery Making Kits and YouTube Channel. Don't forget to follow us on social media and tag us in your designs on Instagram & Facebook, we would love to see!