Wire Wrapped Cluster Briolette Earrings
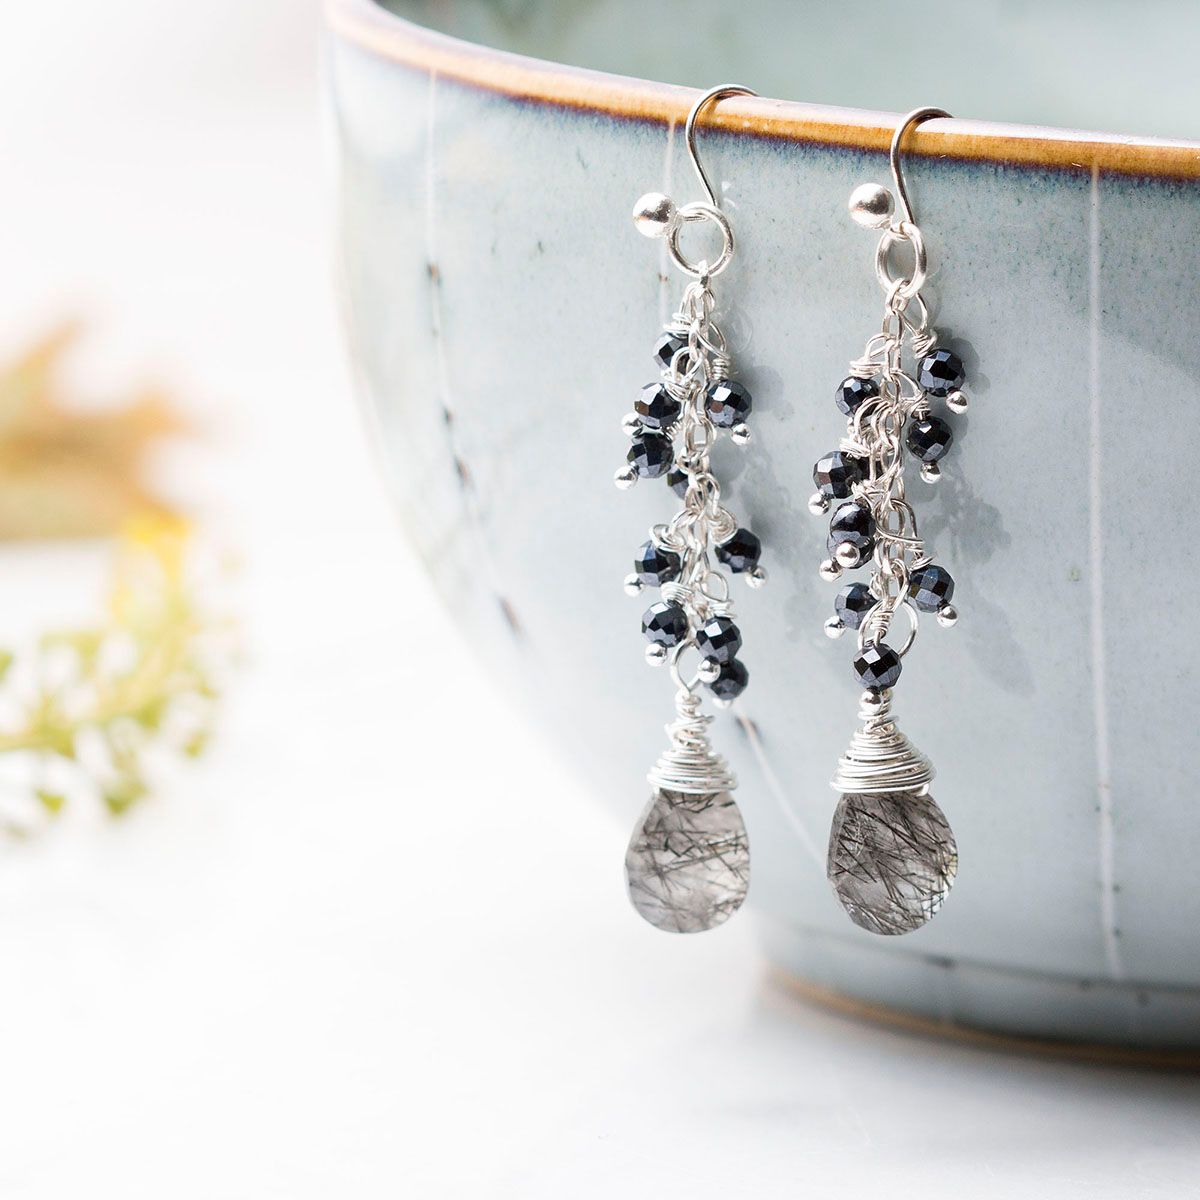
We love this sparkly design, it combines a range of wire wrapping techniques including wire wrapping a headpin and briolette bead. You can easily customise this project using your favourite gemstone beads, wire and supplies, just get creative and have some fun!
Some products featured in the shopping list will be more than you need - you can use these for future projects
Watch our video tutorial
STEP BY STEP INSTRUCTIONS
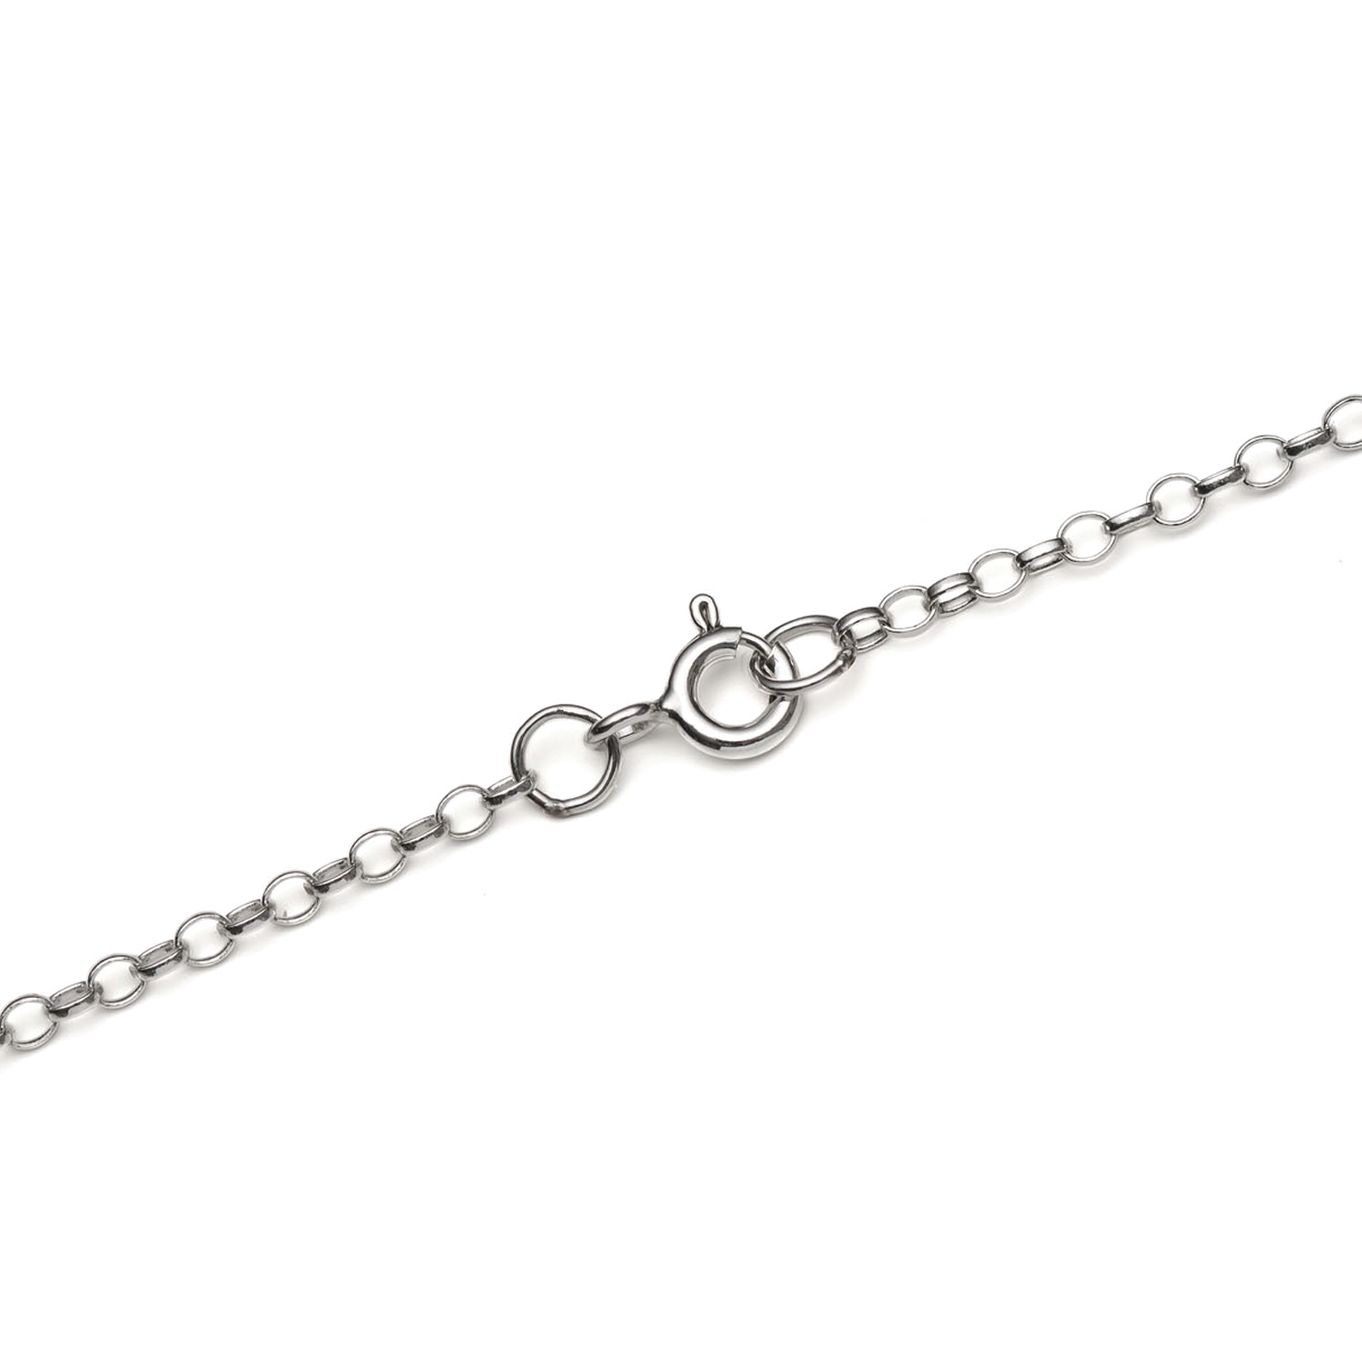
1. Use side cutters to cut two lengths of 3cm of chain - we've included a little more chain in case you wanted to adjust the design slightly.
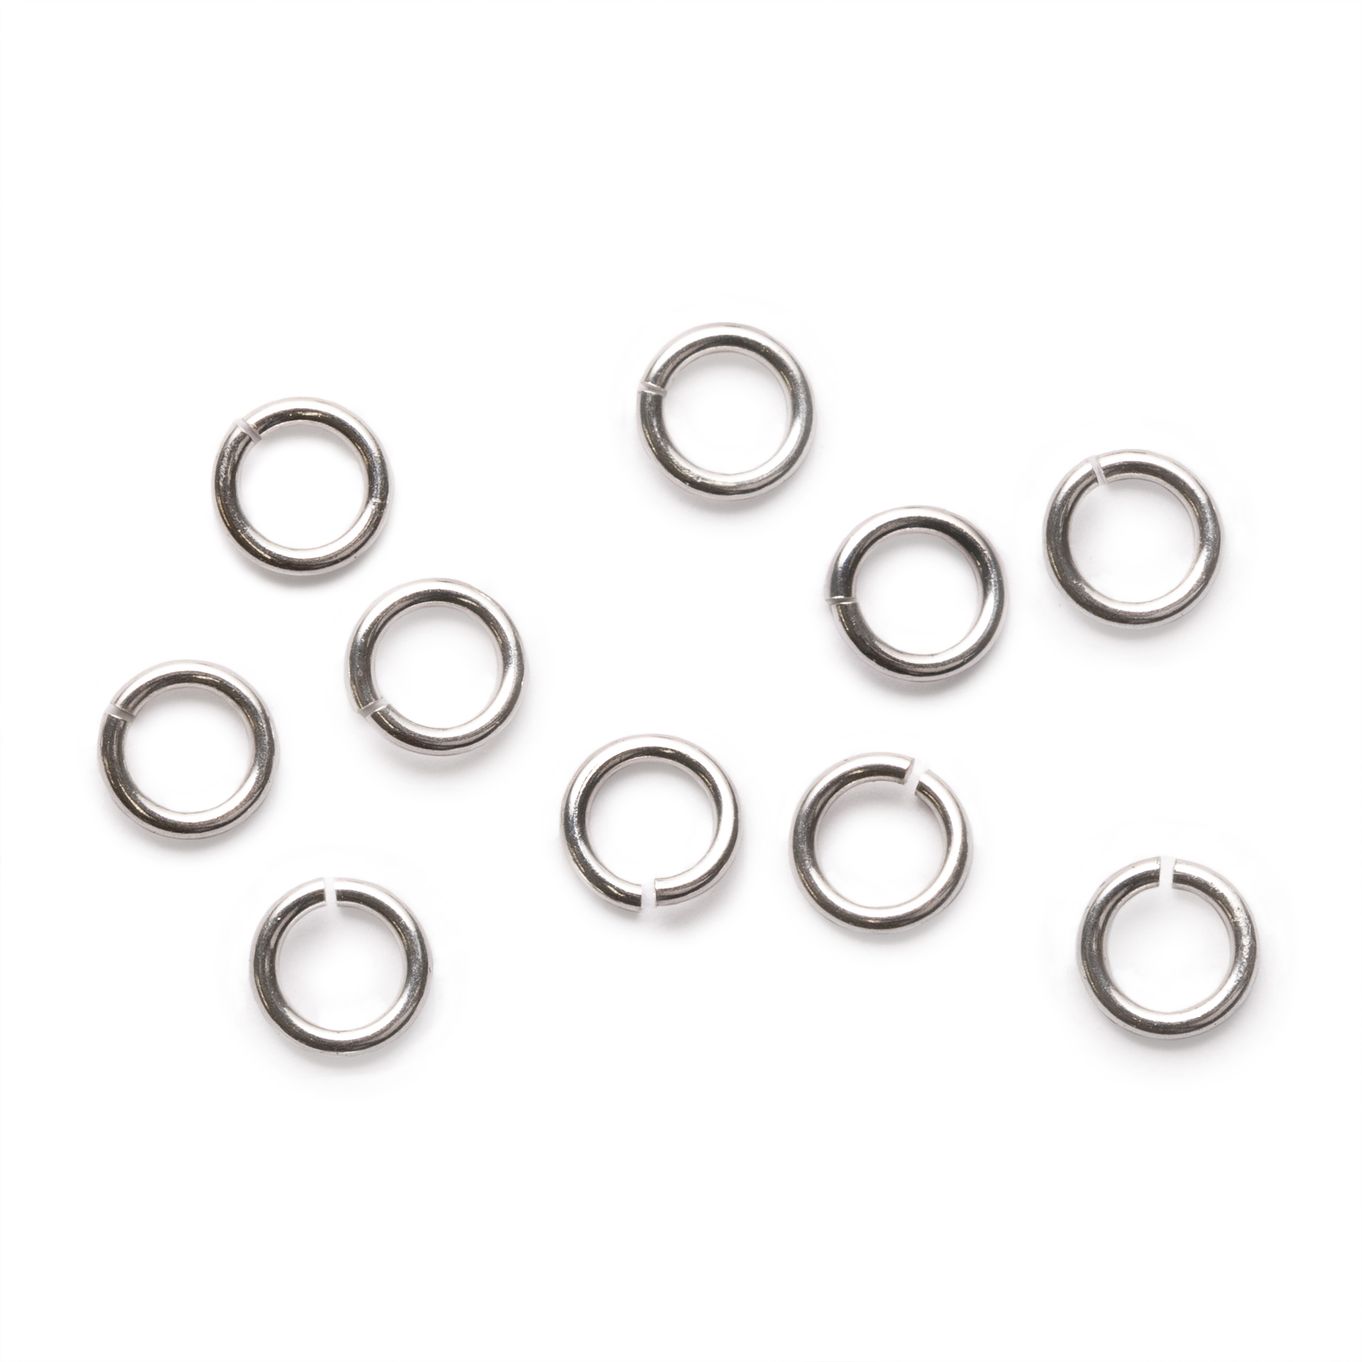
2. Use a pair of snipe nose/flat nose pliers to twist open and jump ring and attach to the top of the chain link.
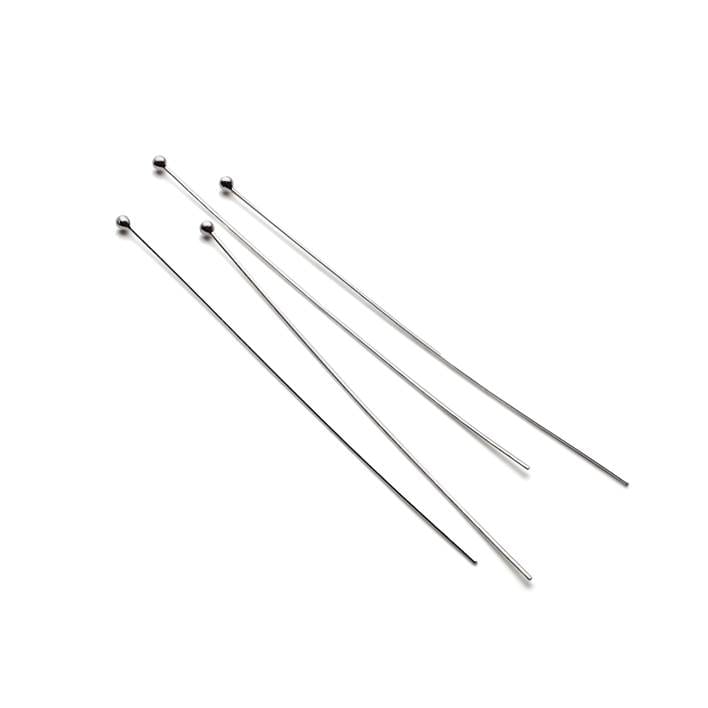
3. Slide a bead onto the headpin and use round nose pliers to form a loop above the bead, before you start to wire wrap the bead to secure, slide the wire onto the top link of the chain just under the jump ring. Use your snipe nose pliers to grip the top of the loop and start wrapping the wire down towards the bead. Use your side cutters to trim the wire if needed as close to the coil as possible and use snipe nose pliers to tuck in the wire.
4. Repeat step 2 with as many headpins and beads as you like, attaching to each link of the chain until you're happy with the length and amount of beads you would like to feature. You will also need to leave a link of chain at the end to attach a wire wrapped briolette bead. If you have excess chain you can use your side cutters to trim to size.
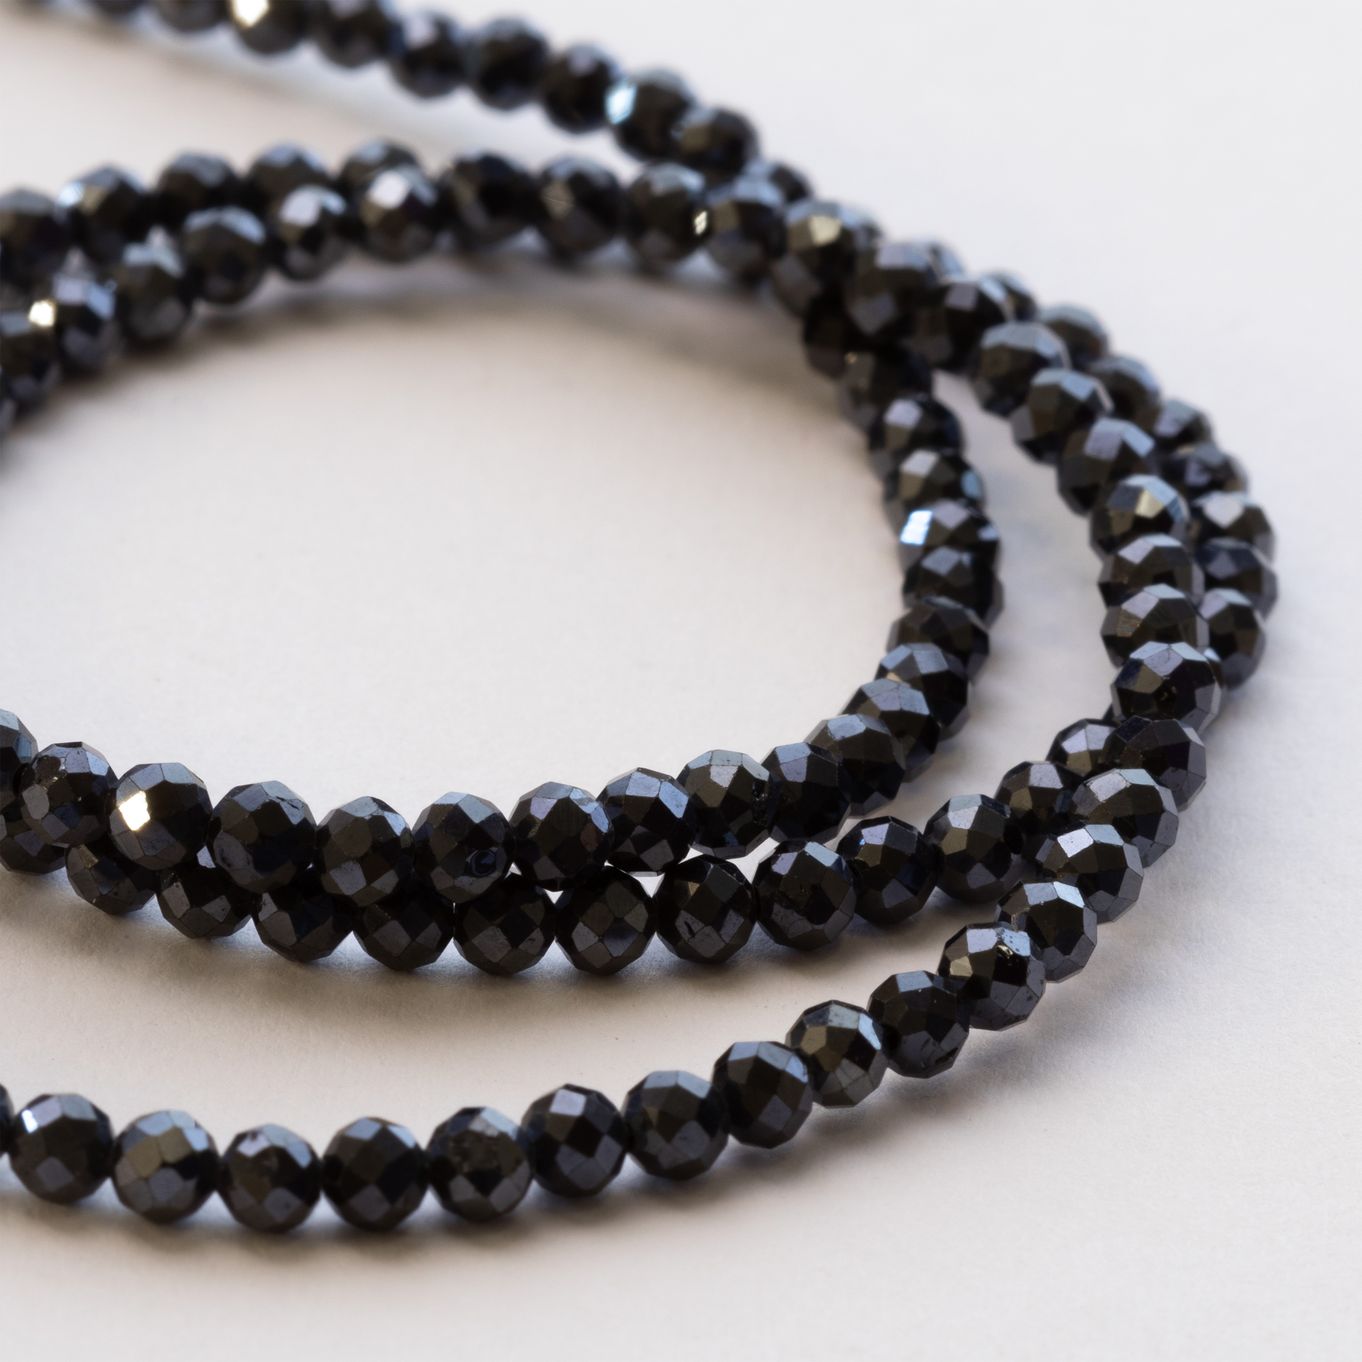
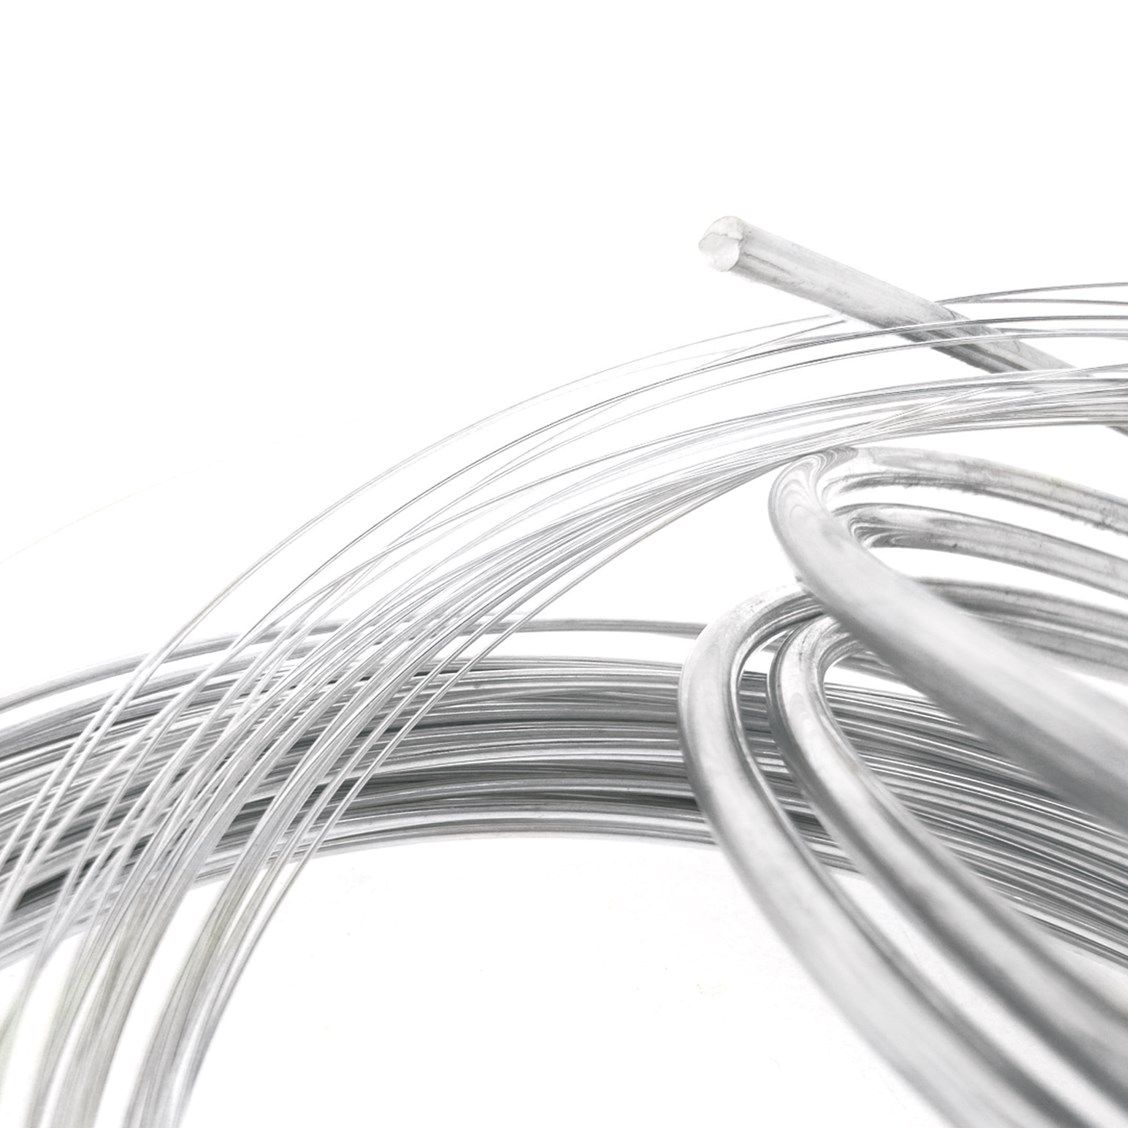
5. Next it's time to wire wrap a briolette bead. Using 15-20cm of sterling silver round wire, slip the briolette onto the wire around 3-4cm down. Pinch both ends of the wire together at the top of the bead to form a triangle shape. Use round nose pliers to bend the longer length to a right angle and if necessary, use side cutters to cut the short side of the wire. Use round nose pliers to form a loop with the longer side of wire by bending it to a right angle and wrapping it around the tip of the pliers.
6. Before wrapping the wire, slide the loop onto the bottom link of the chain.
7. Hold the loop flat using snipe nose pliers and begin wrapping the wire down towards the bead. Wrap it back up towards the loop, trim and tuck in with snipe nose pliers.
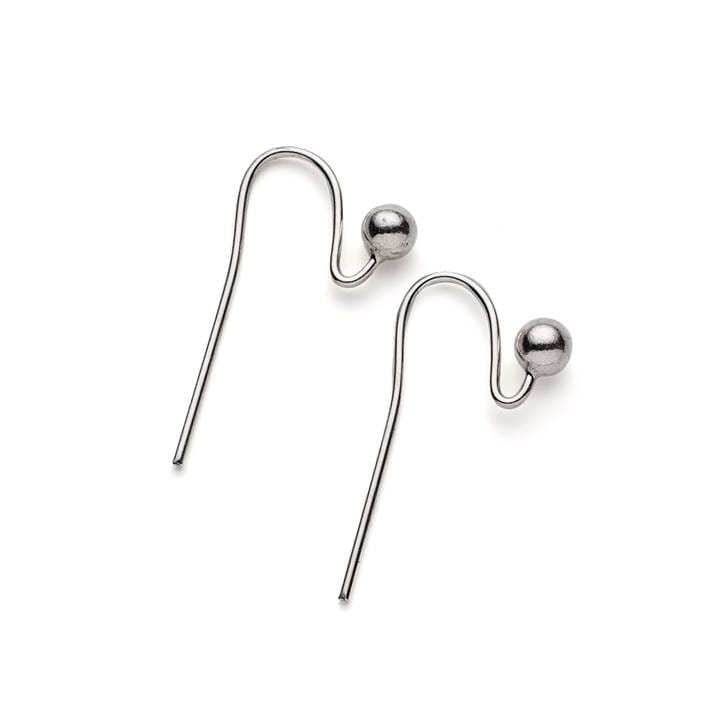
8. Attach an earwire through the top jump ring, push the ball against the earwire to secure in place.
9. Repeat the previous steps to make your second earring and your design is complete!
SUGGESTED TOOLS FOR THIS PROJECT
Snipe nose pliers & flat nose pliers
You may like to get our pack of pliers & side cutters which is an economical way of buying all the pliers you will need for every project!
CUSTOMISE YOUR KIT
Make the design your own by using your favourite jewellery supplies
HELPFUL PAGES
How to wire wrap a briolette bead
Read our wire wrapping advice pages with tutorials
JEWELLERY MAKING BOOKS
The Basics of Bead Stringing by Debbie Kanan
Beading Design by Kim Glover
Kernowcraft's jewellery making kits are aimed to inspire you - therefore the step by step instructions are available online only with a shopping list, where you can easily customise the design to suit you. We recommend printing or bookmarking this page ready to follow.
The suggested products used in this project are suggestions to inspire you. Products used were compatible at the time of making but do be aware that gemstones are natural and hand cut stocks can vary, so do use your own common sense as to the compatibility of each item when making.
Your Shopping List
You can buy all the products in this collection at once by clicking the button below or add individual products by clicking the button beside each one.